|
General Disclaimer: (HV) (DC) injury or death hazard, use at your own risk, may void warranty. |
File list
Jump to navigation
Jump to search
This special page shows all uploaded files.
| Date | Name | Thumbnail | Size | User | Description | Versions |
|---|---|---|---|---|---|---|
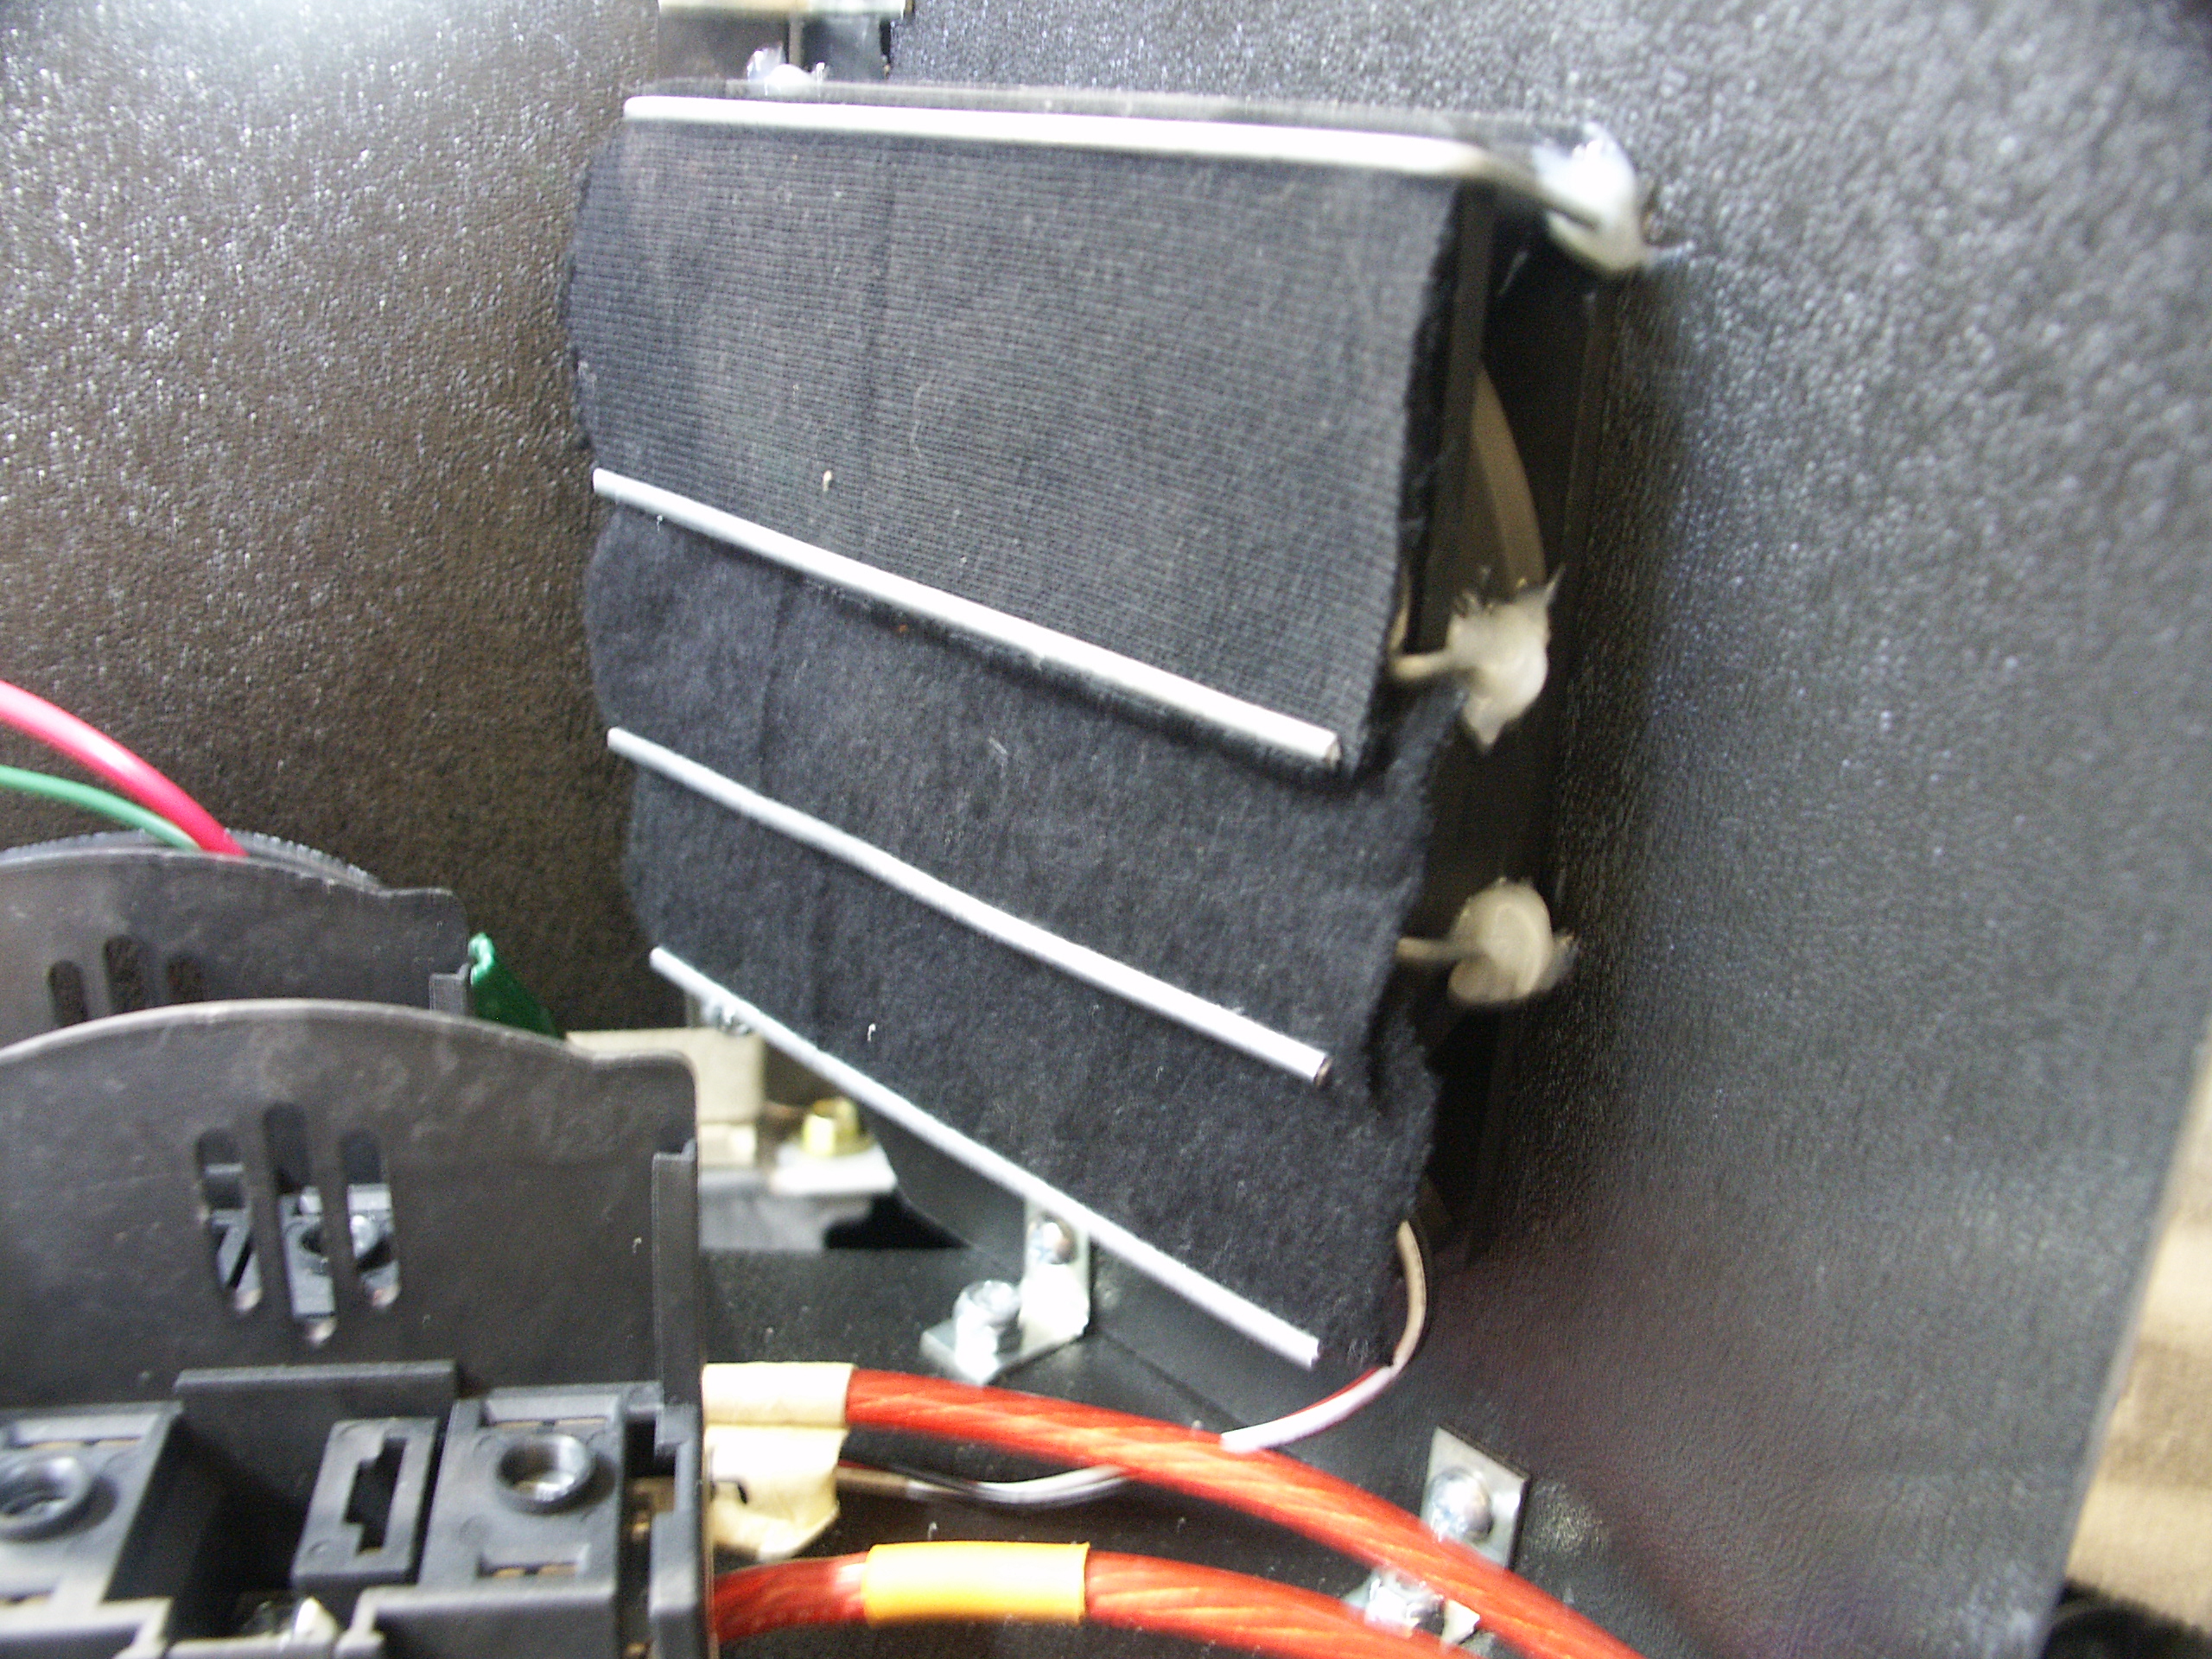
| 22:51, 17 December 2006 | Plexiglass Shield.JPG (file) |  |
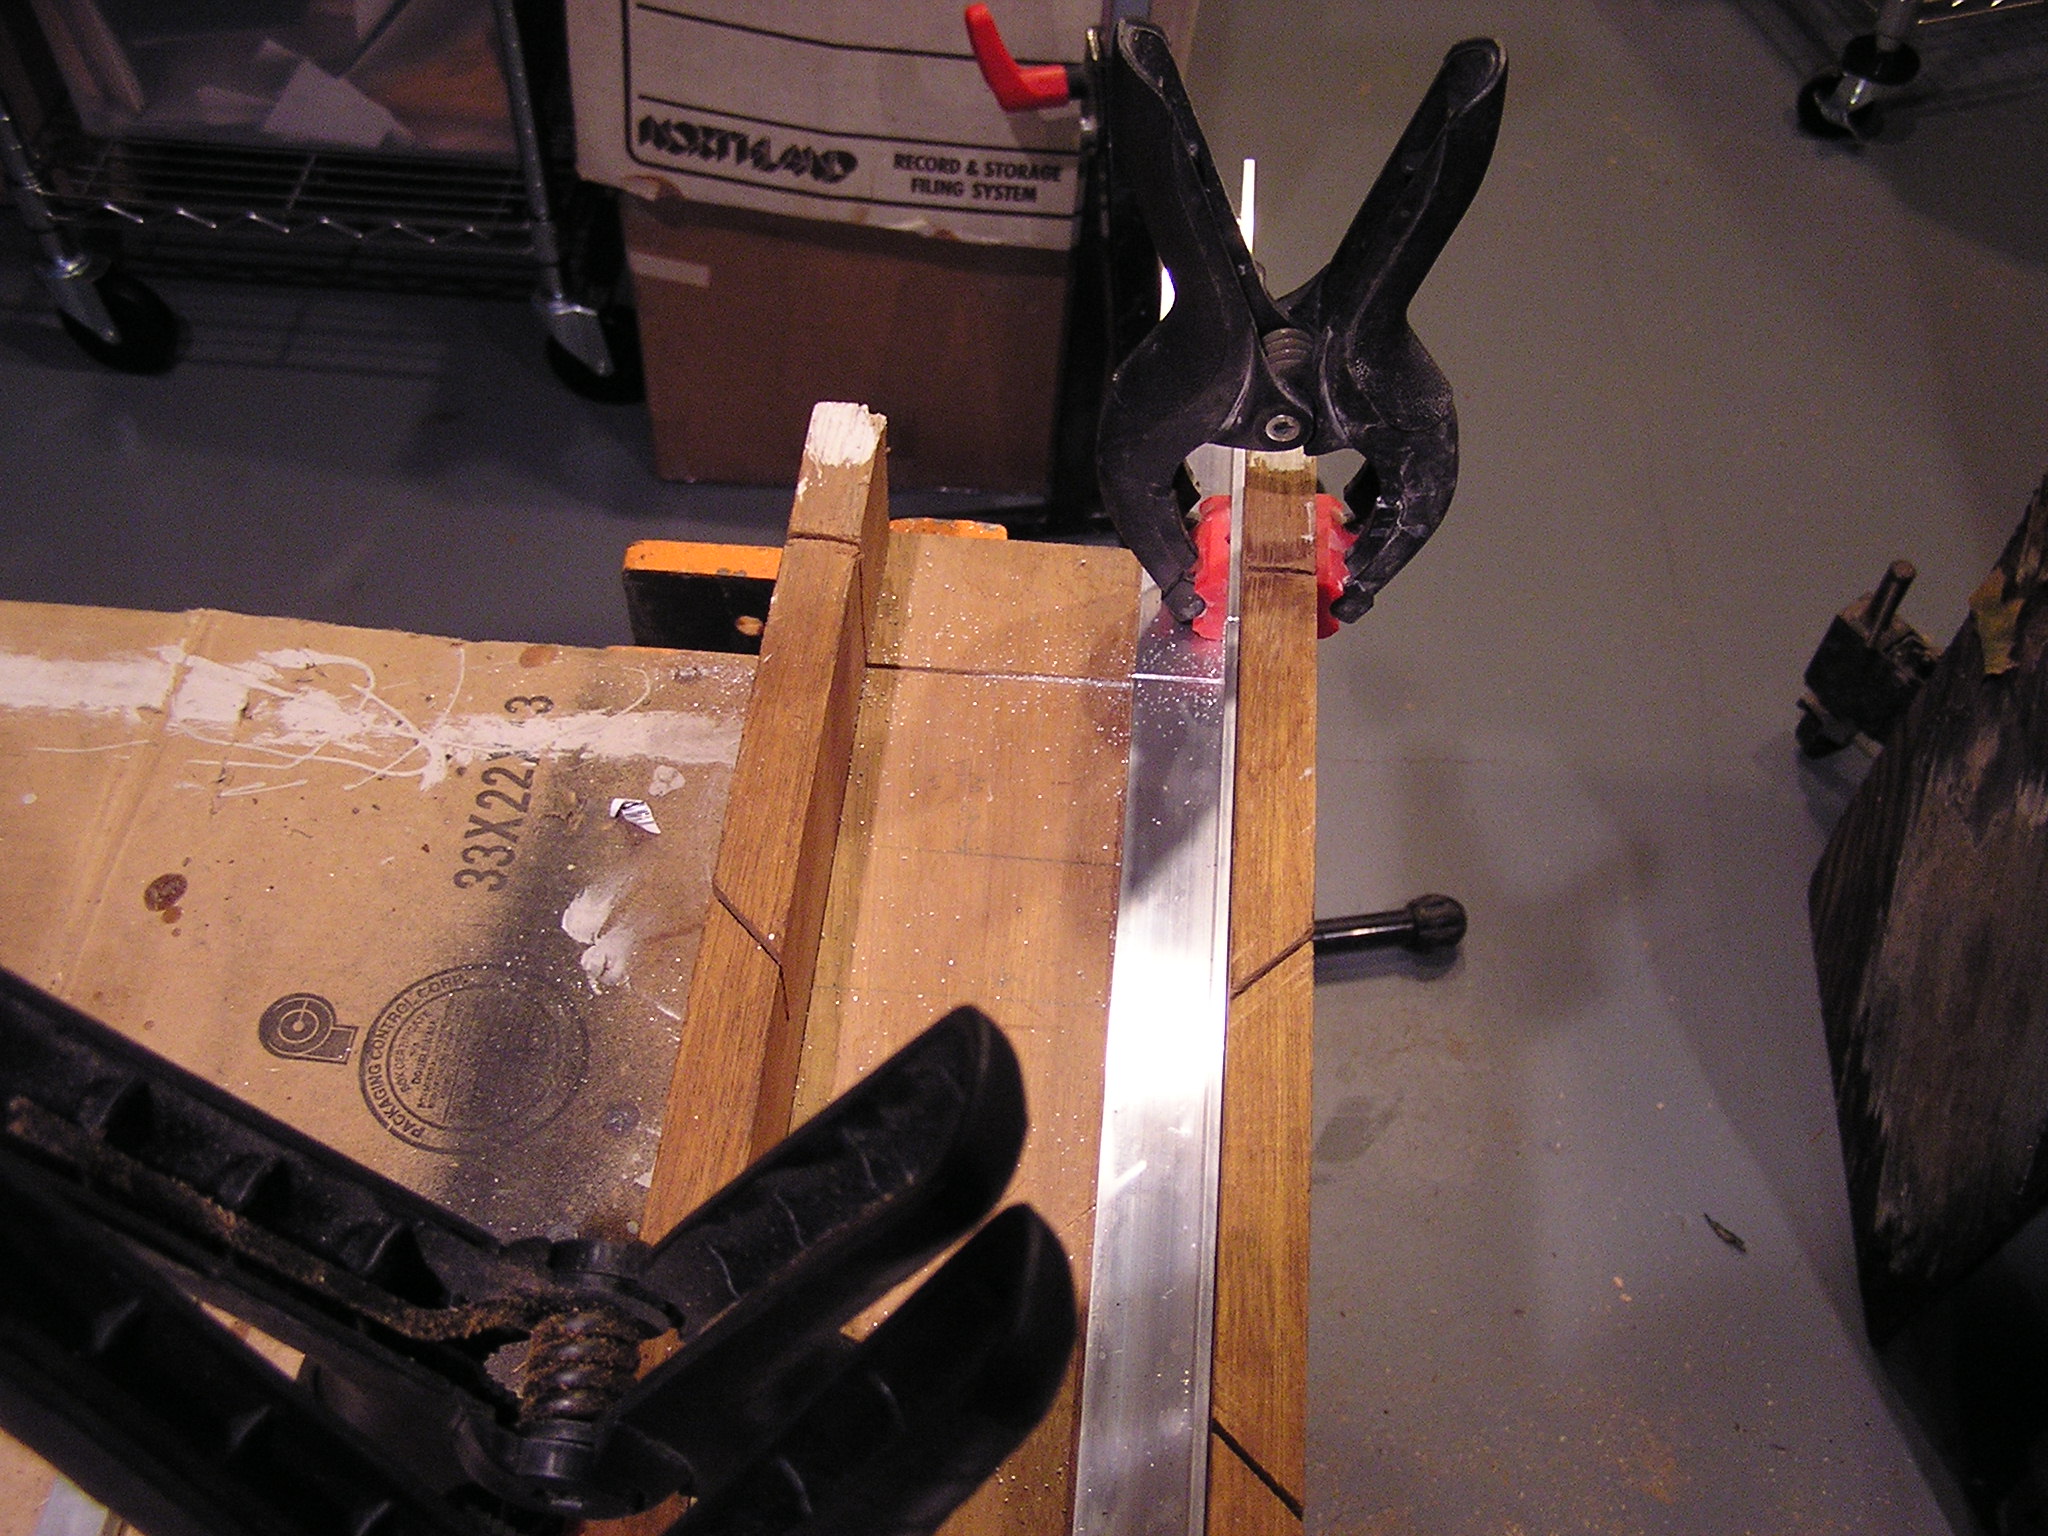
717 KB | Cewert | I choose to install a plexiglass 'shield' on the side of the aluminum angle iron to reduce the risk of a wire / terminal hitting the aluminum and arcing. I am not sure if that is in the official CalCars plans or not. It is held in by non-conductive nylo | 1 |
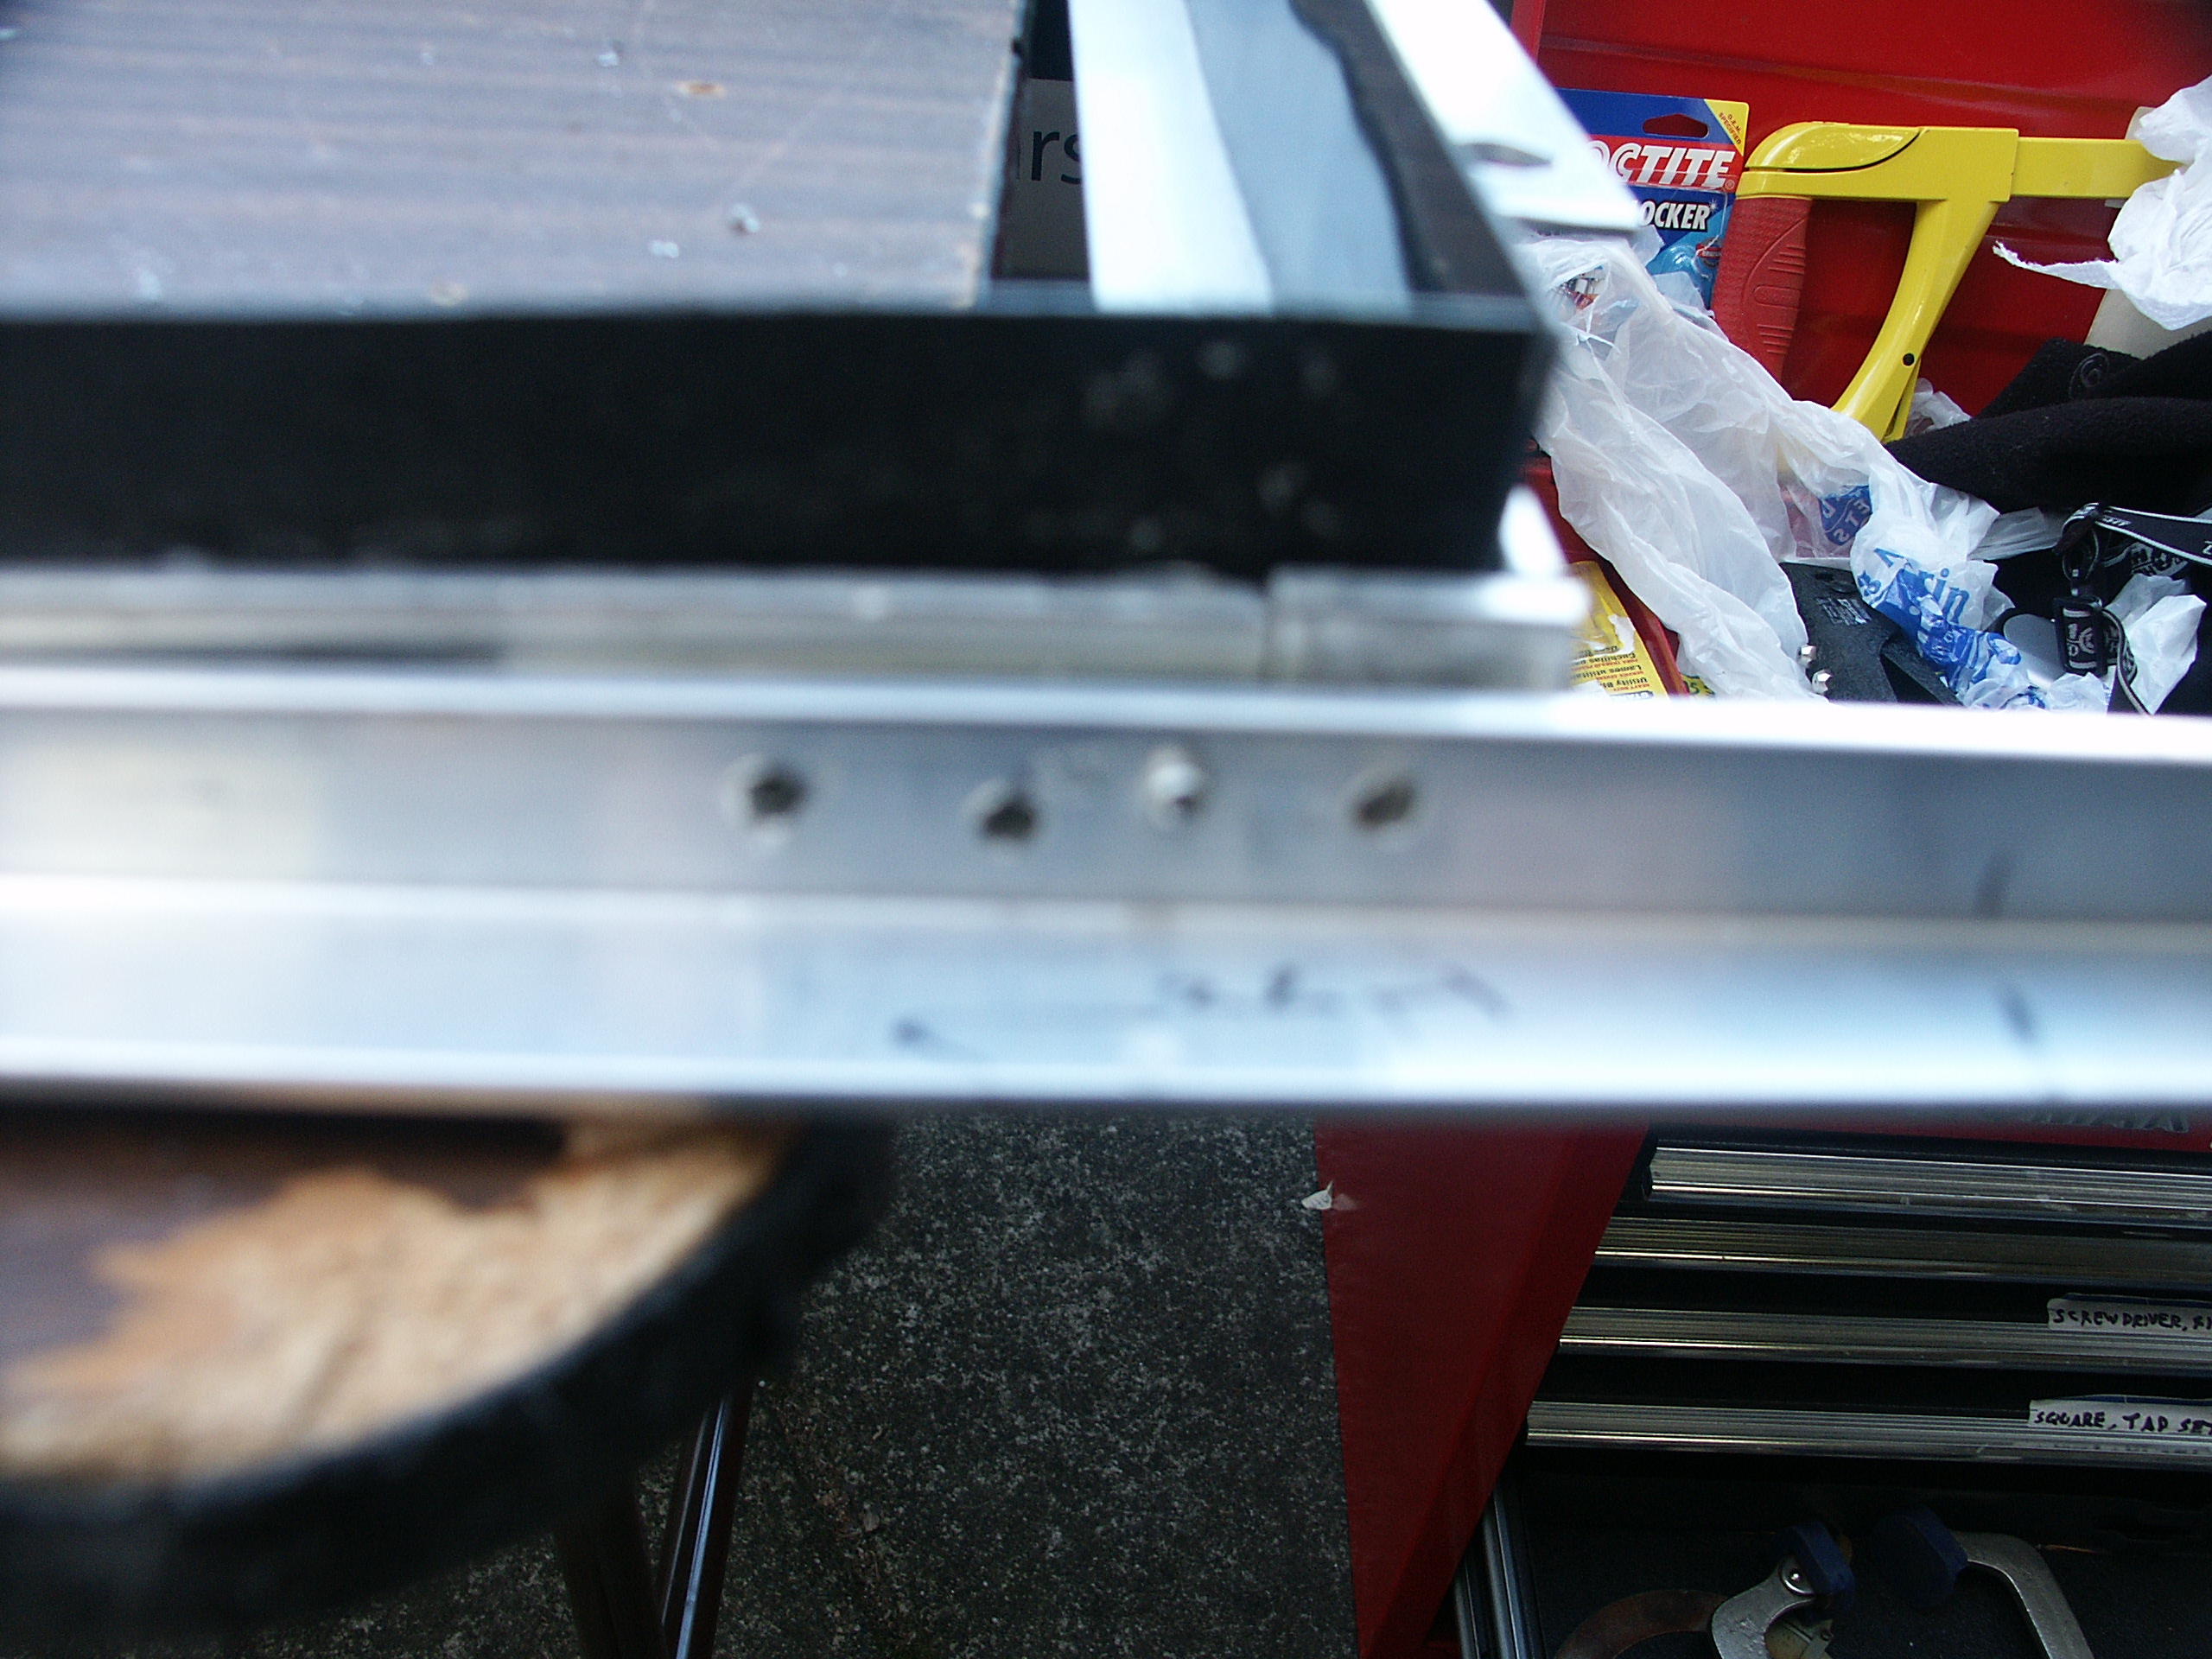
| 22:43, 17 December 2006 | Batt Box Top 3 Angles.JPG (file) |  |
696 KB | Cewert | Aluminum angle irons cut with 45 degree angles and laid on top of the battery box | 1 |
| 01:30, 16 December 2006 | Batterypack-power-conn.jpg (file) |  |
37 KB | DavideAndrea | Ford Escape, battery pack, power connectors | 1 |
| 01:28, 16 December 2006 | Batterypack-data-conn.jpg (file) |  |
38 KB | DavideAndrea | Ford Escape, data connectors | 1 |
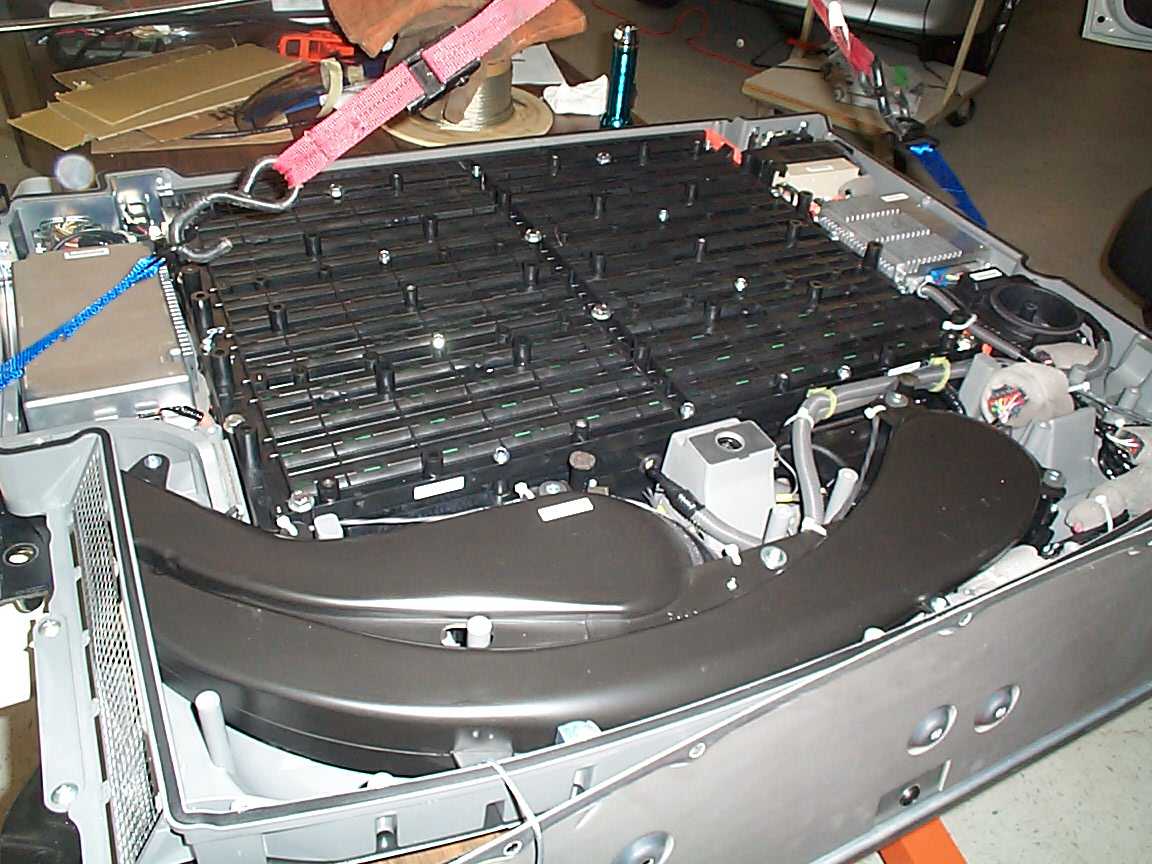
| 01:27, 16 December 2006 | Batterypack-open2.jpg (file) |  |
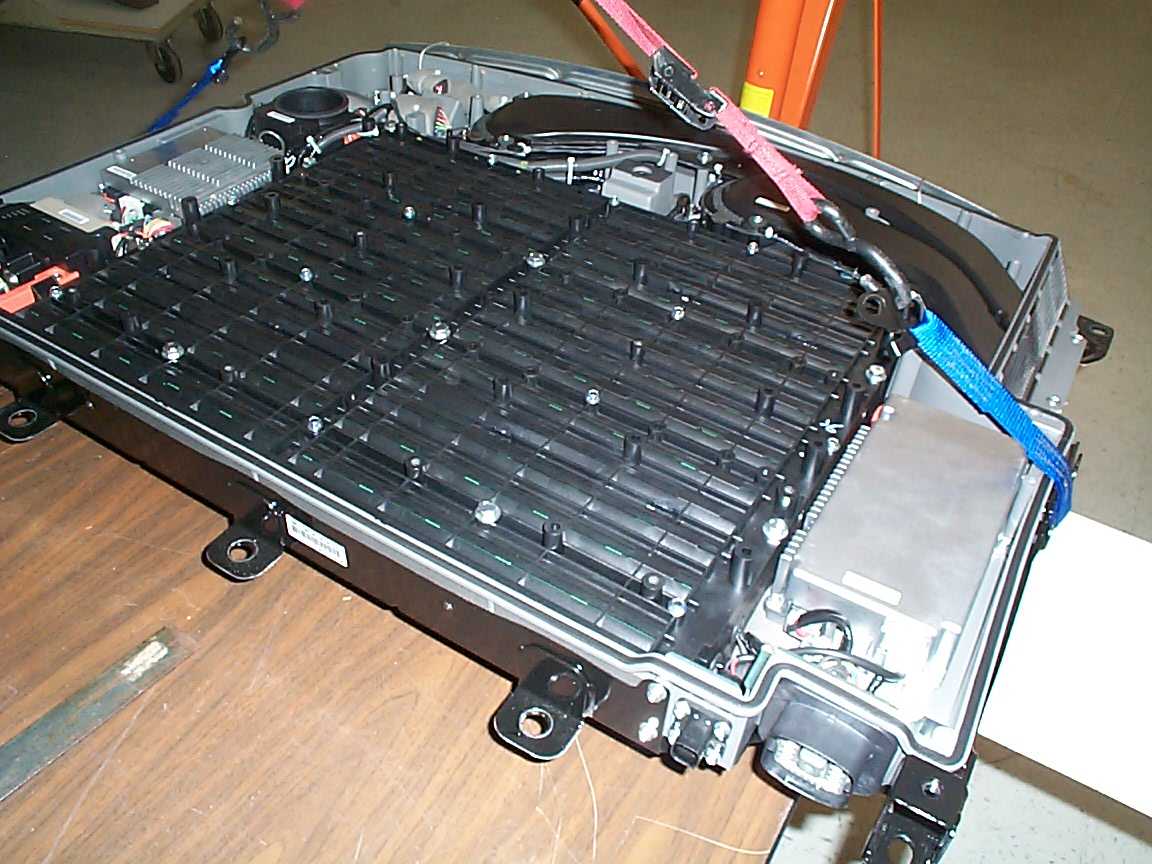
130 KB | DavideAndrea | Ford Escape, battery open, view from the front | 1 |
| 01:25, 16 December 2006 | Batterypack-open1.jpg (file) |  |
133 KB | DavideAndrea | Ford Escape, battery open, front view | 1 |
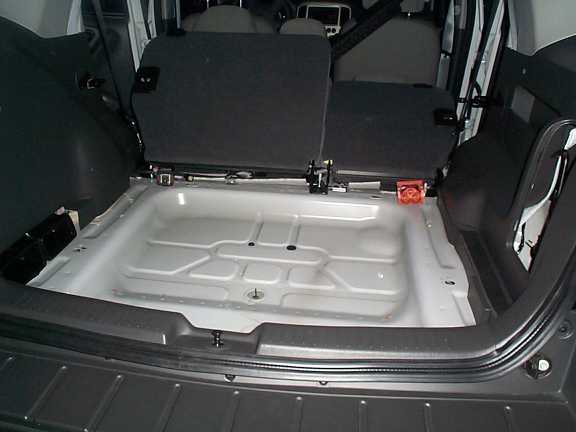
| 01:24, 16 December 2006 | Trunk-sans-battery.jpg (file) |  |
42 KB | DavideAndrea | Ford Escape, trunk without the battery | 1 |
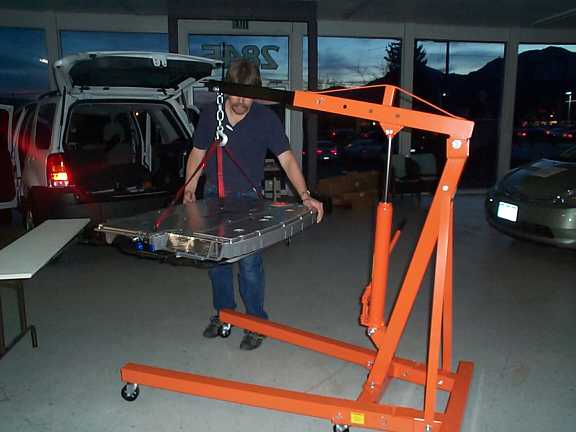
| 01:23, 16 December 2006 | Batterypack-out.jpg (file) |  |
45 KB | DavideAndrea | Ford Escape, battery lifted out of thetrunk | 1 |
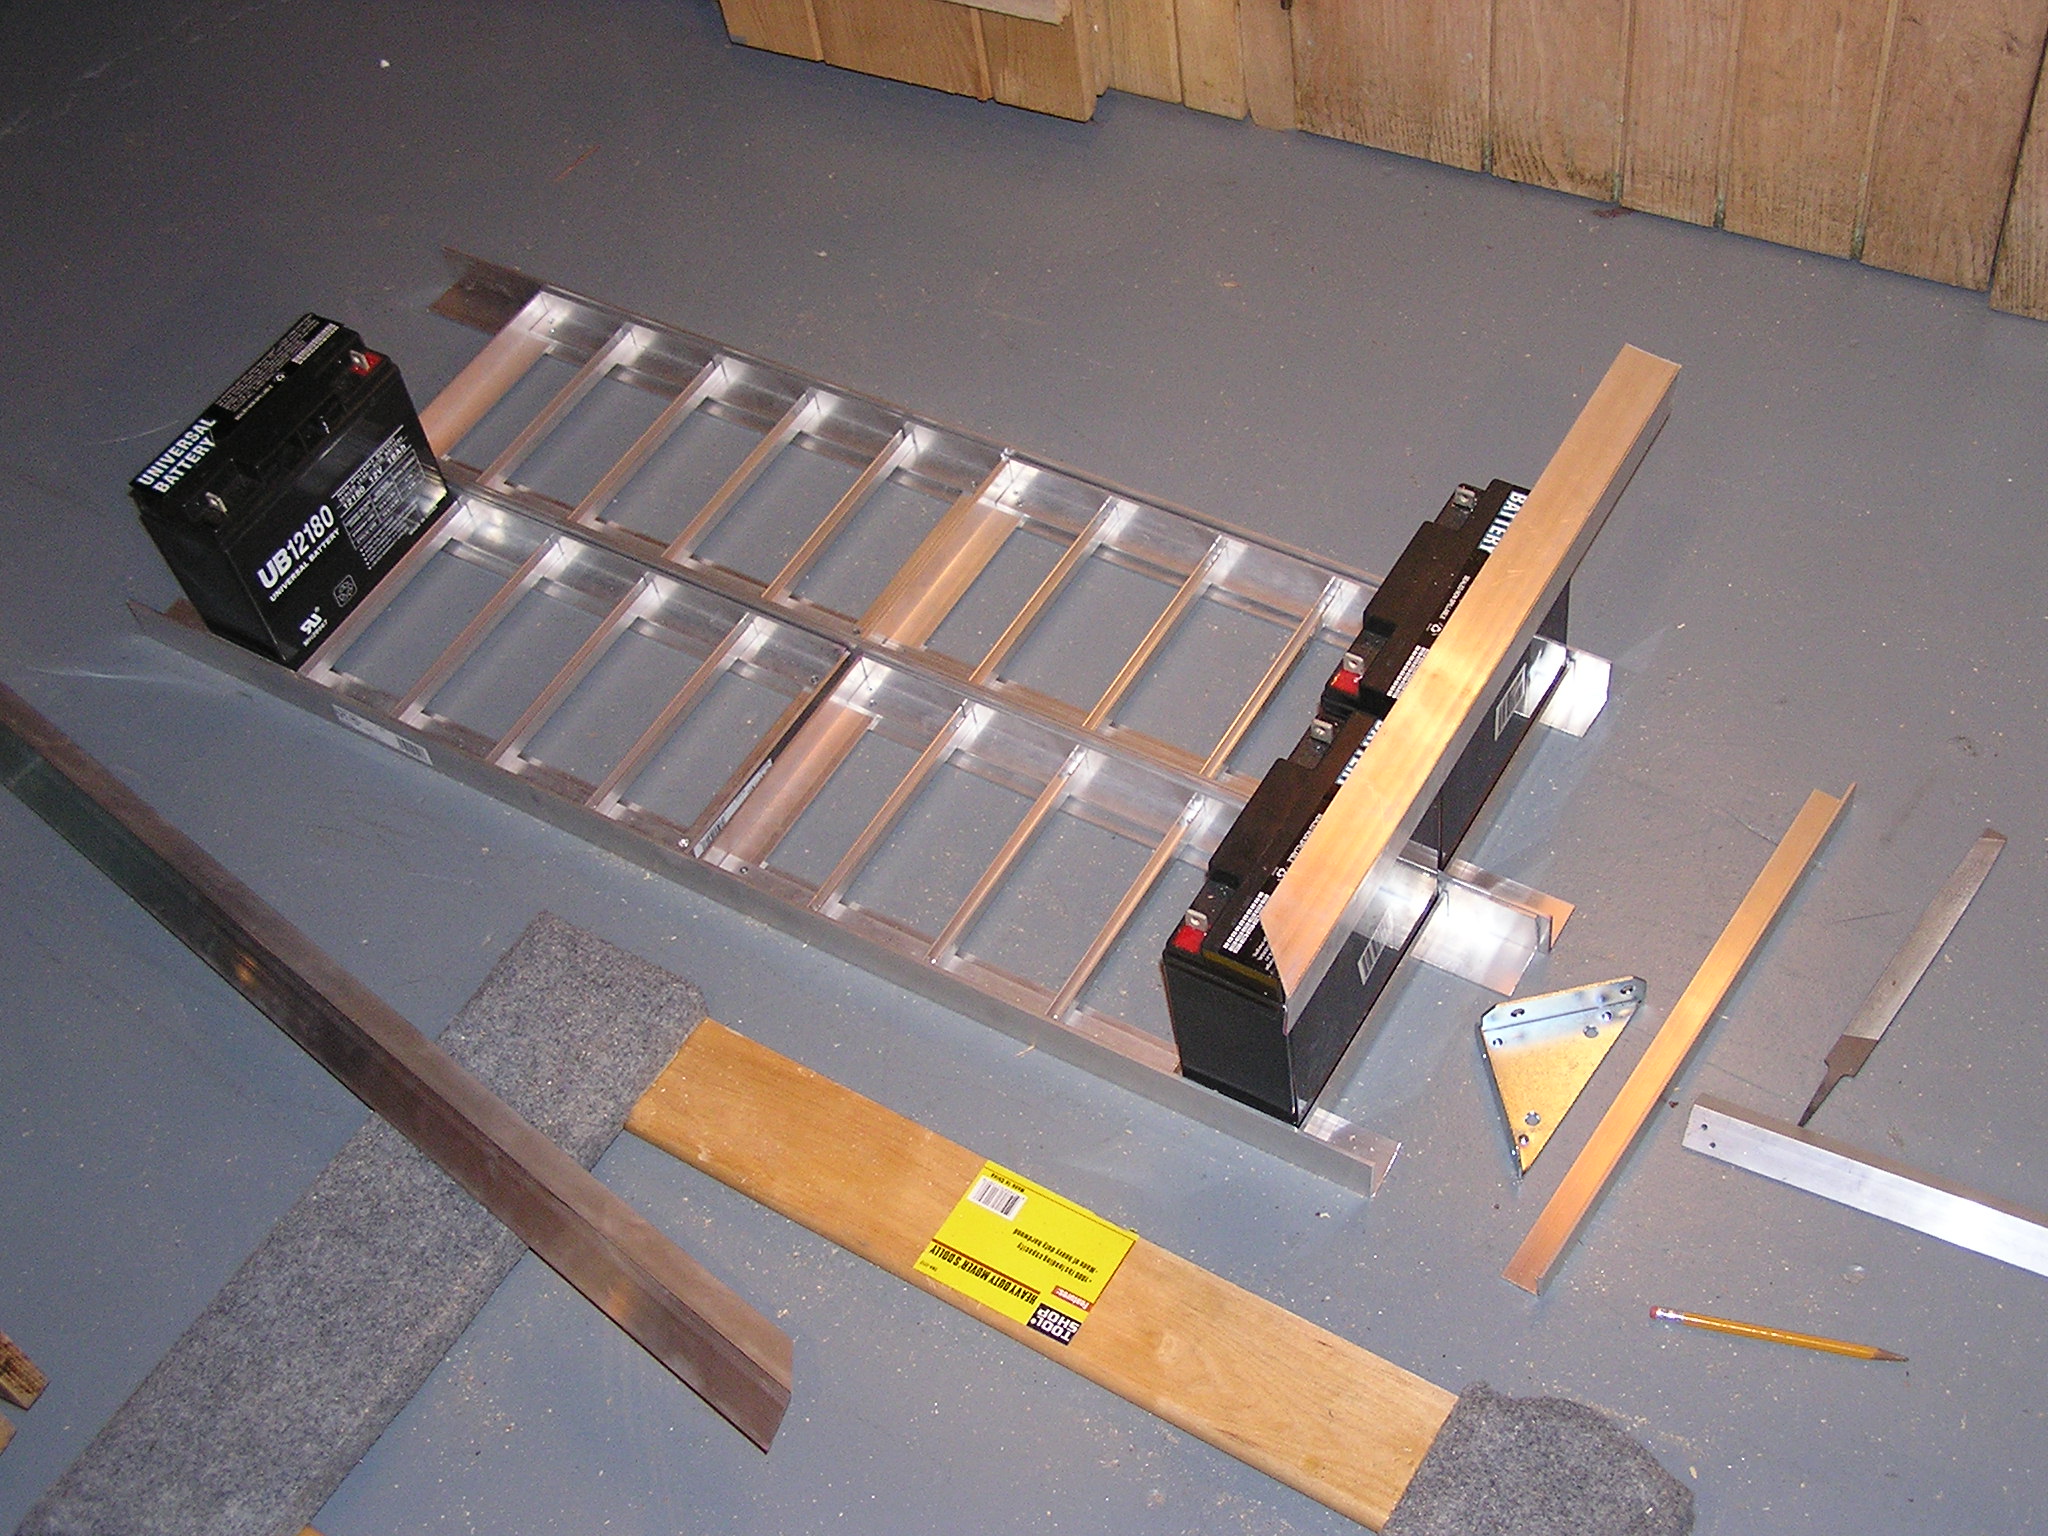
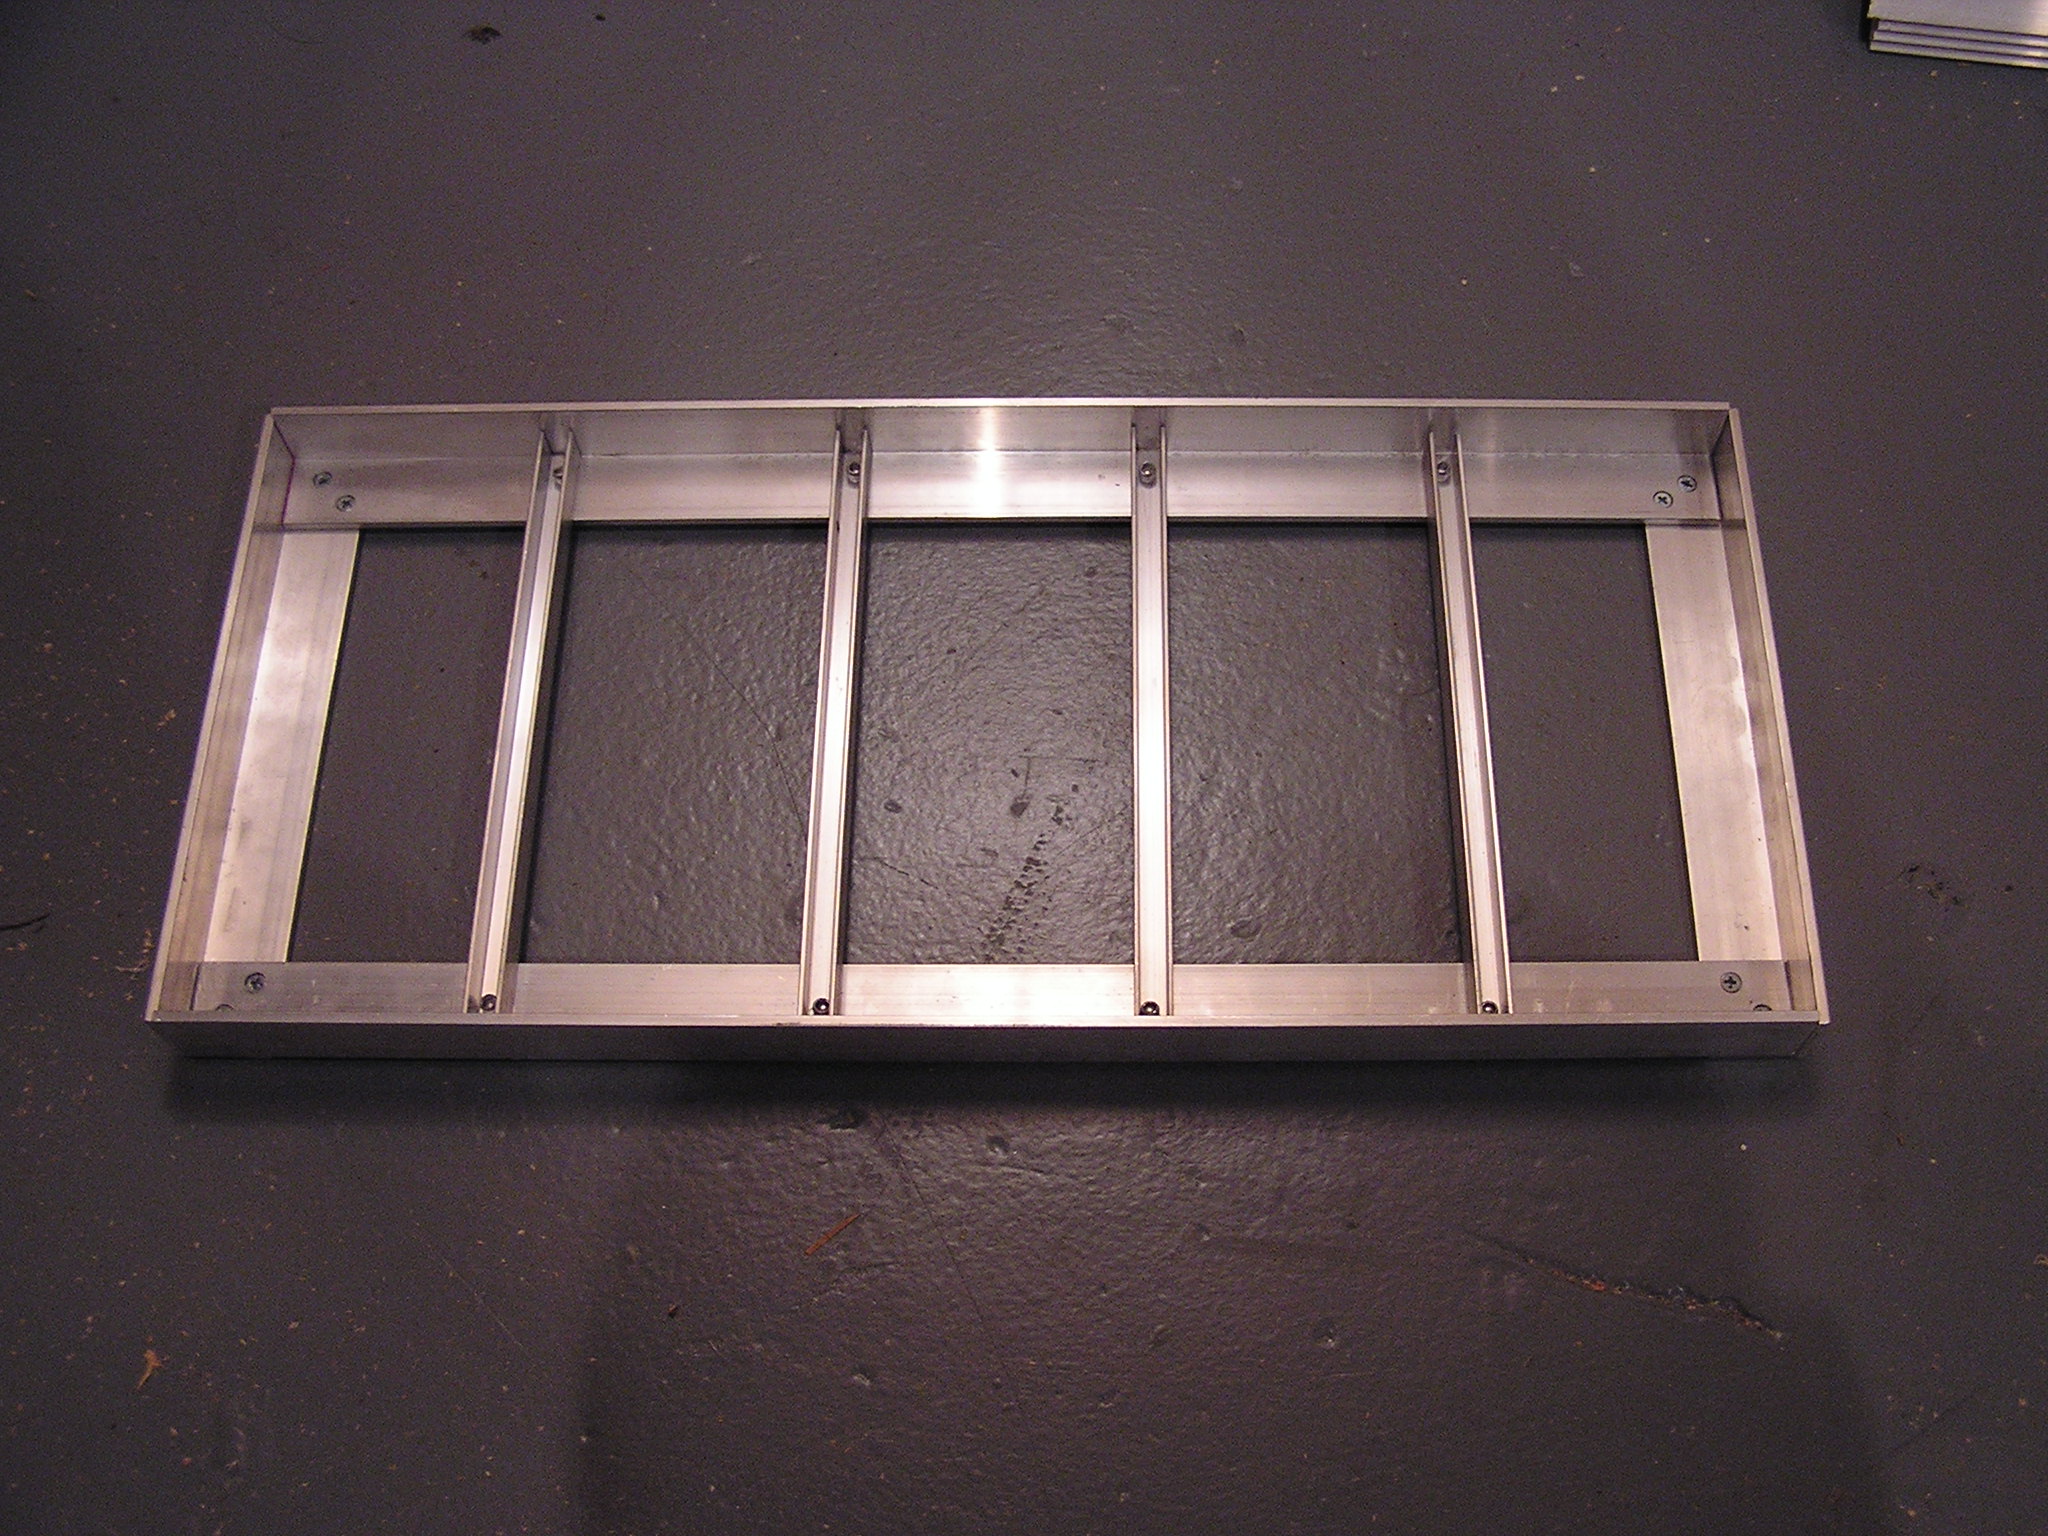
| 05:34, 15 December 2006 | Top Battery Box With Corner Bracket.JPG (file) |  |
718 KB | Cewert | Corner bracket is just sitting on the top of the battery box waiting to be screwed down. | 1 |
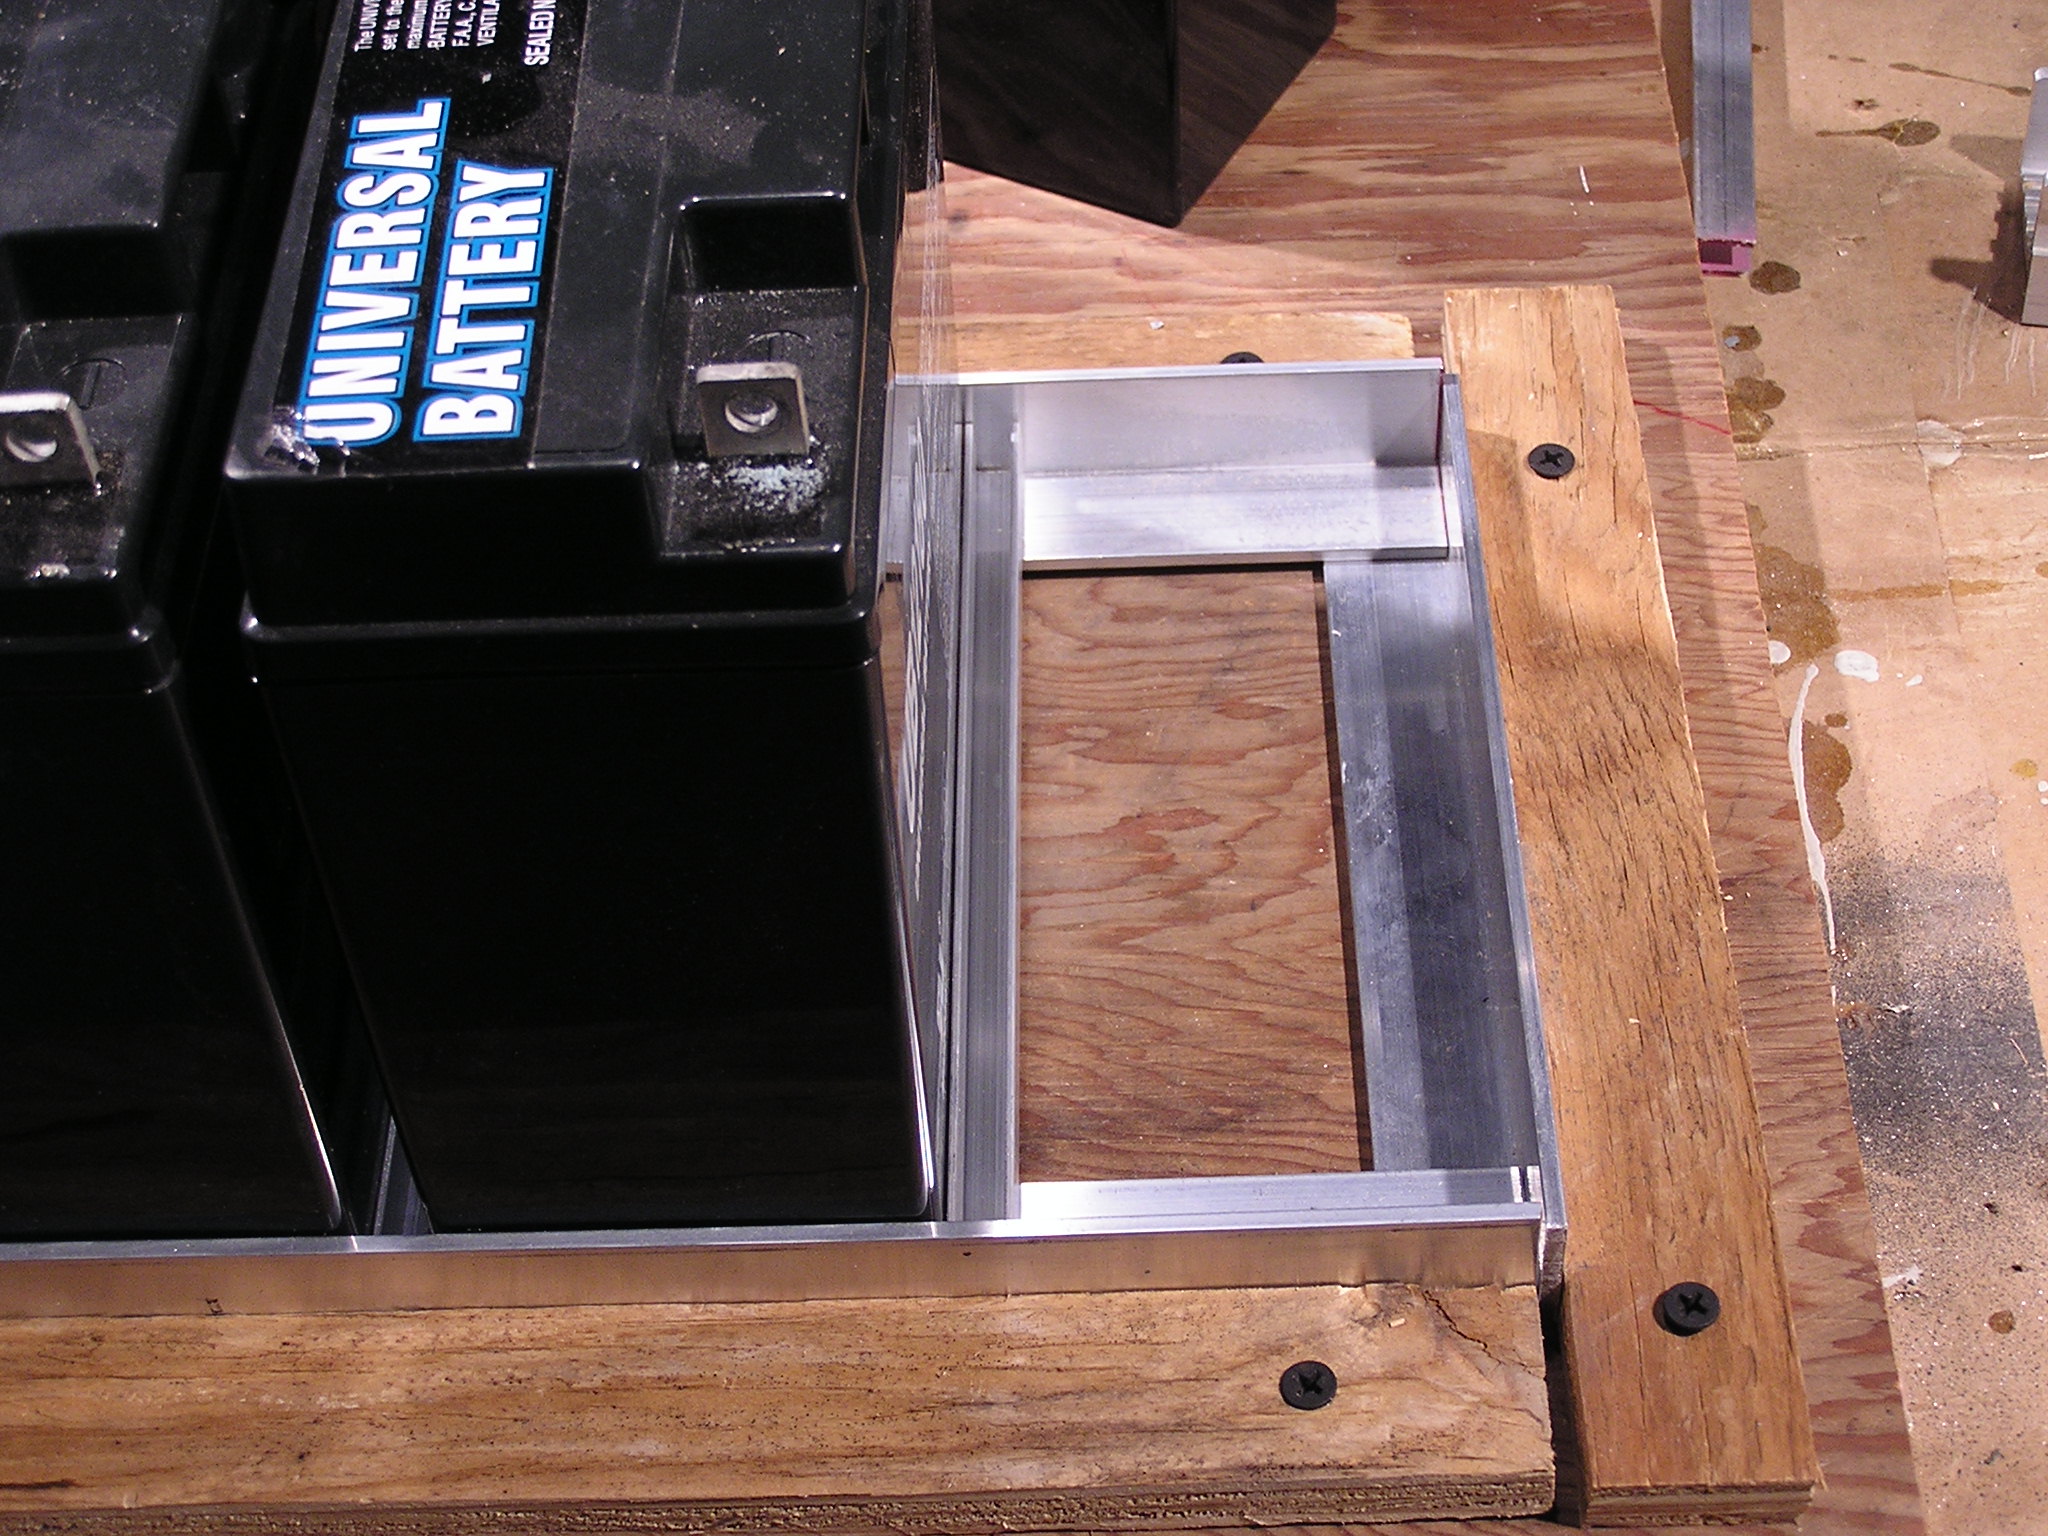
| 05:33, 15 December 2006 | Top Battery Box 45 Degree Cuts.JPG (file) |  |
728 KB | Cewert | The aluminum angle irons are cut with 45 degree angles so they fit snugly | 1 |
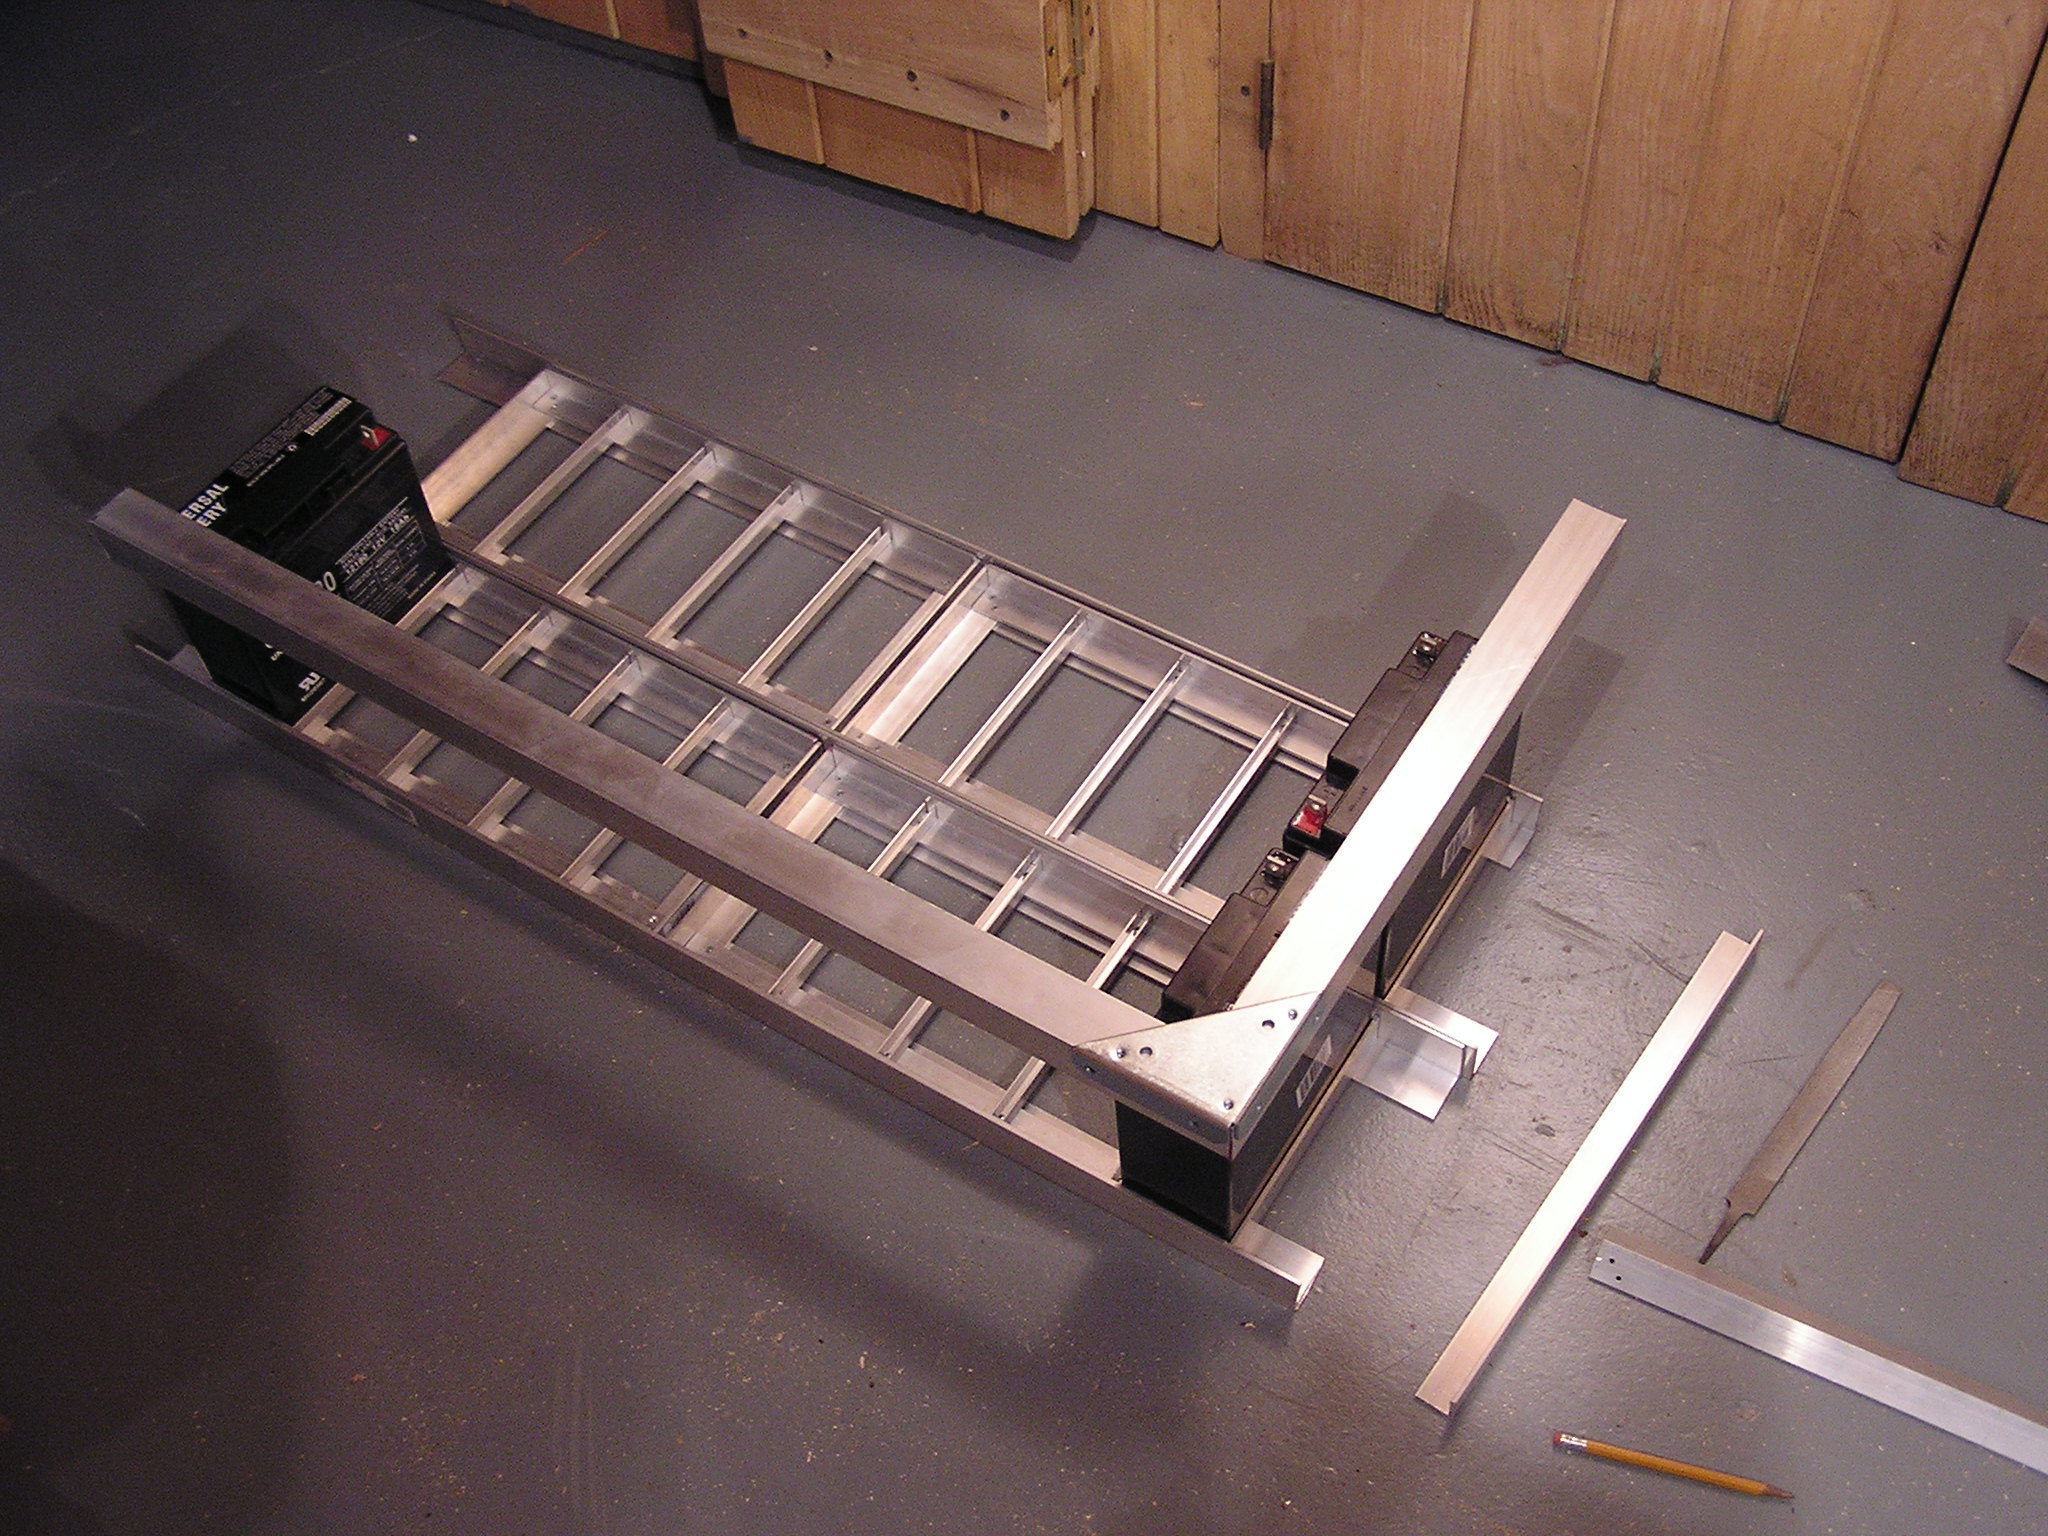
| 05:31, 15 December 2006 | Starting on the Top of Battery Box.JPG (file) |  |
723 KB | Cewert | Bottom is mostly assembled, now starting on cutting the angle irons for the top. | 1 |
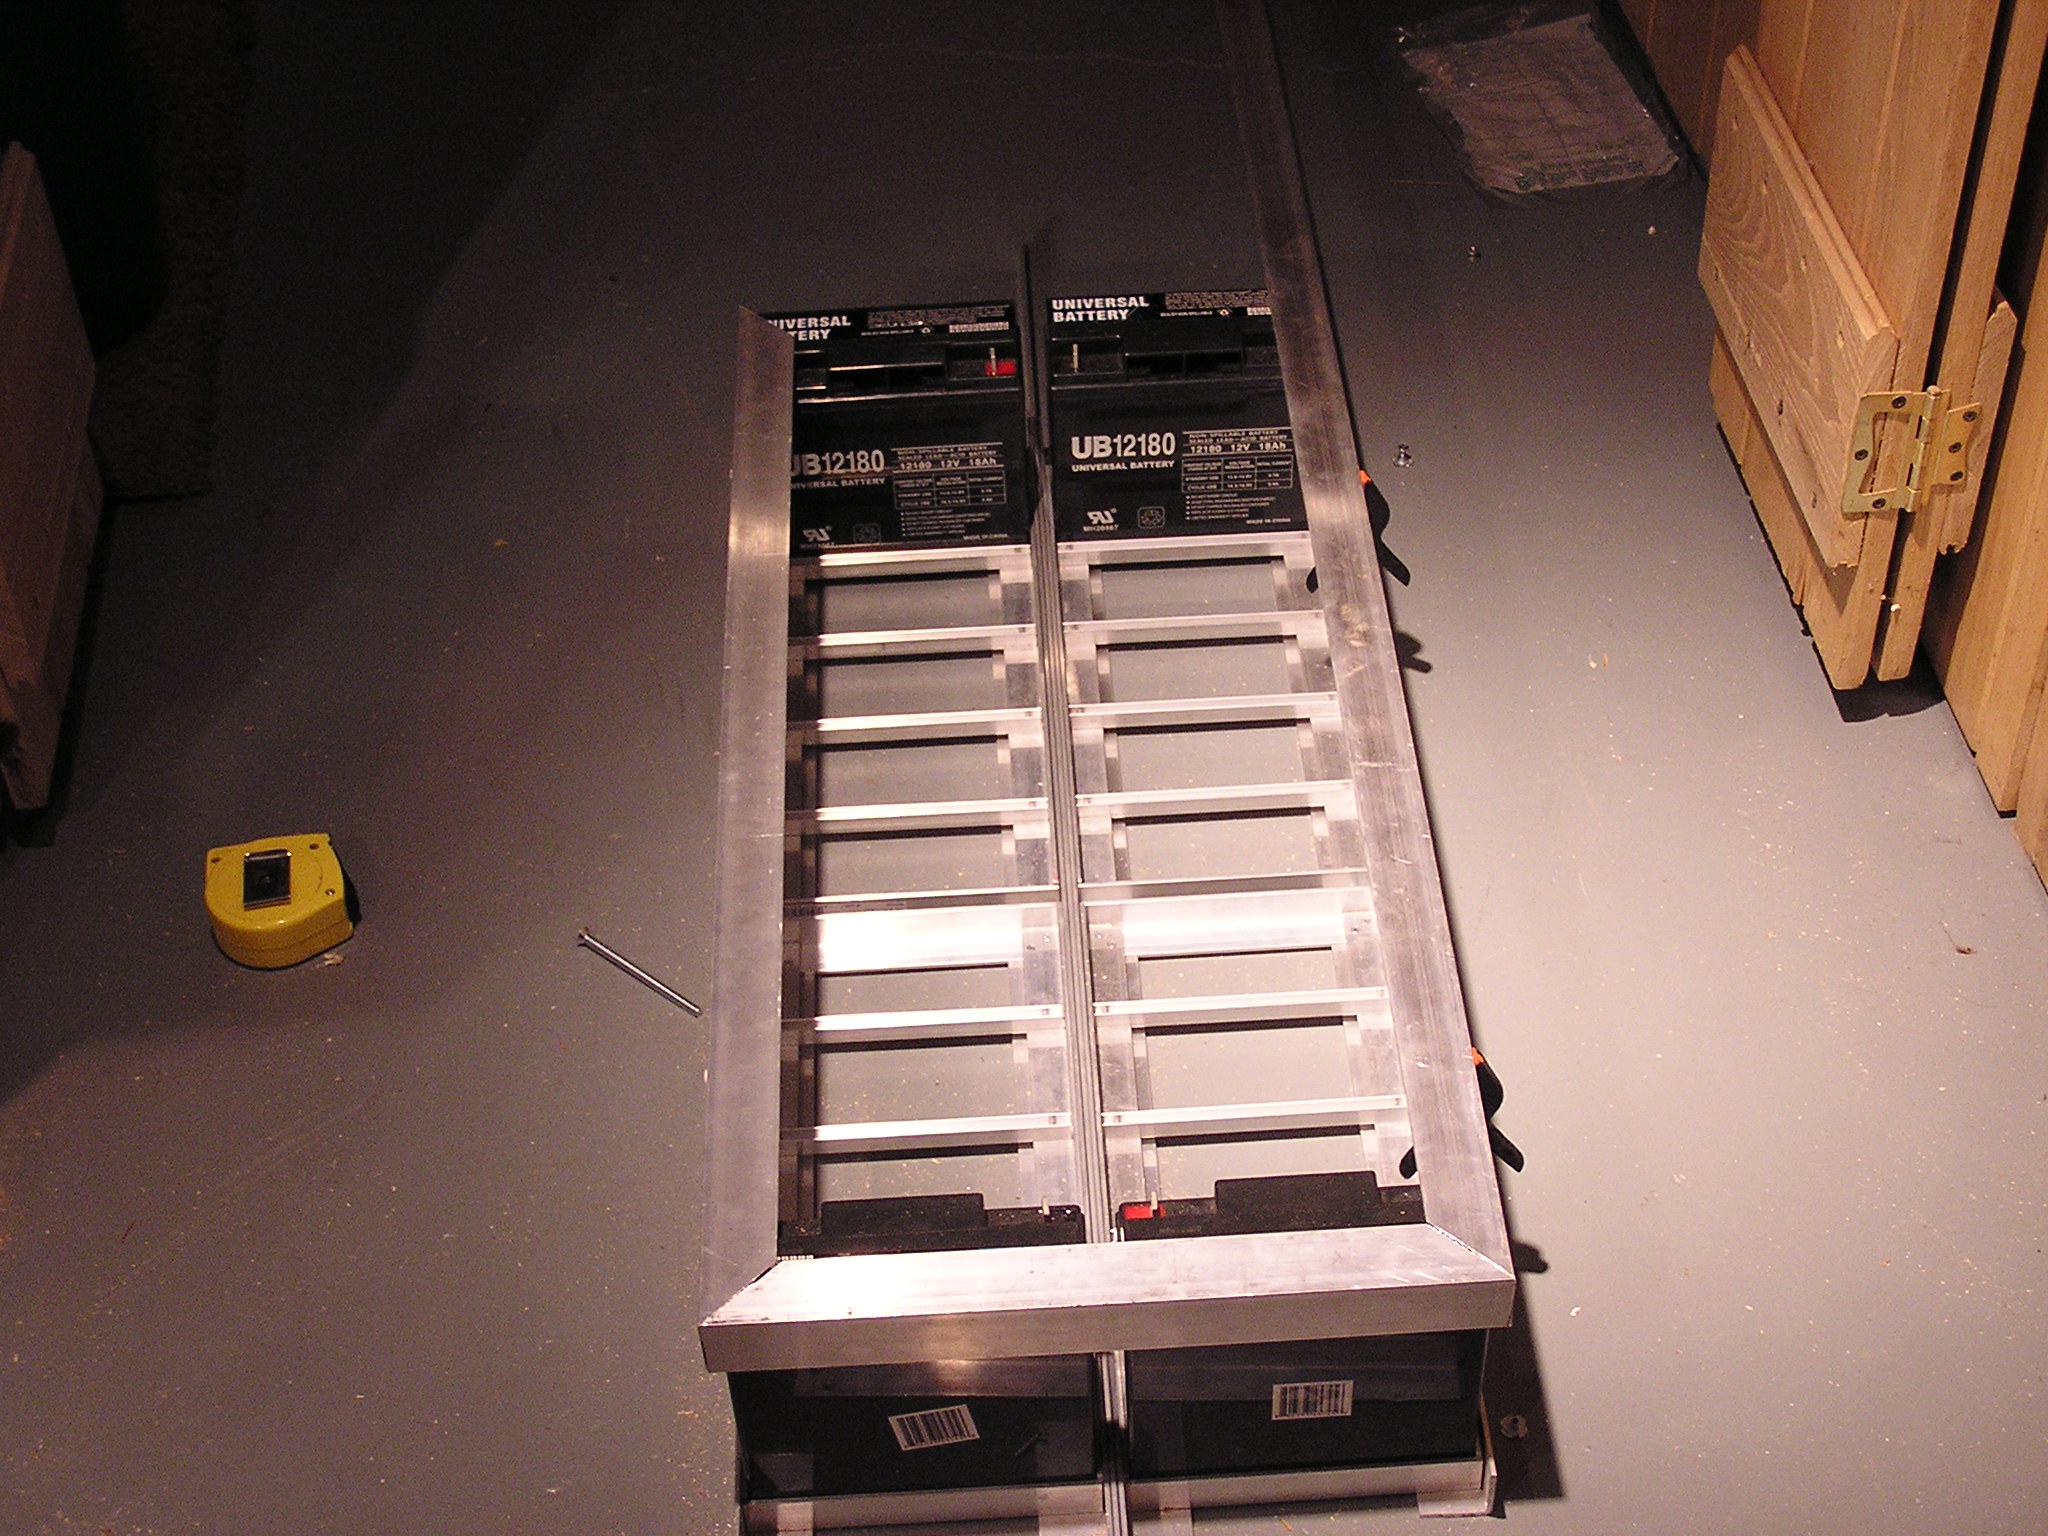
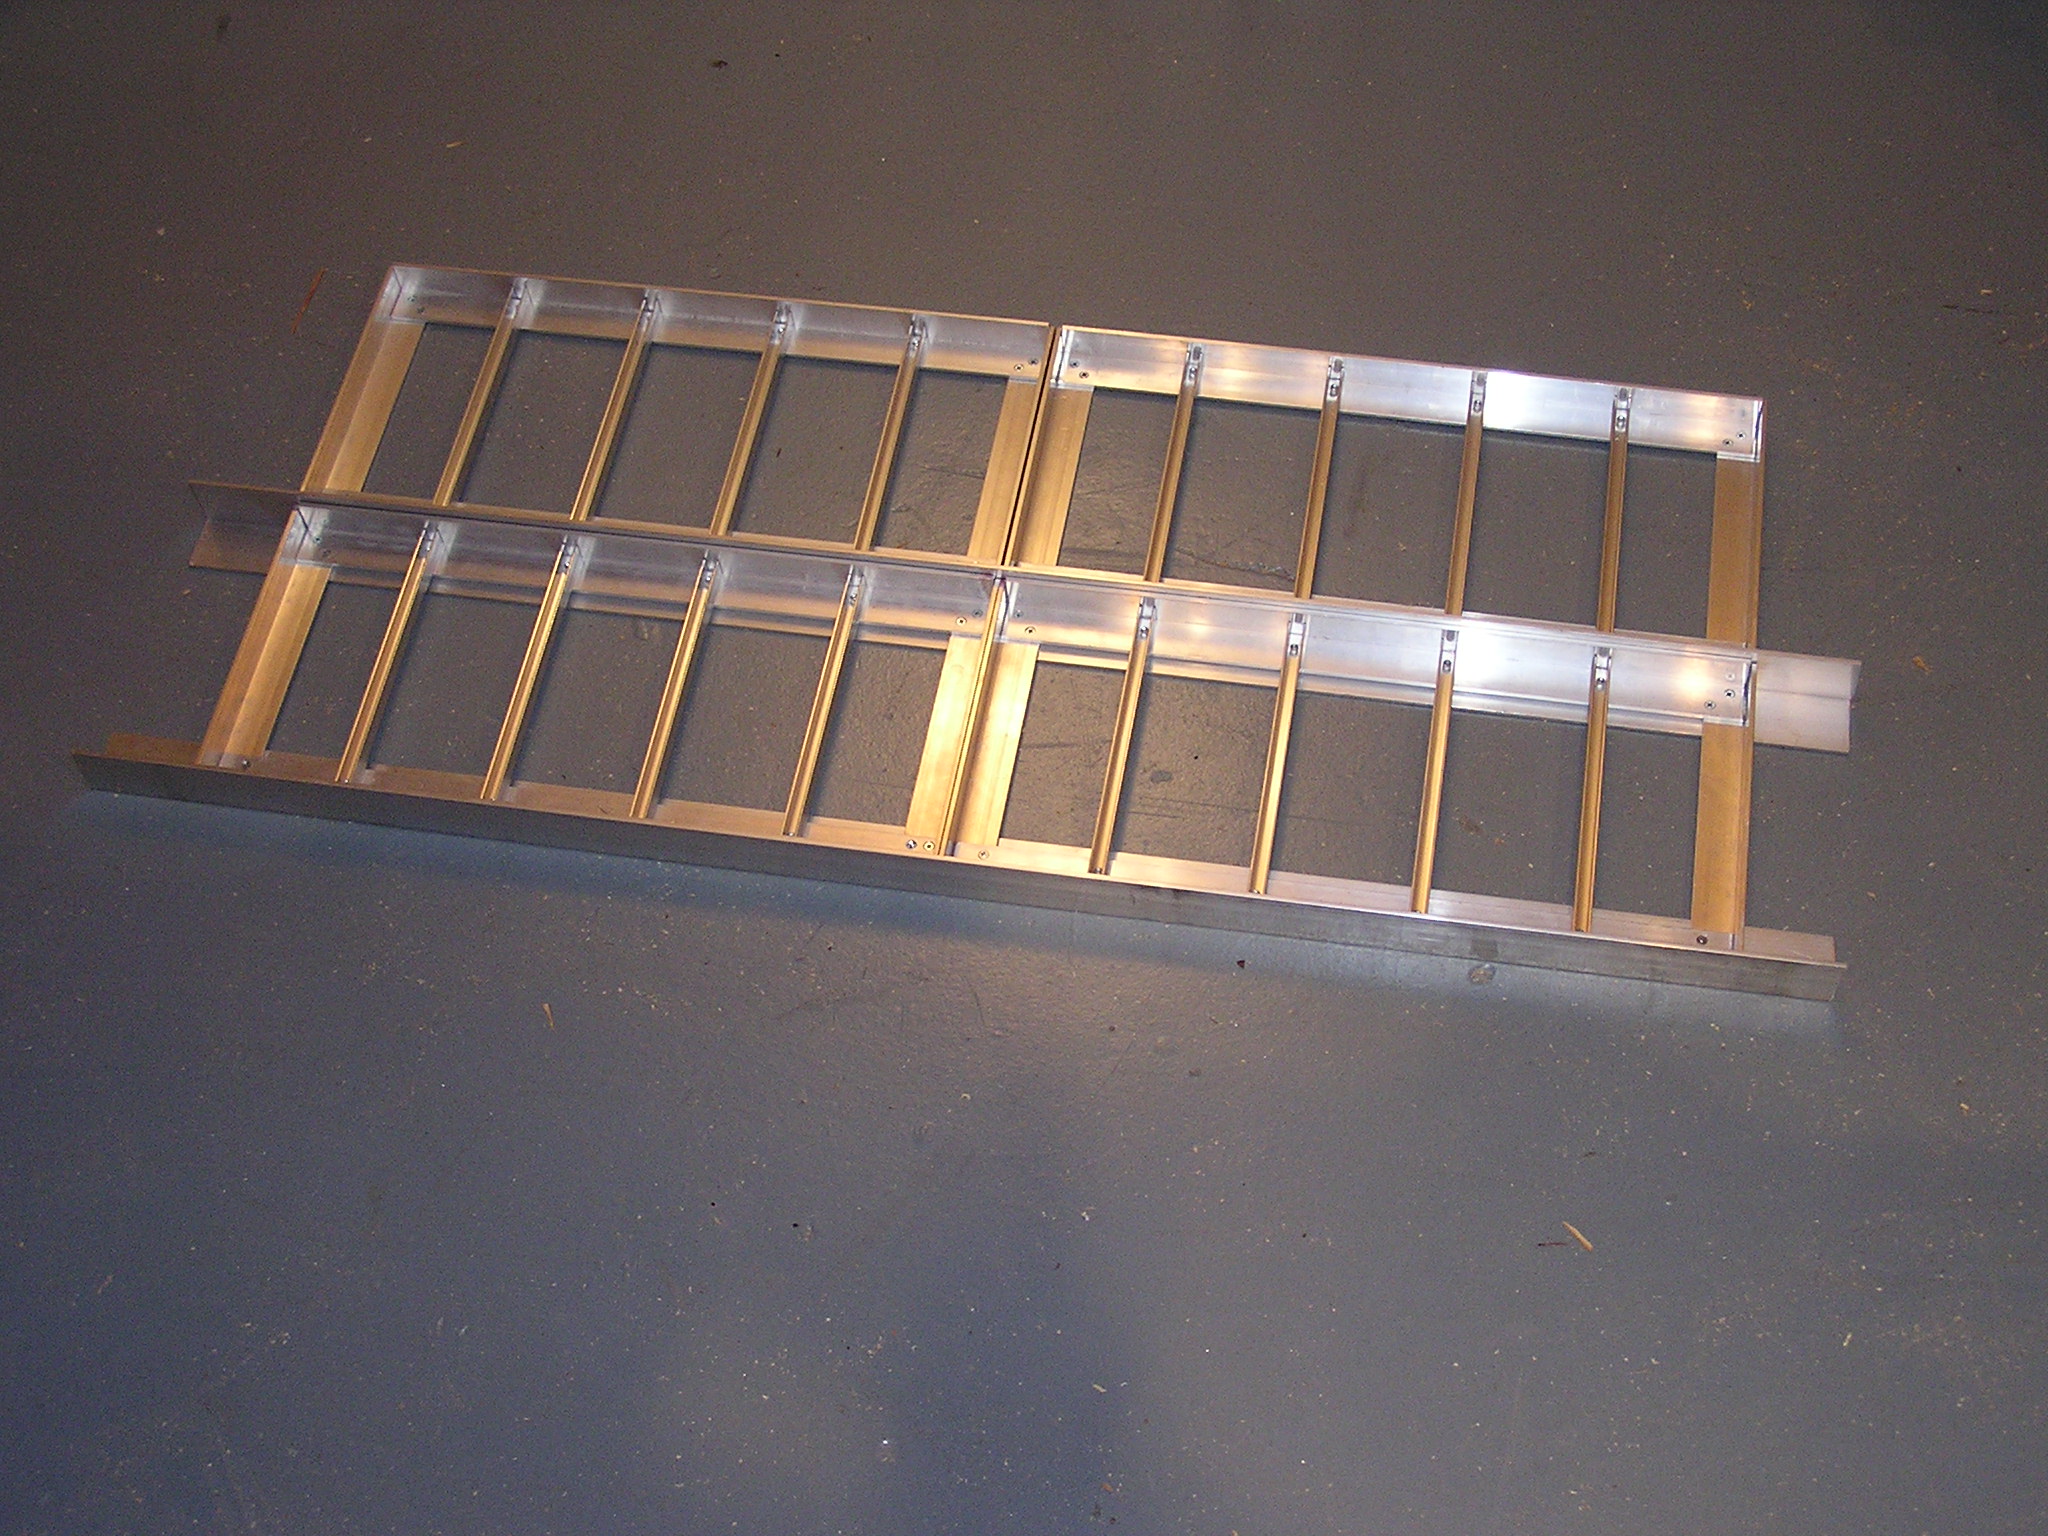
| 05:29, 15 December 2006 | 2 Trays with Some Supports.JPG (file) |  |
752 KB | Cewert | 2 of the trays sitting on 2 1-1/2 angle irons (others just sitting there) | 1 |
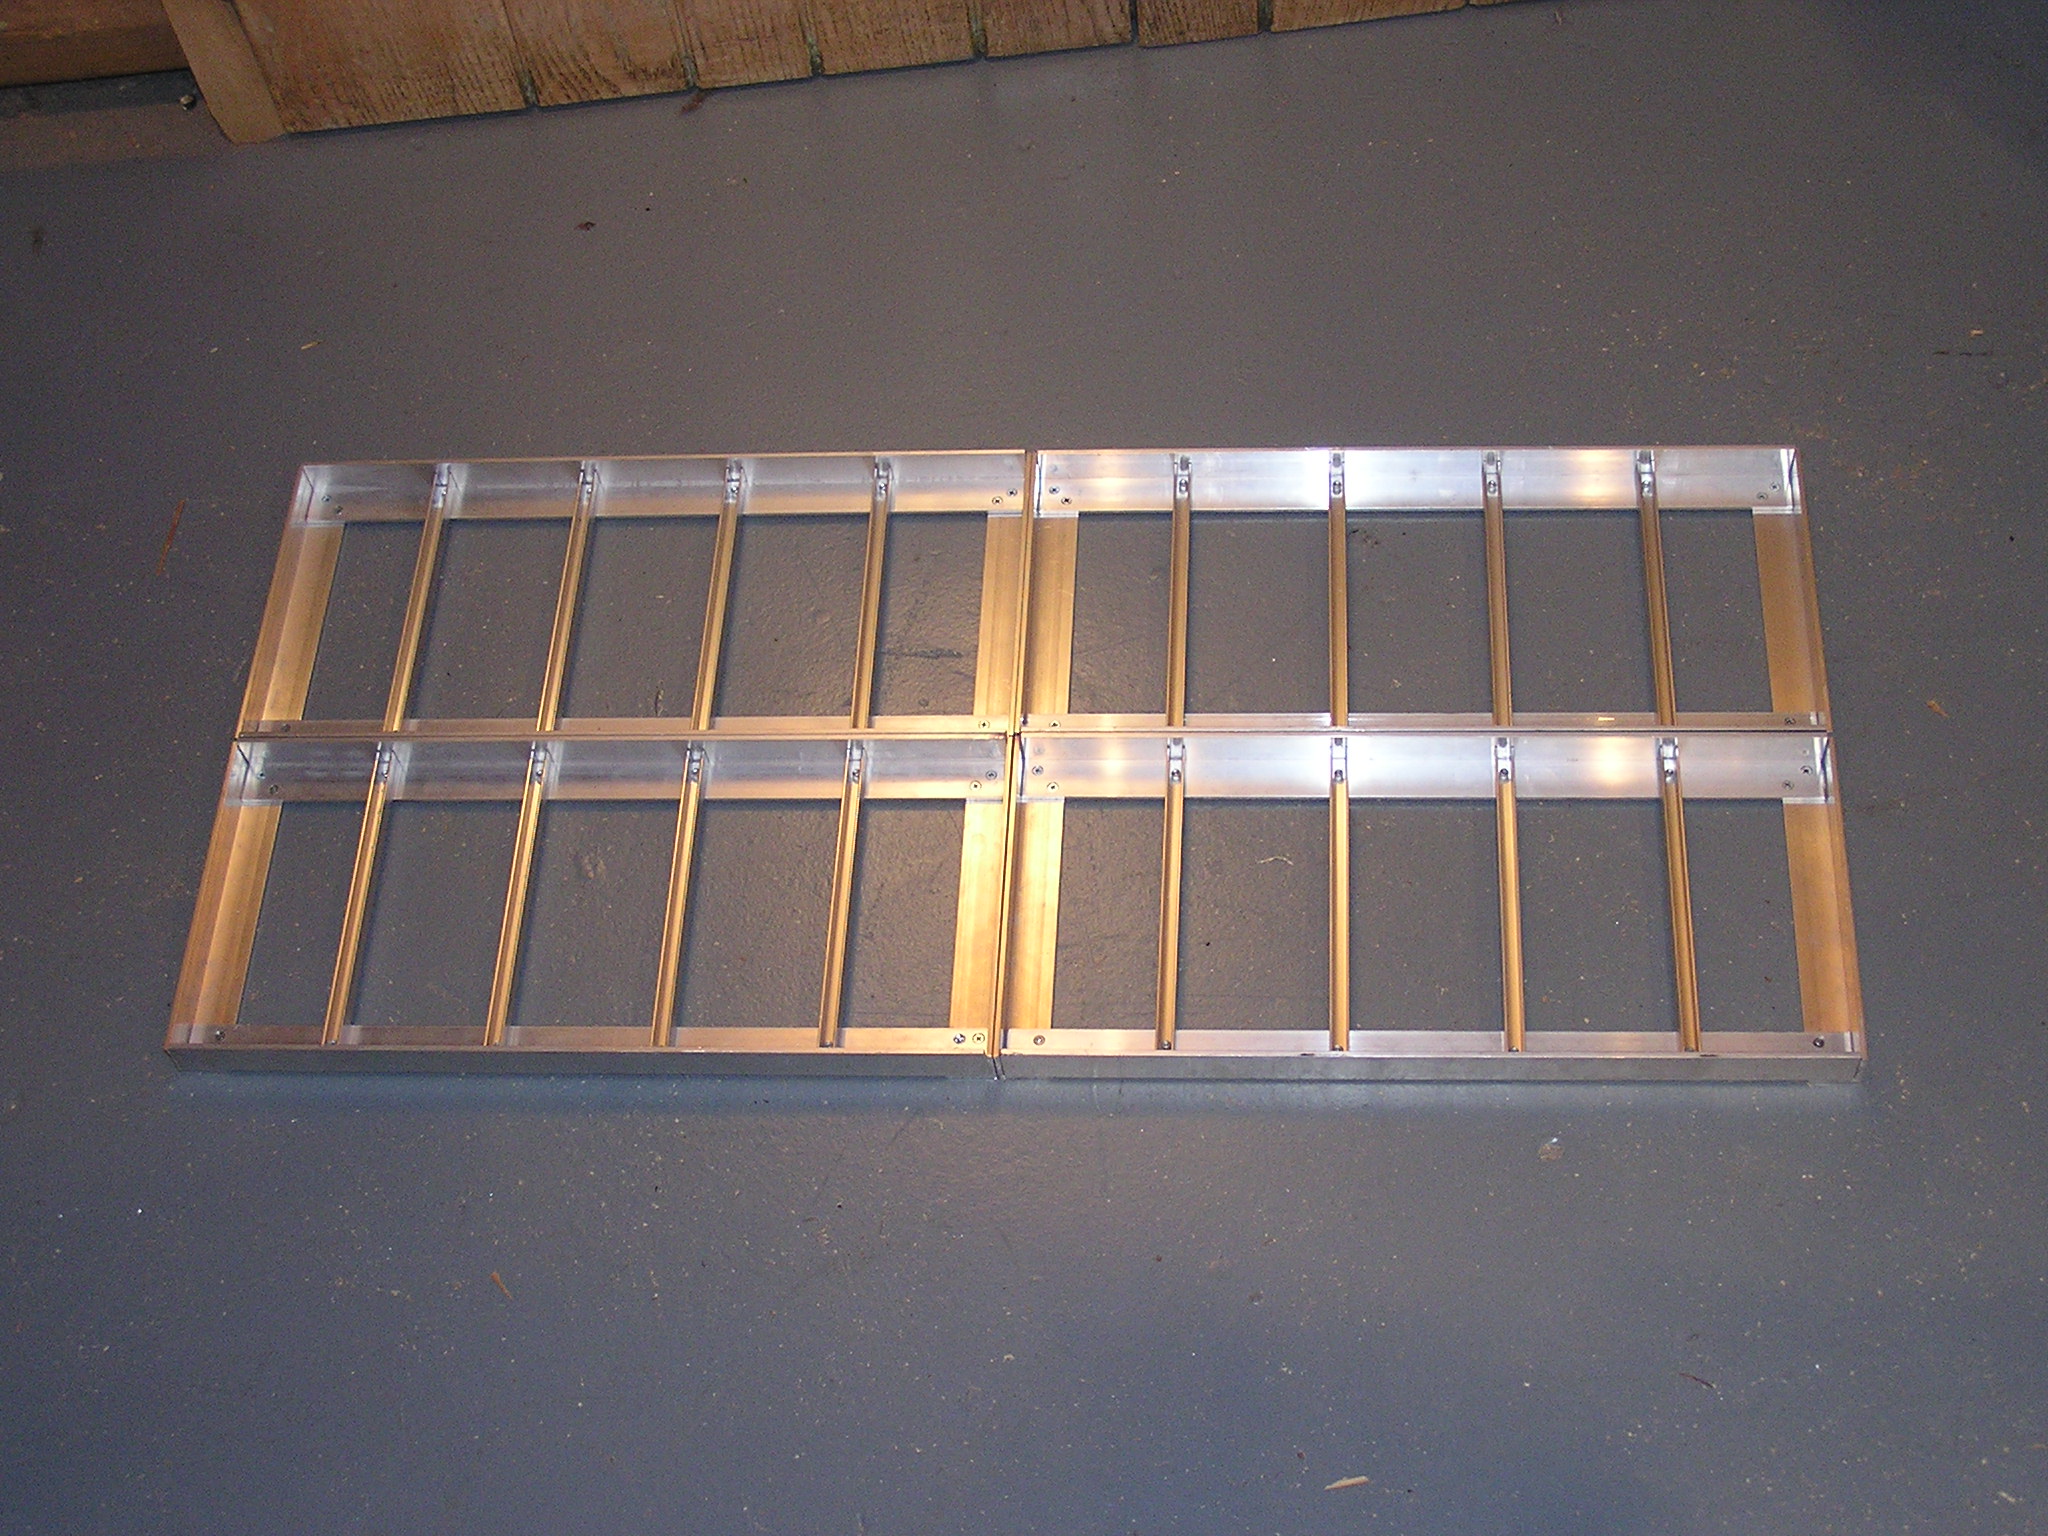
| 05:19, 15 December 2006 | 4 Finished Trays.JPG (file) |  |
746 KB | Cewert | 1 | |
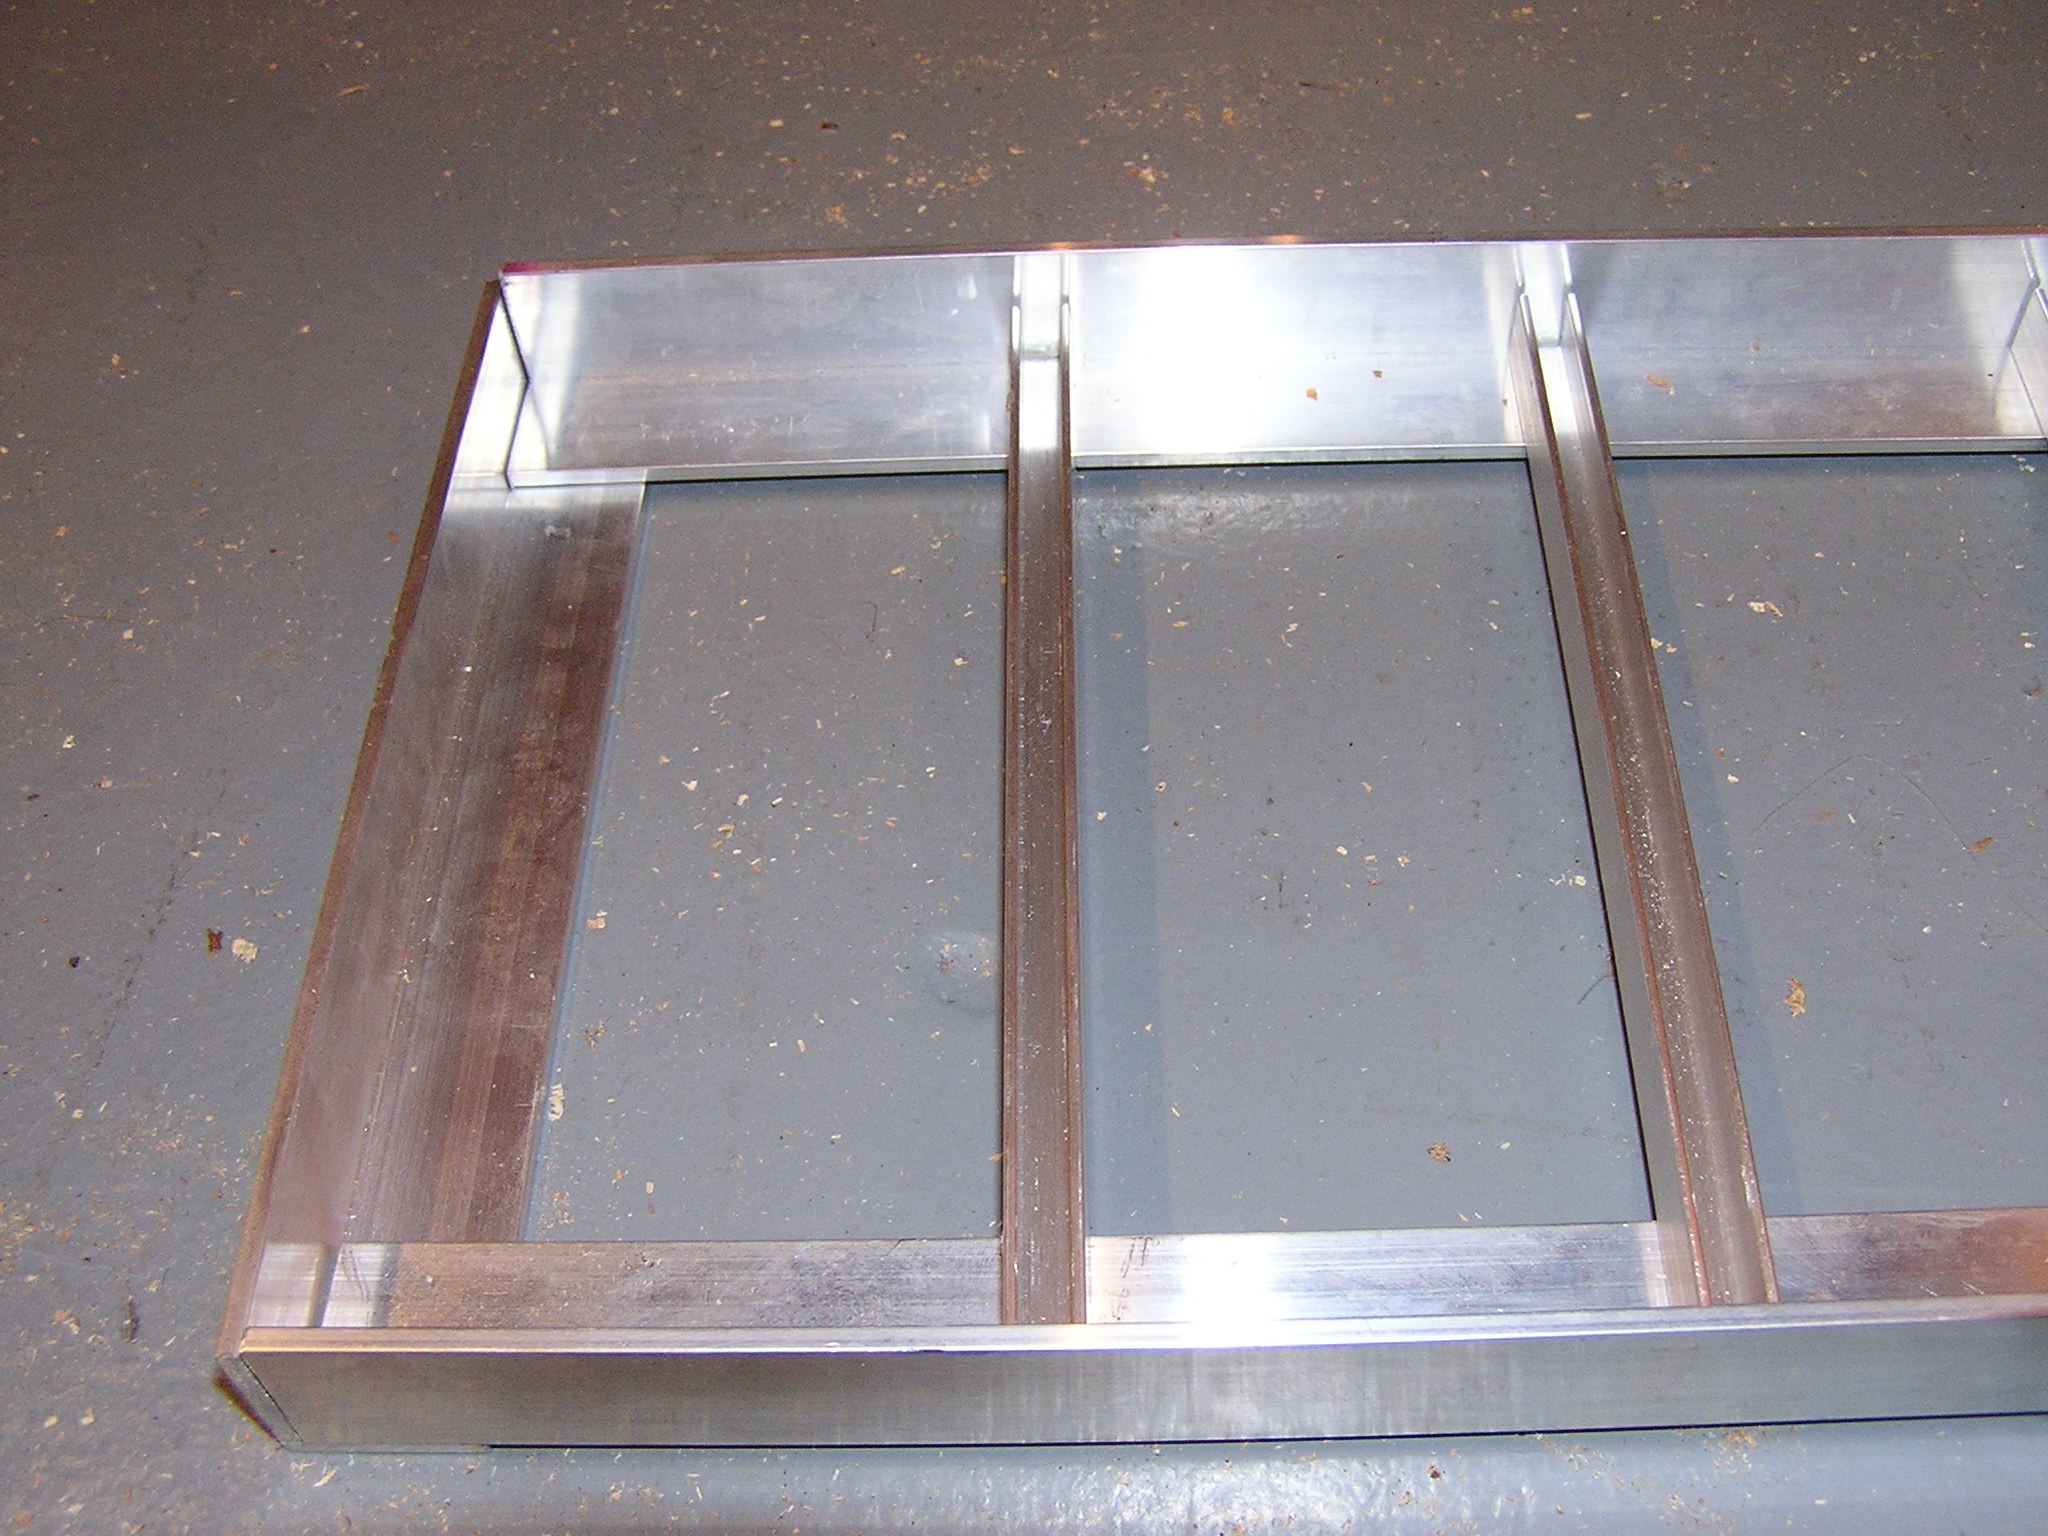
| 05:18, 15 December 2006 | Finished Tray.JPG (file) |  |
712 KB | Cewert | 1 | |
| 05:17, 15 December 2006 | Screws Sticking Through Partially Assembled Tray.JPG (file) |  |
616 KB | Cewert | I used extra long, self threading screws, so they stick through. I used a hacksaw first, and then a dremel with a metal cut off attachment to cut the screws at the base. Then used a grinder to grind them perfectly flat. | 1 |
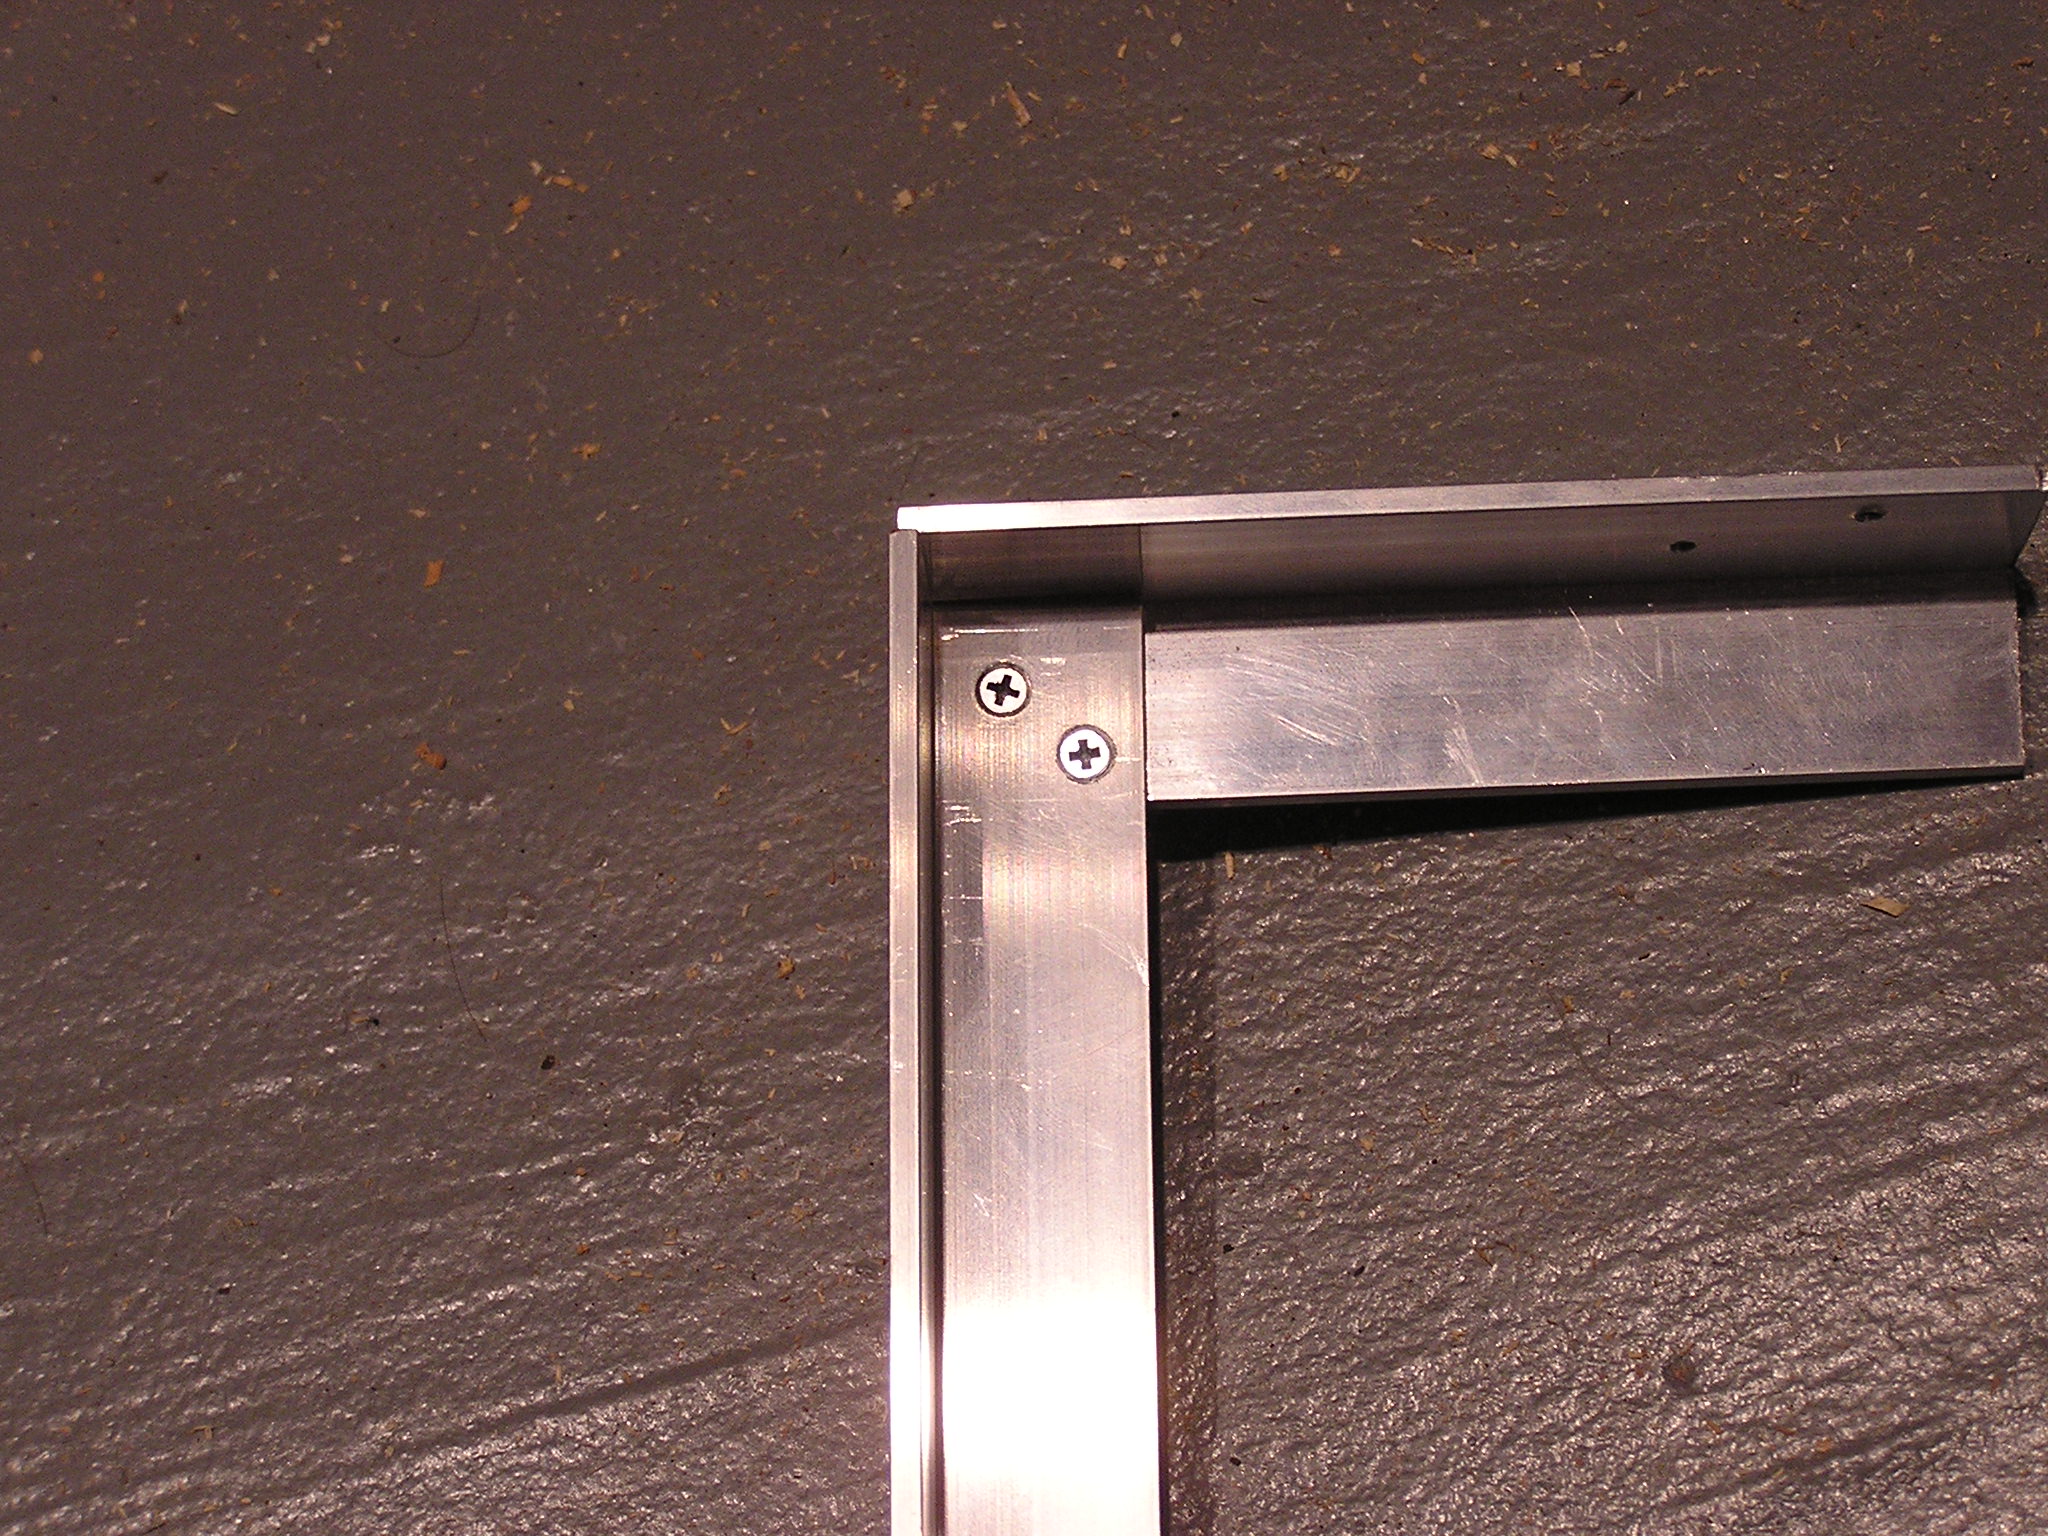
| 05:14, 15 December 2006 | Closeup of Sample Finished Corner.JPG (file) |  |
705 KB | Cewert | This is just a sample I tried on a scrap pieces before doing the real thing. | 1 |
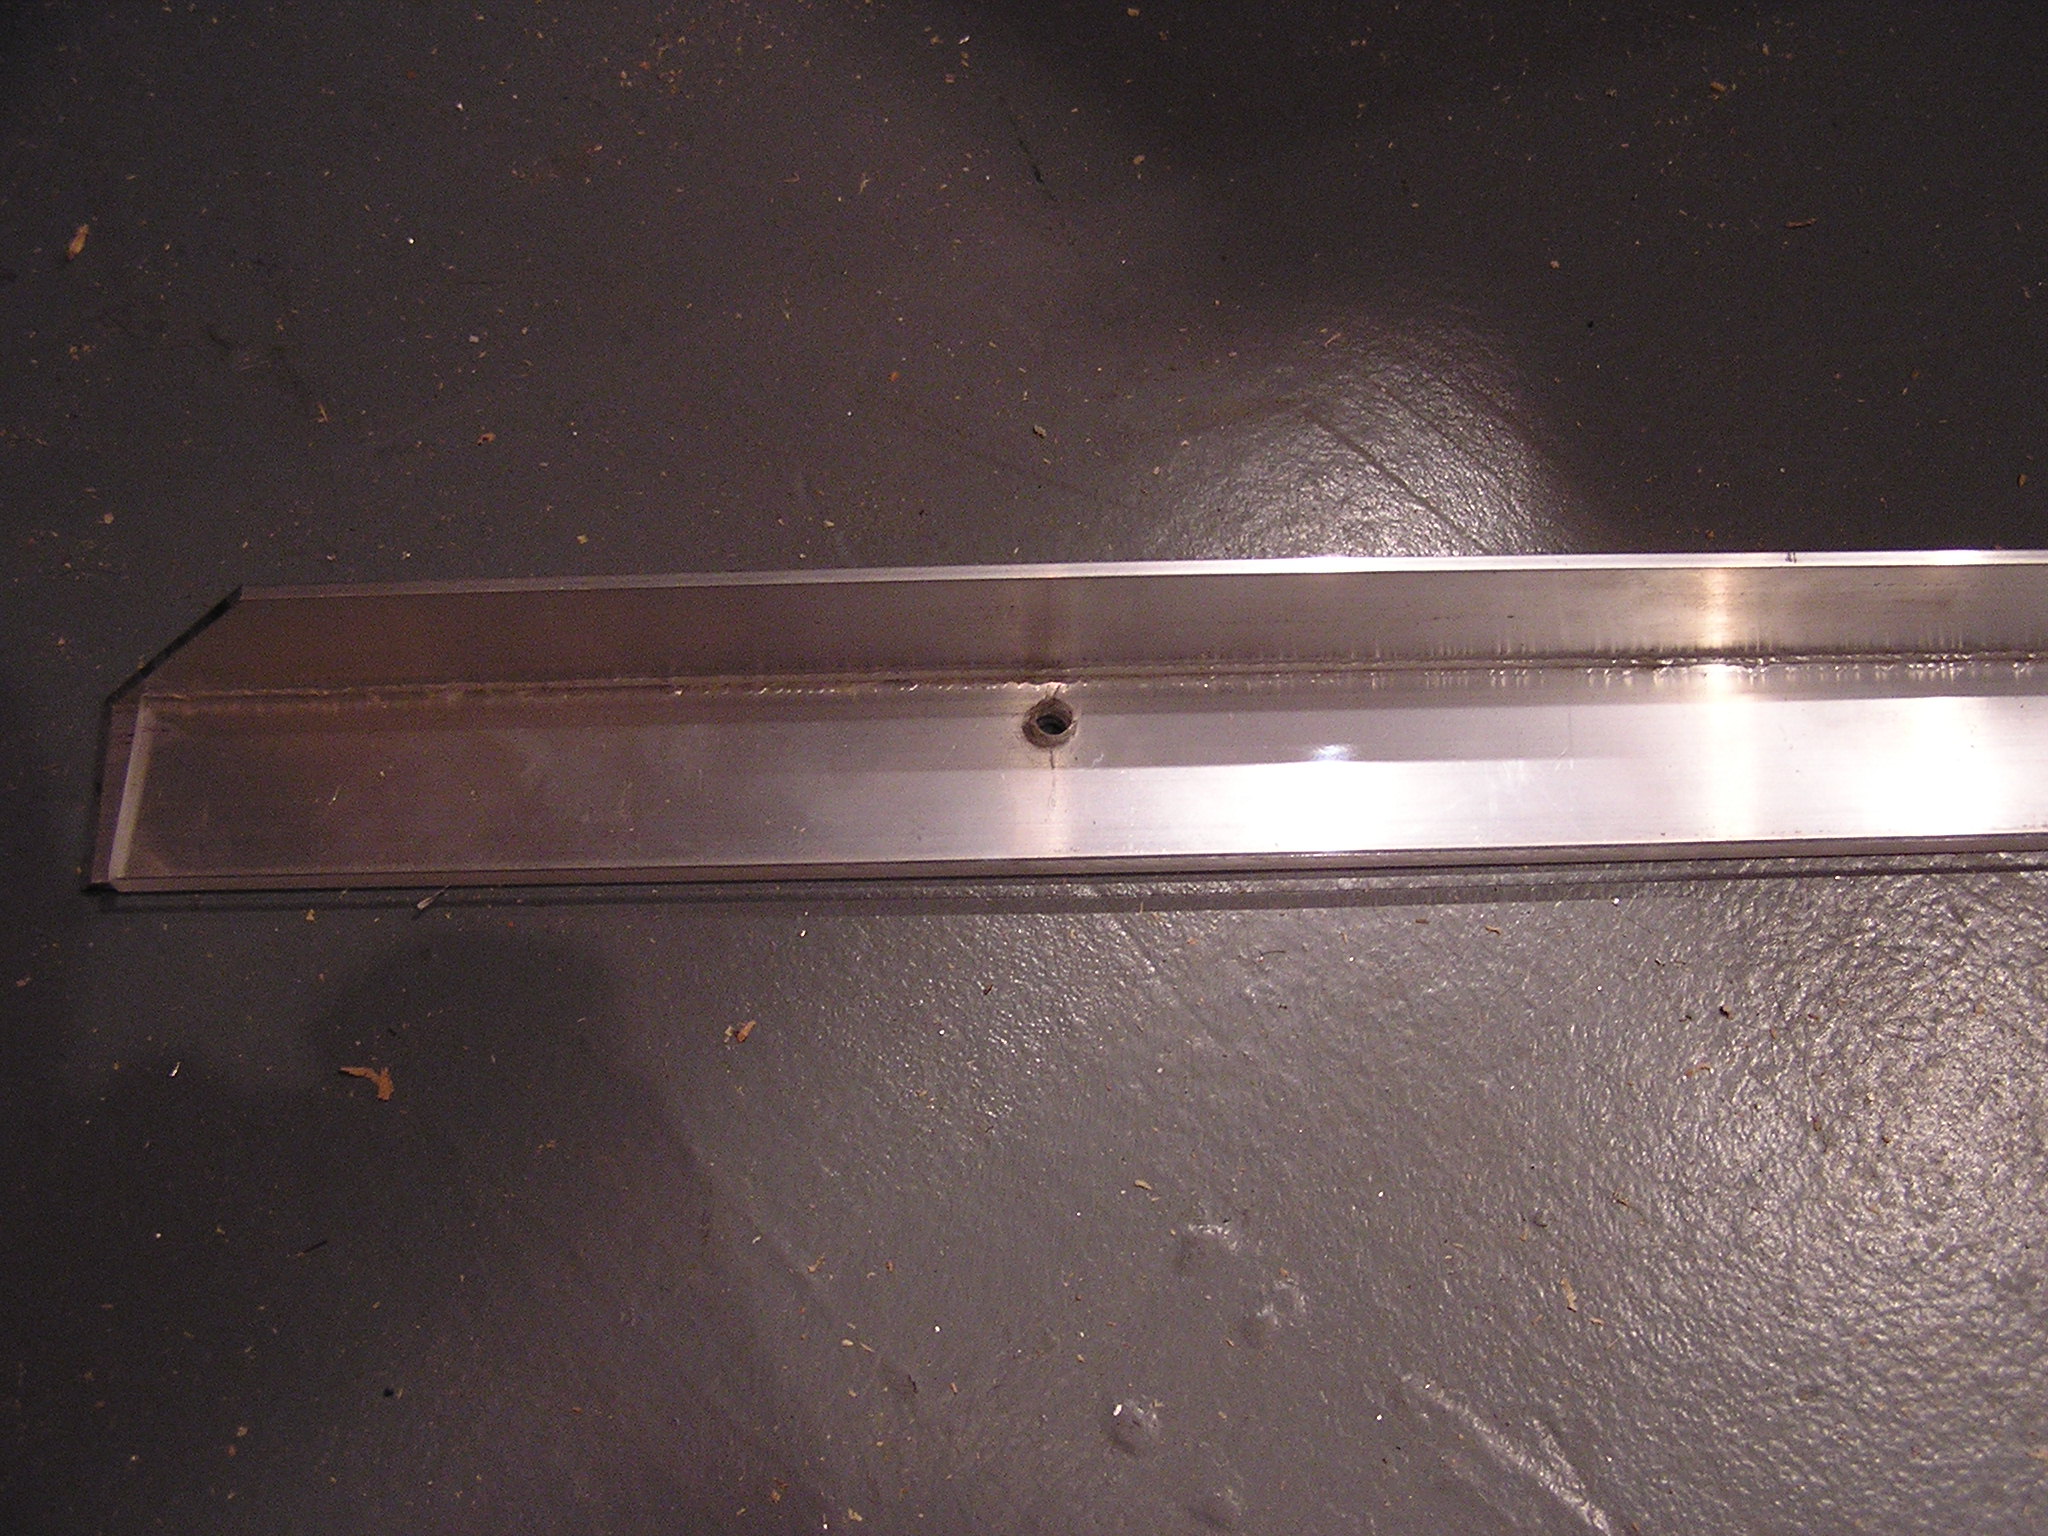
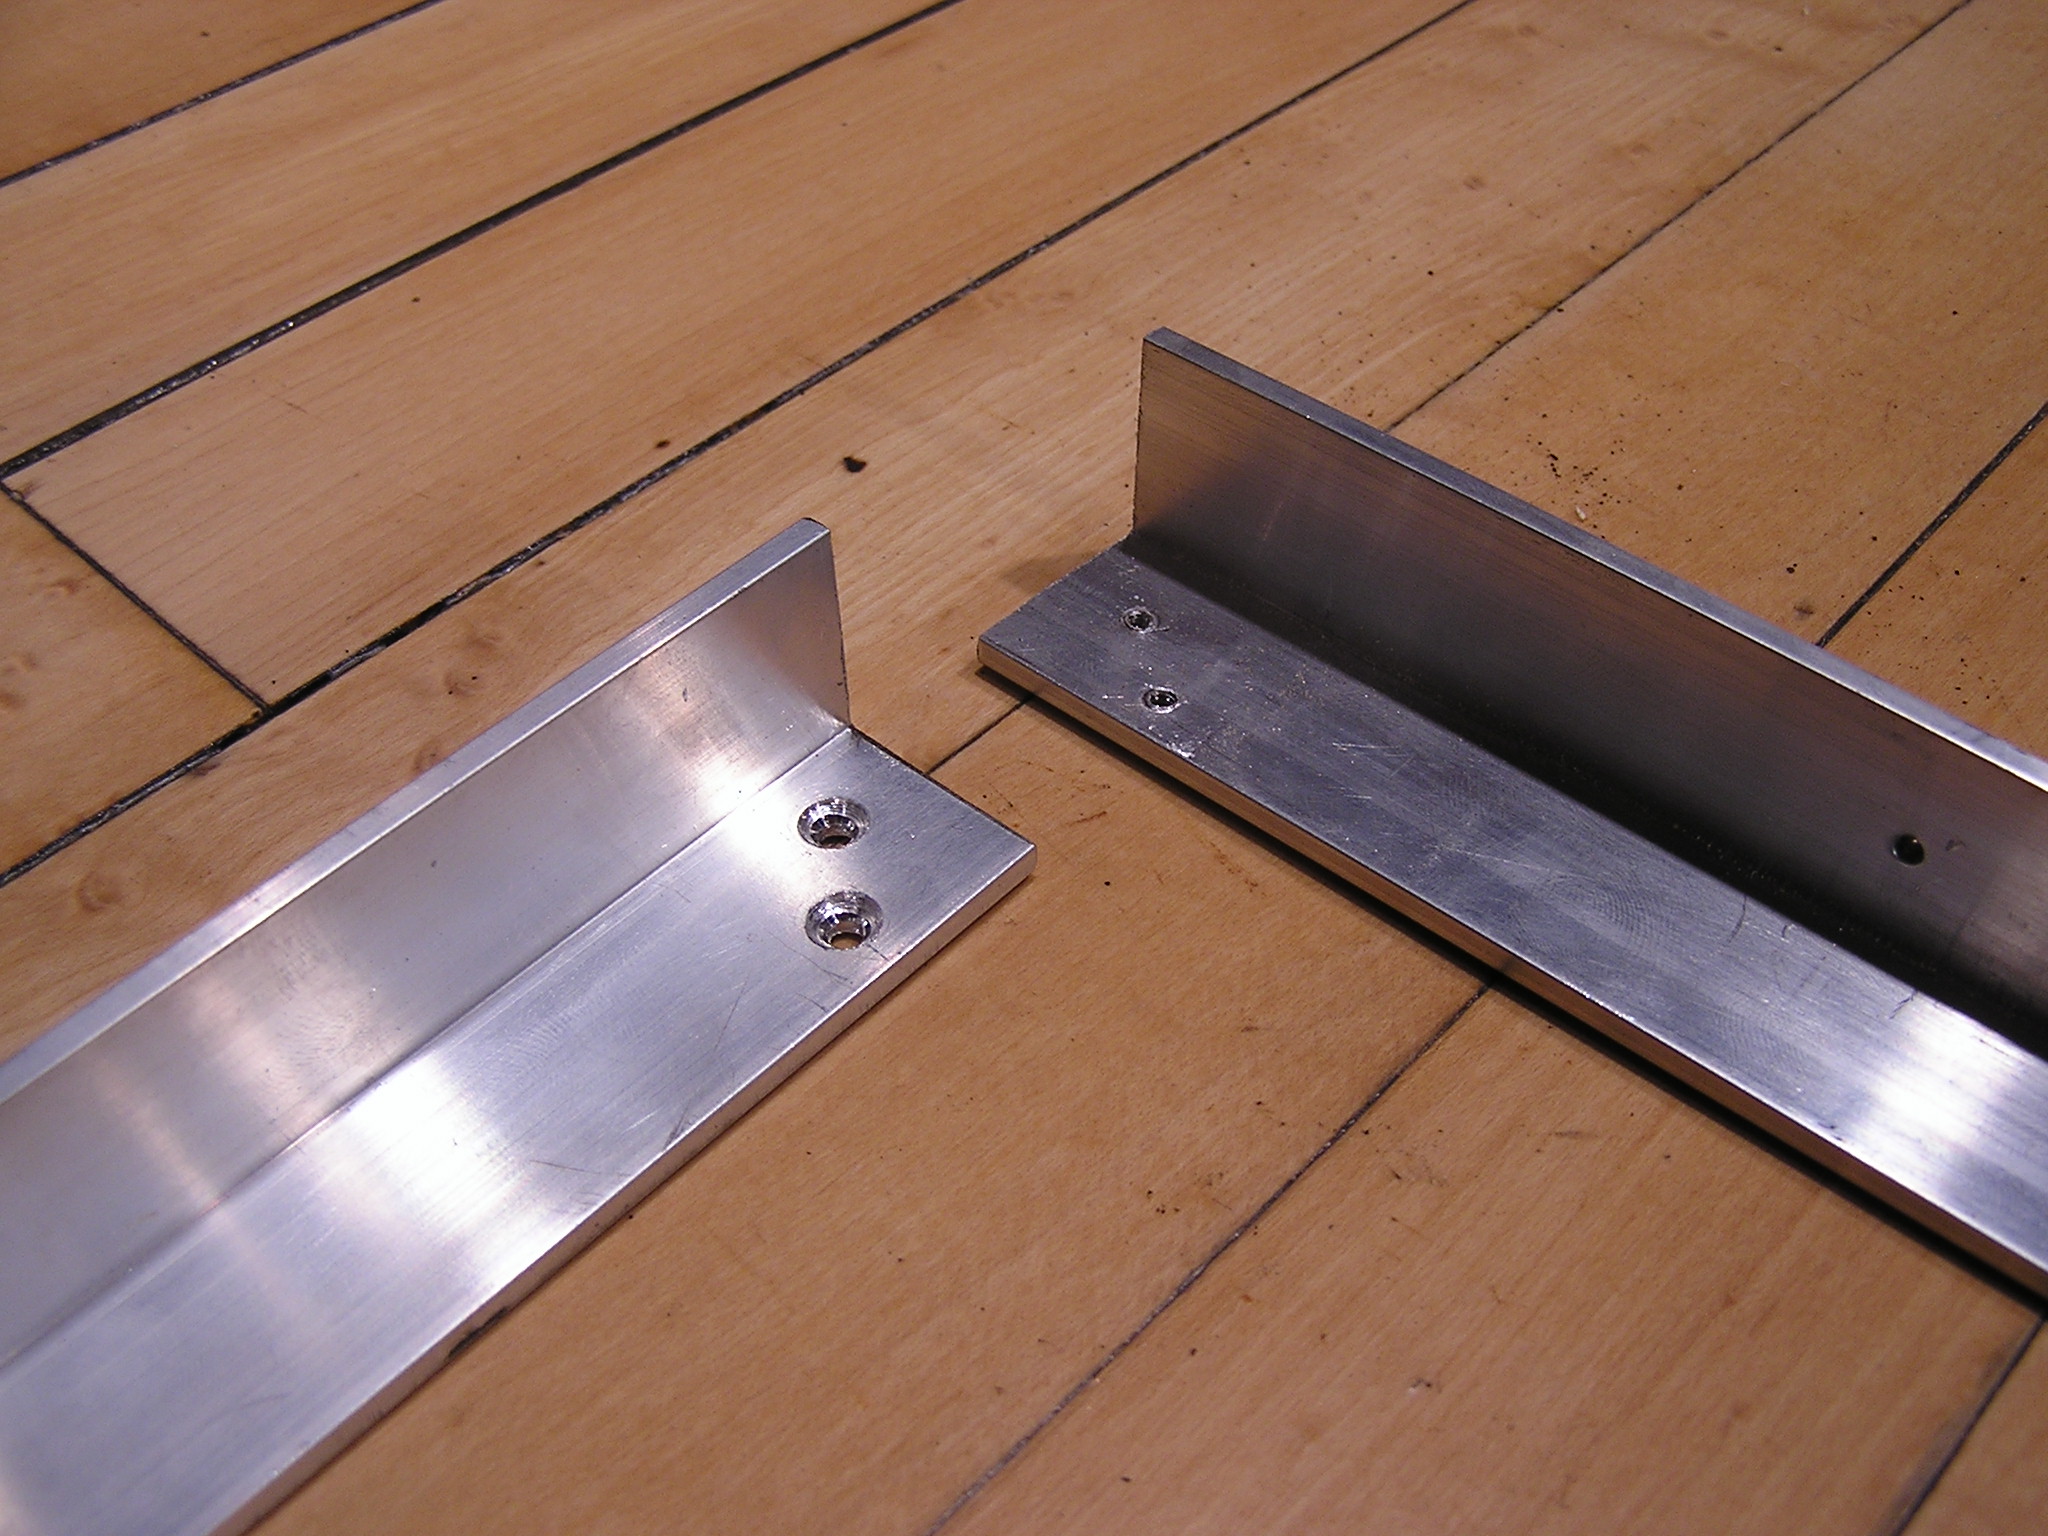
| 05:12, 15 December 2006 | Holes drilled in aluminum.JPG (file) |  |
665 KB | Cewert | Holes drilled in the aluminum. Used the dremel to drill through both angle irons in the same place, then drilled a larger hole in the top (so the screw would go through without threading and then countersunk it with a much larger drill bit. | 1 |
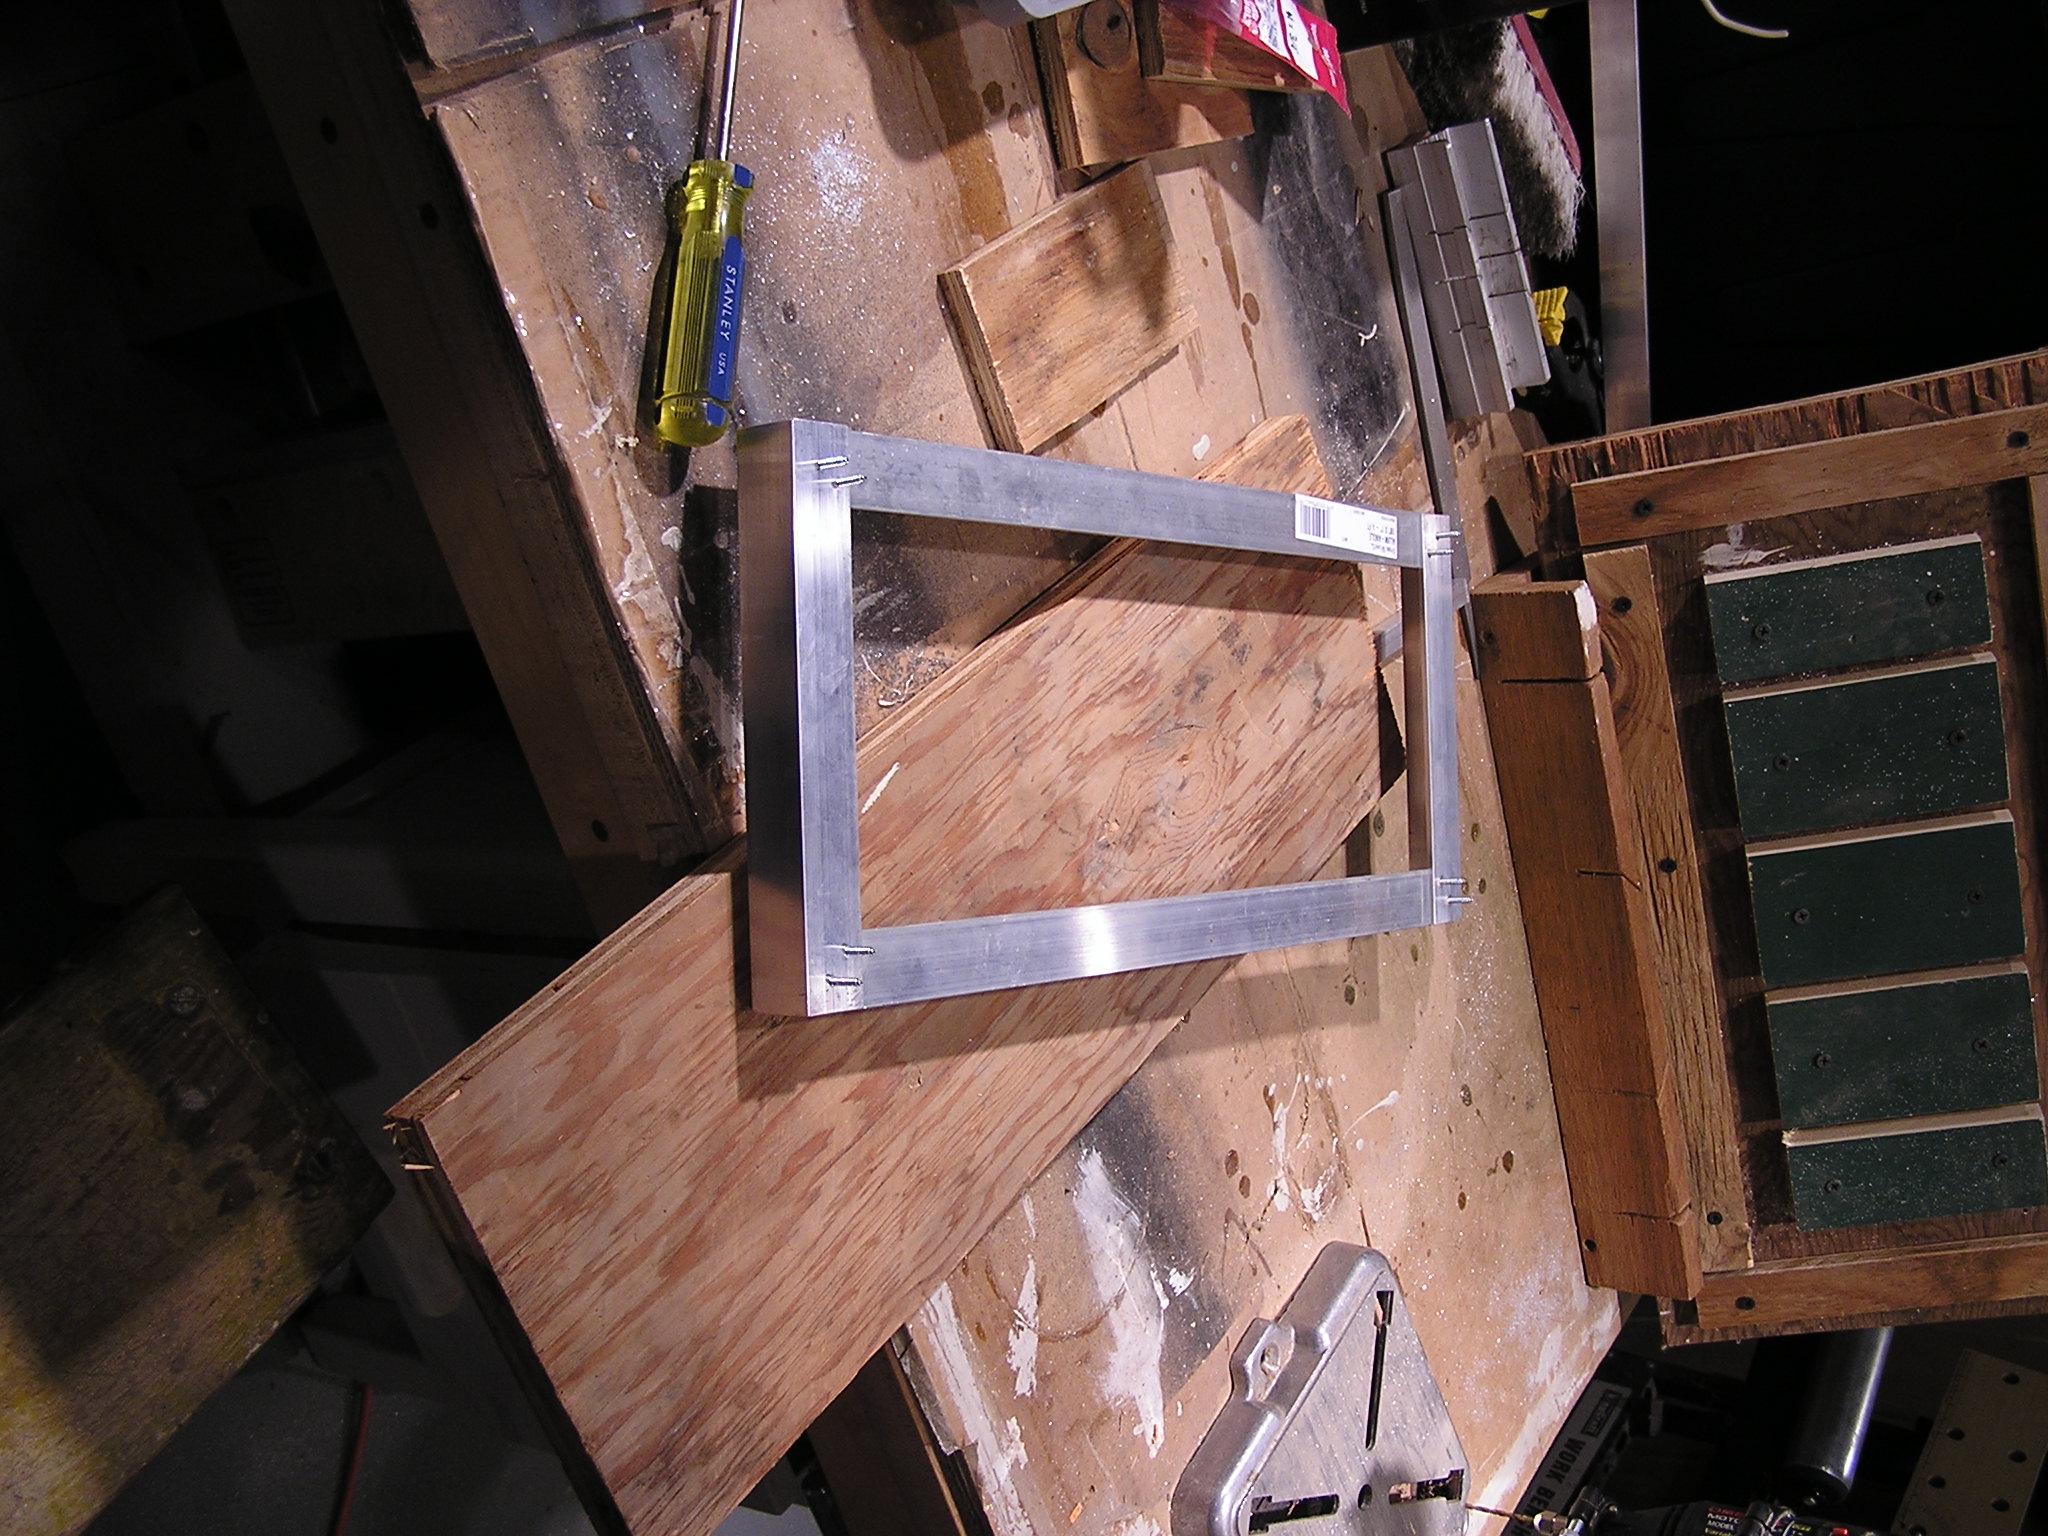
| 05:10, 15 December 2006 | Tray Parts Laid Out.JPG (file) |  |
721 KB | Cewert | All the parts of one tray laid out | 1 |
| 05:08, 15 December 2006 | Dremel Drill Press.JPG (file) |  |
604 KB | Cewert | This is the Dremel drill press I used to drill the small holes in the angle irons. | 1 |
| 05:06, 15 December 2006 | Almost Finished Tray Jig.JPG (file) |  |
633 KB | Cewert | 1 | |
| 05:04, 15 December 2006 | Making Tray Jig Step 3.JPG (file) |  |
623 KB | Cewert | Place wood to hold the channel irons in place | 1 |
| 05:02, 15 December 2006 | Making Tray Jig Step 1.JPG (file) |  |
665 KB | Cewert | Step one is to place wood around the outsides of the angle iron to hold the angle irons in place. | 1 |
| 05:01, 15 December 2006 | Making Tray Jig Step 2.JPG (file) |  |
656 KB | Cewert | The set together tray with batteries and wood secured in placed around the outsides to form the jig. | 1 |
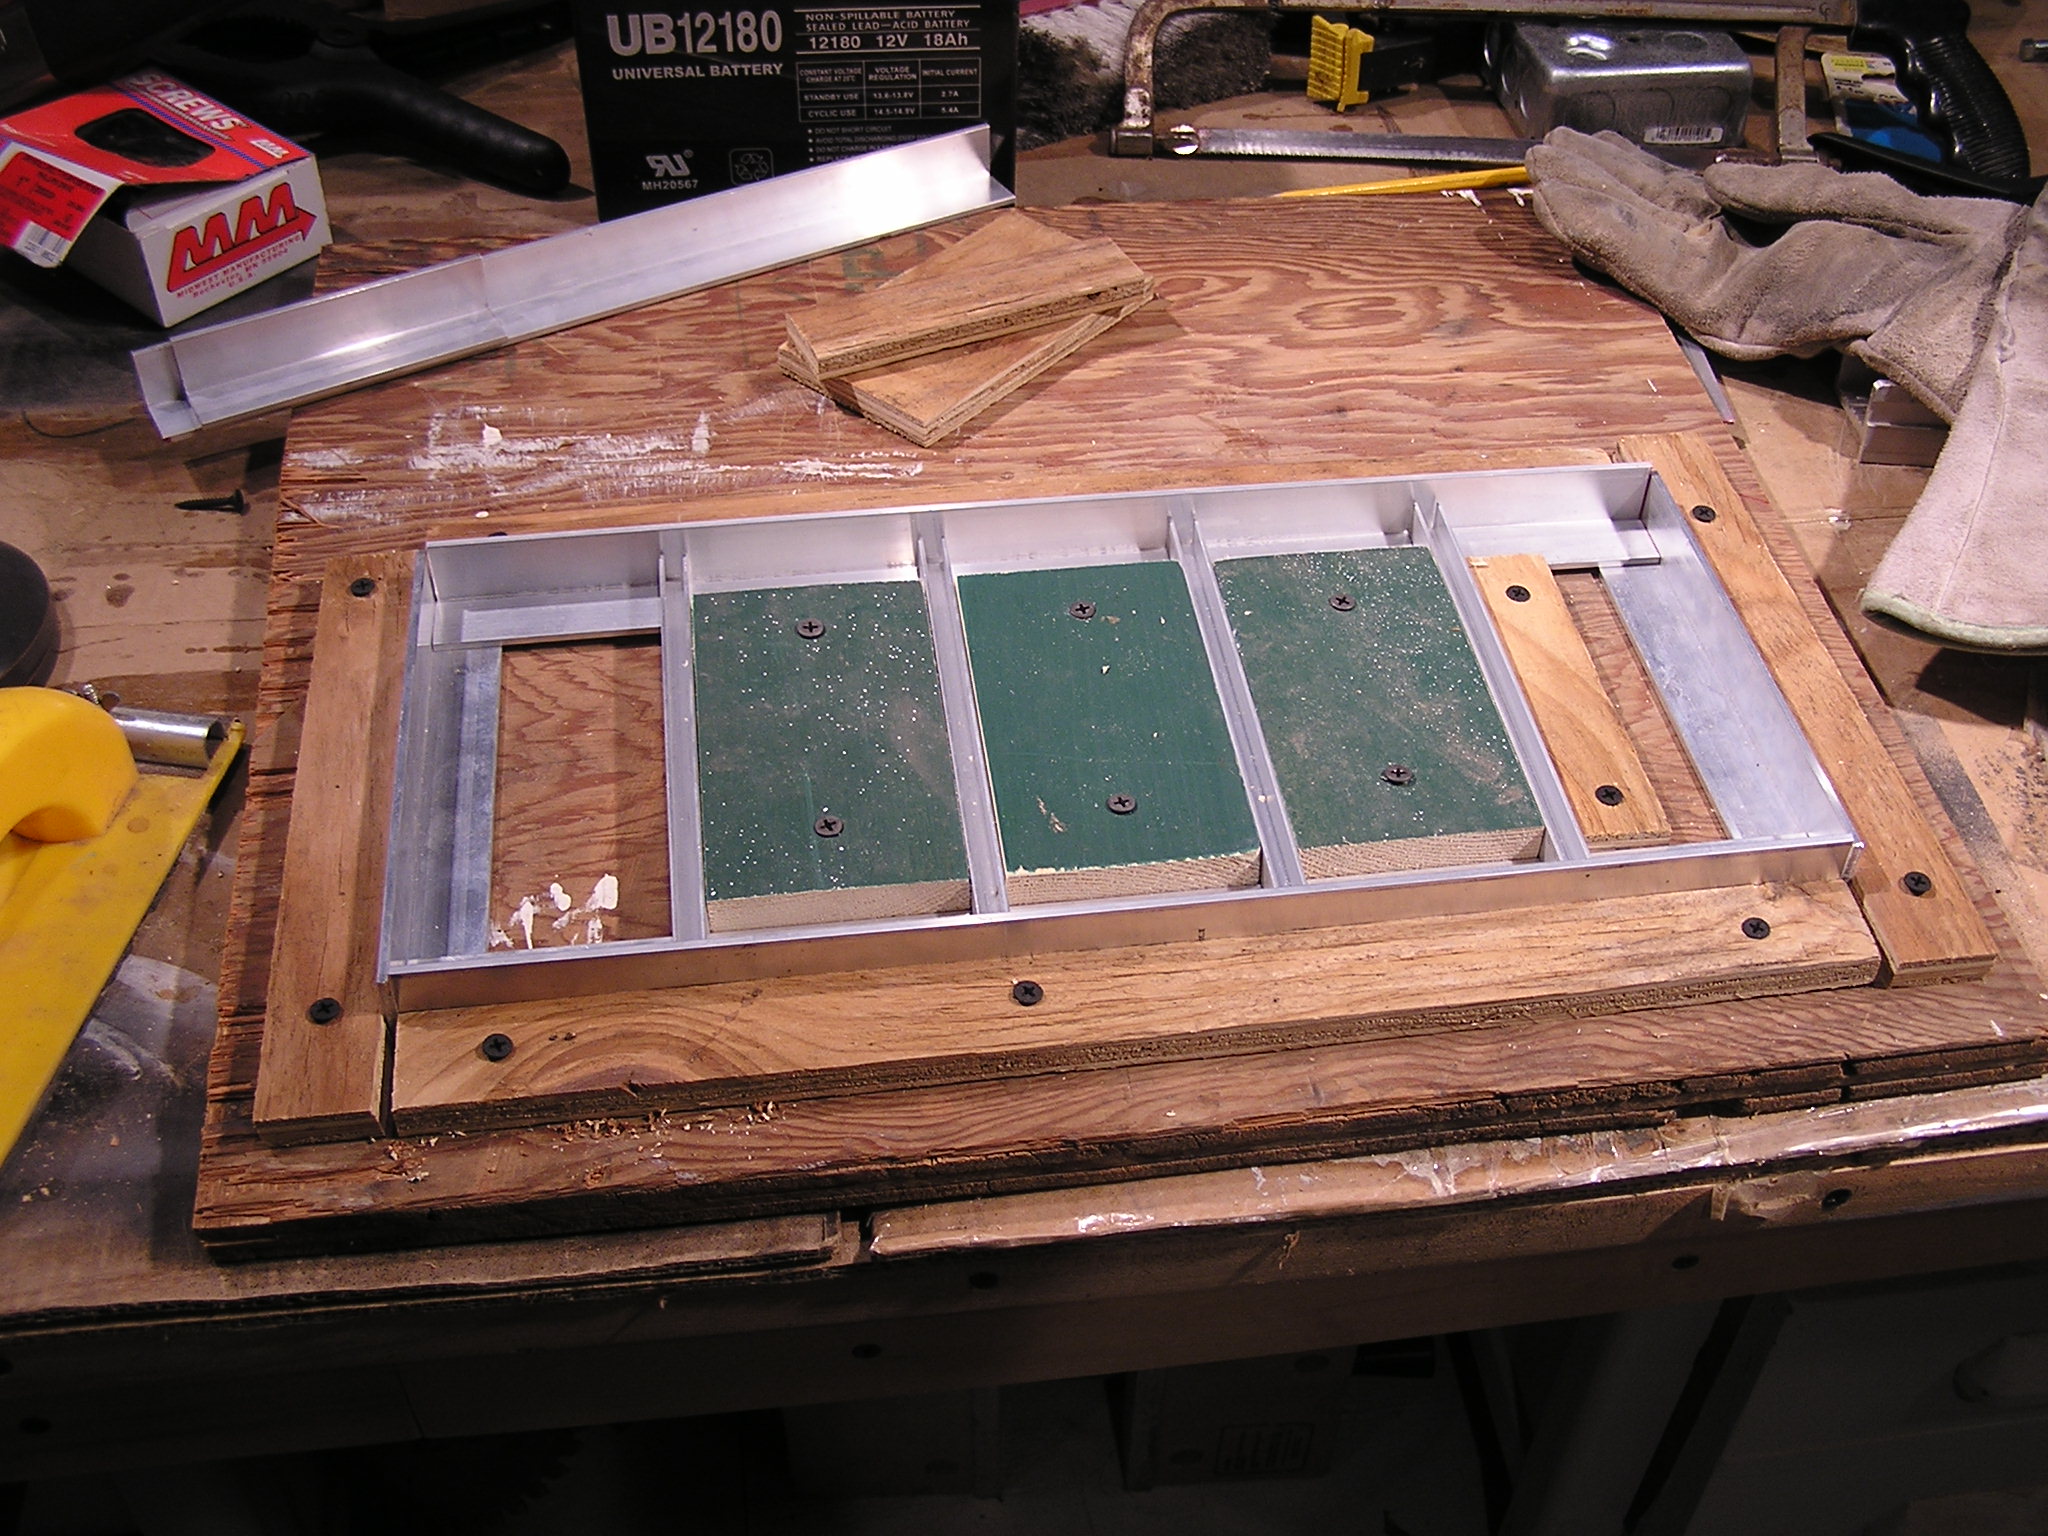
| 04:58, 15 December 2006 | Tray Ready for Jig.JPG (file) |  |
674 KB | Cewert | This photo is of the tray set together on a sheet of plywood (wich will be used as a jig to hold everything in place for drilling holes. | 1 |
| 04:56, 15 December 2006 | Tray Set Together Close Up.JPG (file) |  |
693 KB | Cewert | 1 | |
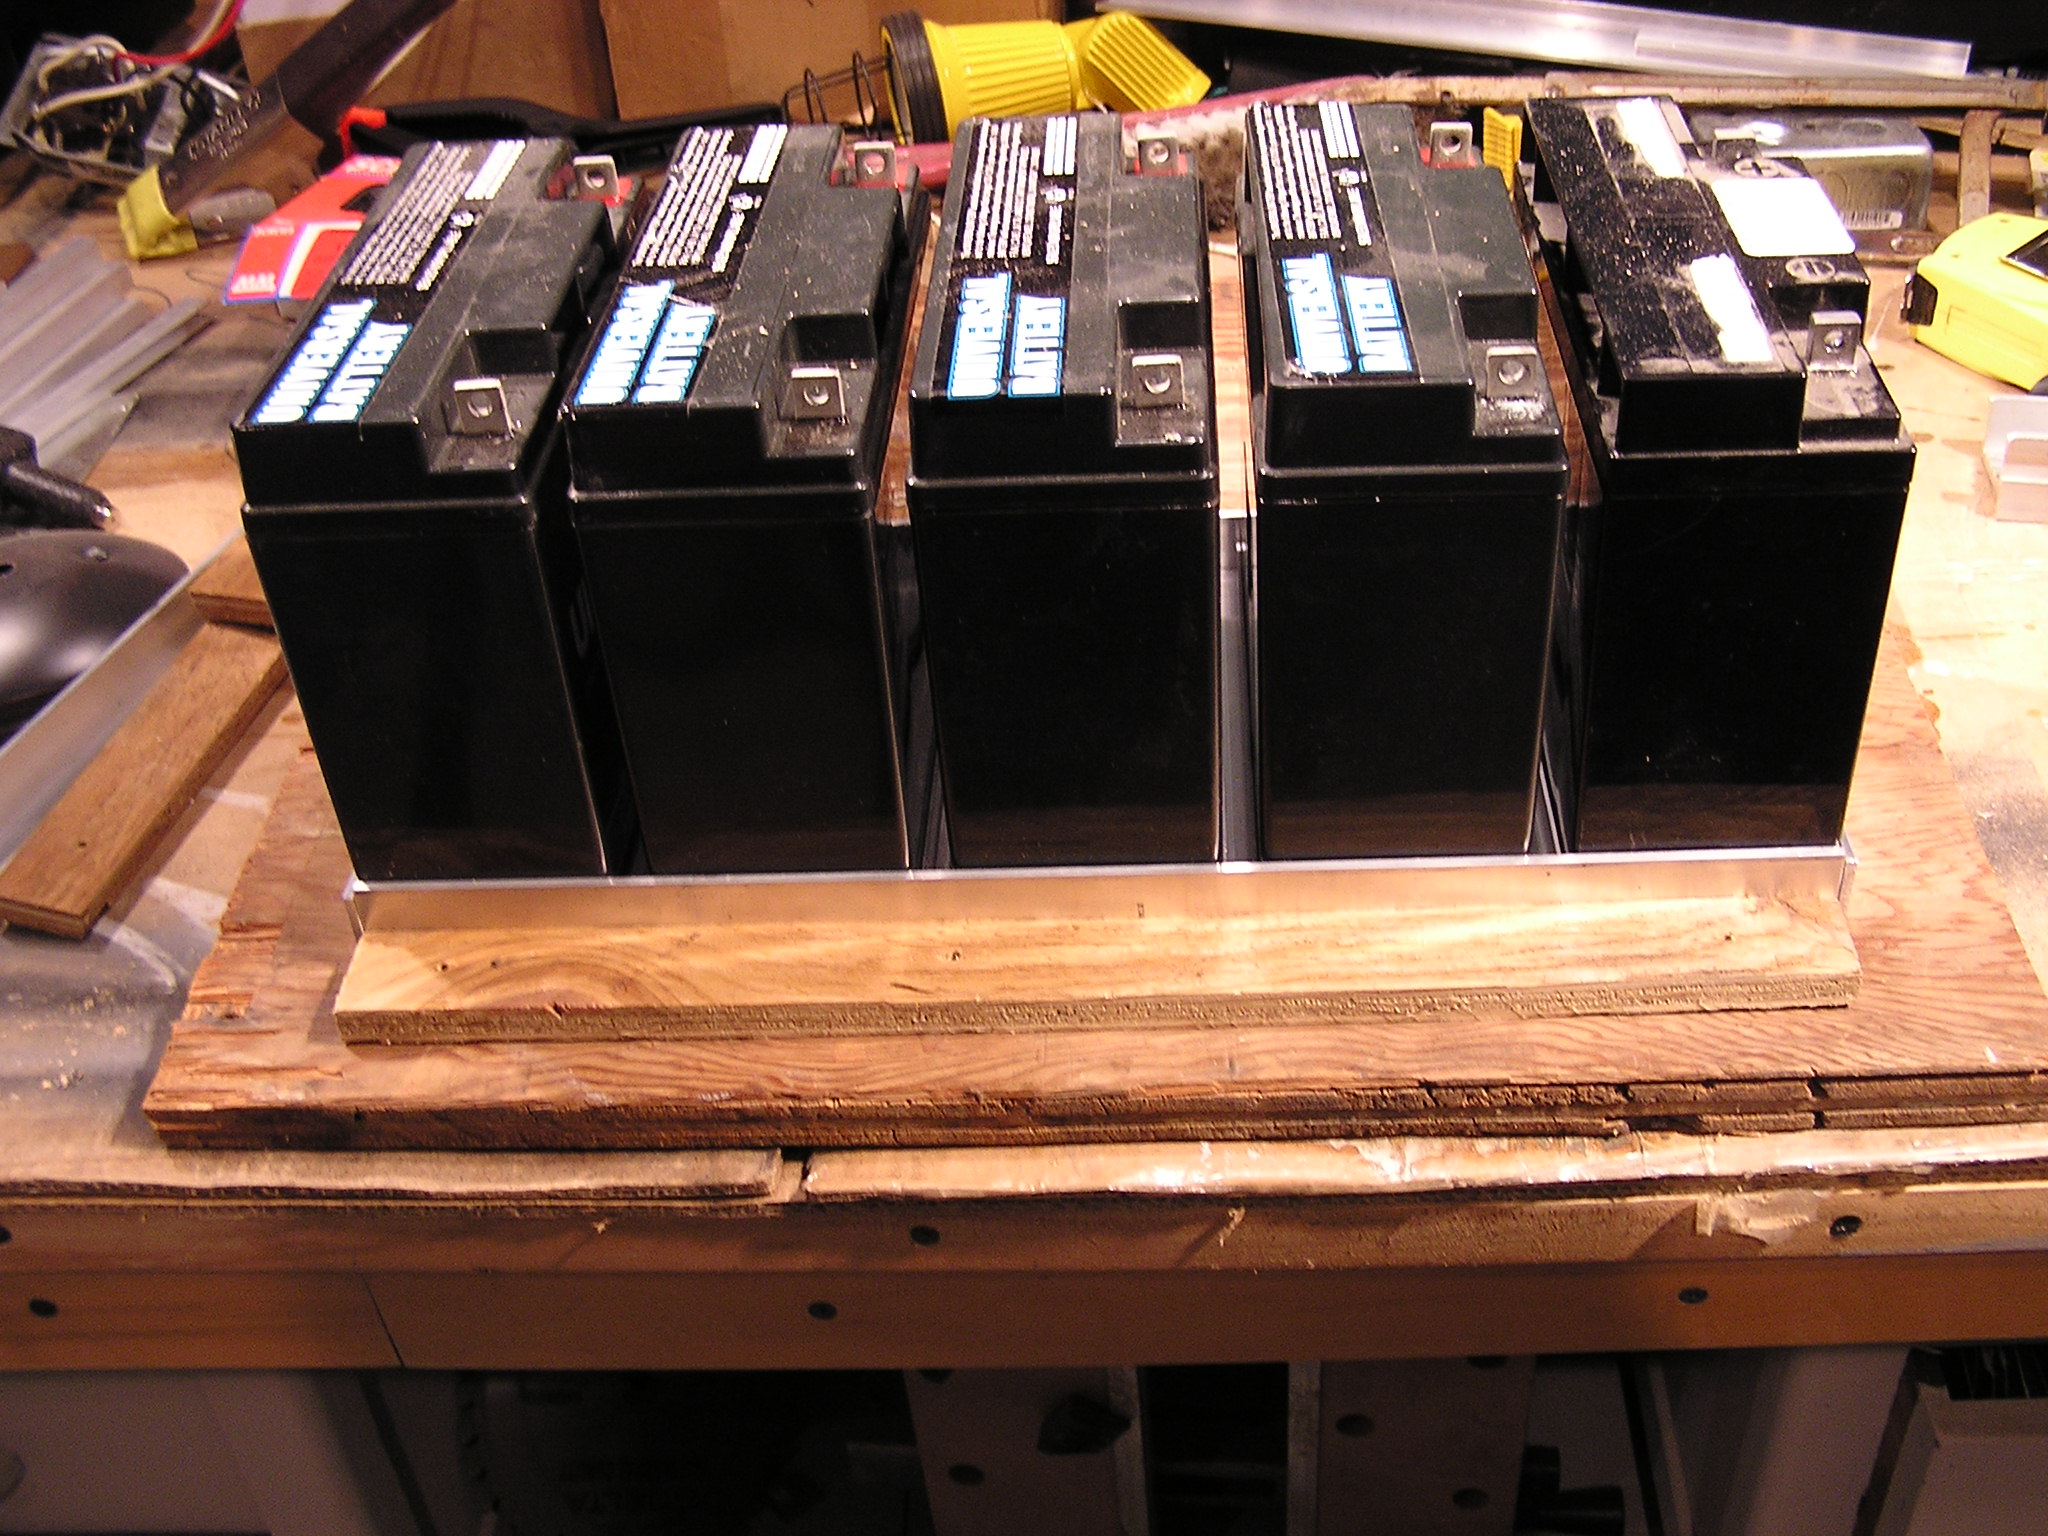
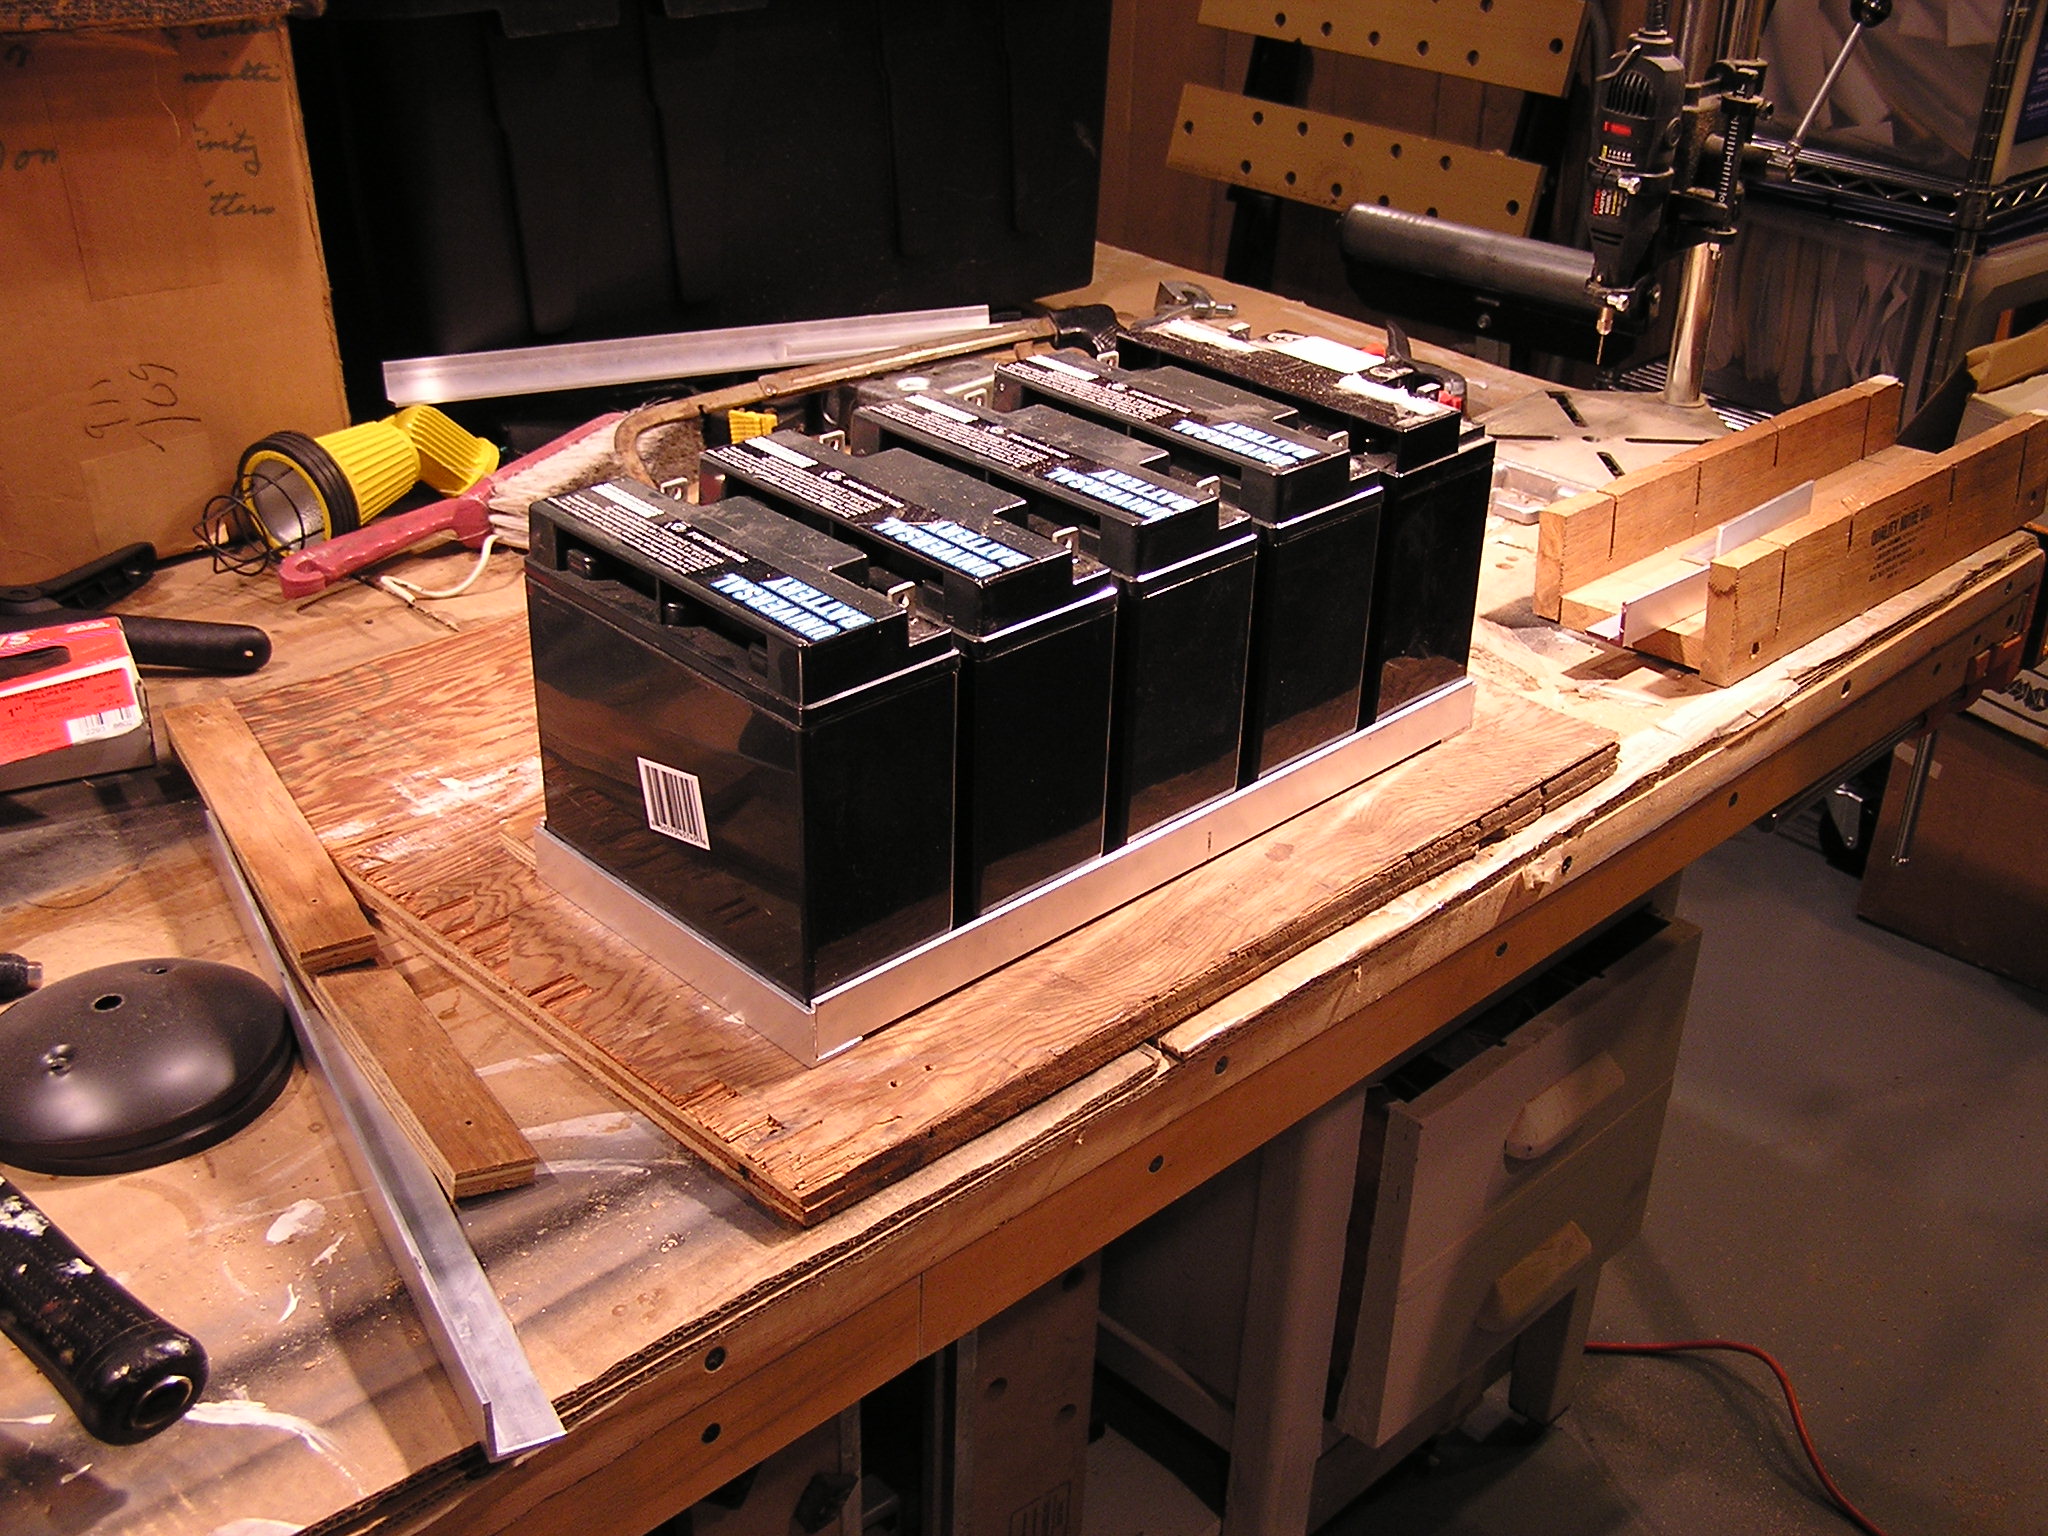
| 04:55, 15 December 2006 | Tray Set Together With Battery.JPG (file) |  |
725 KB | Cewert | 1 | |
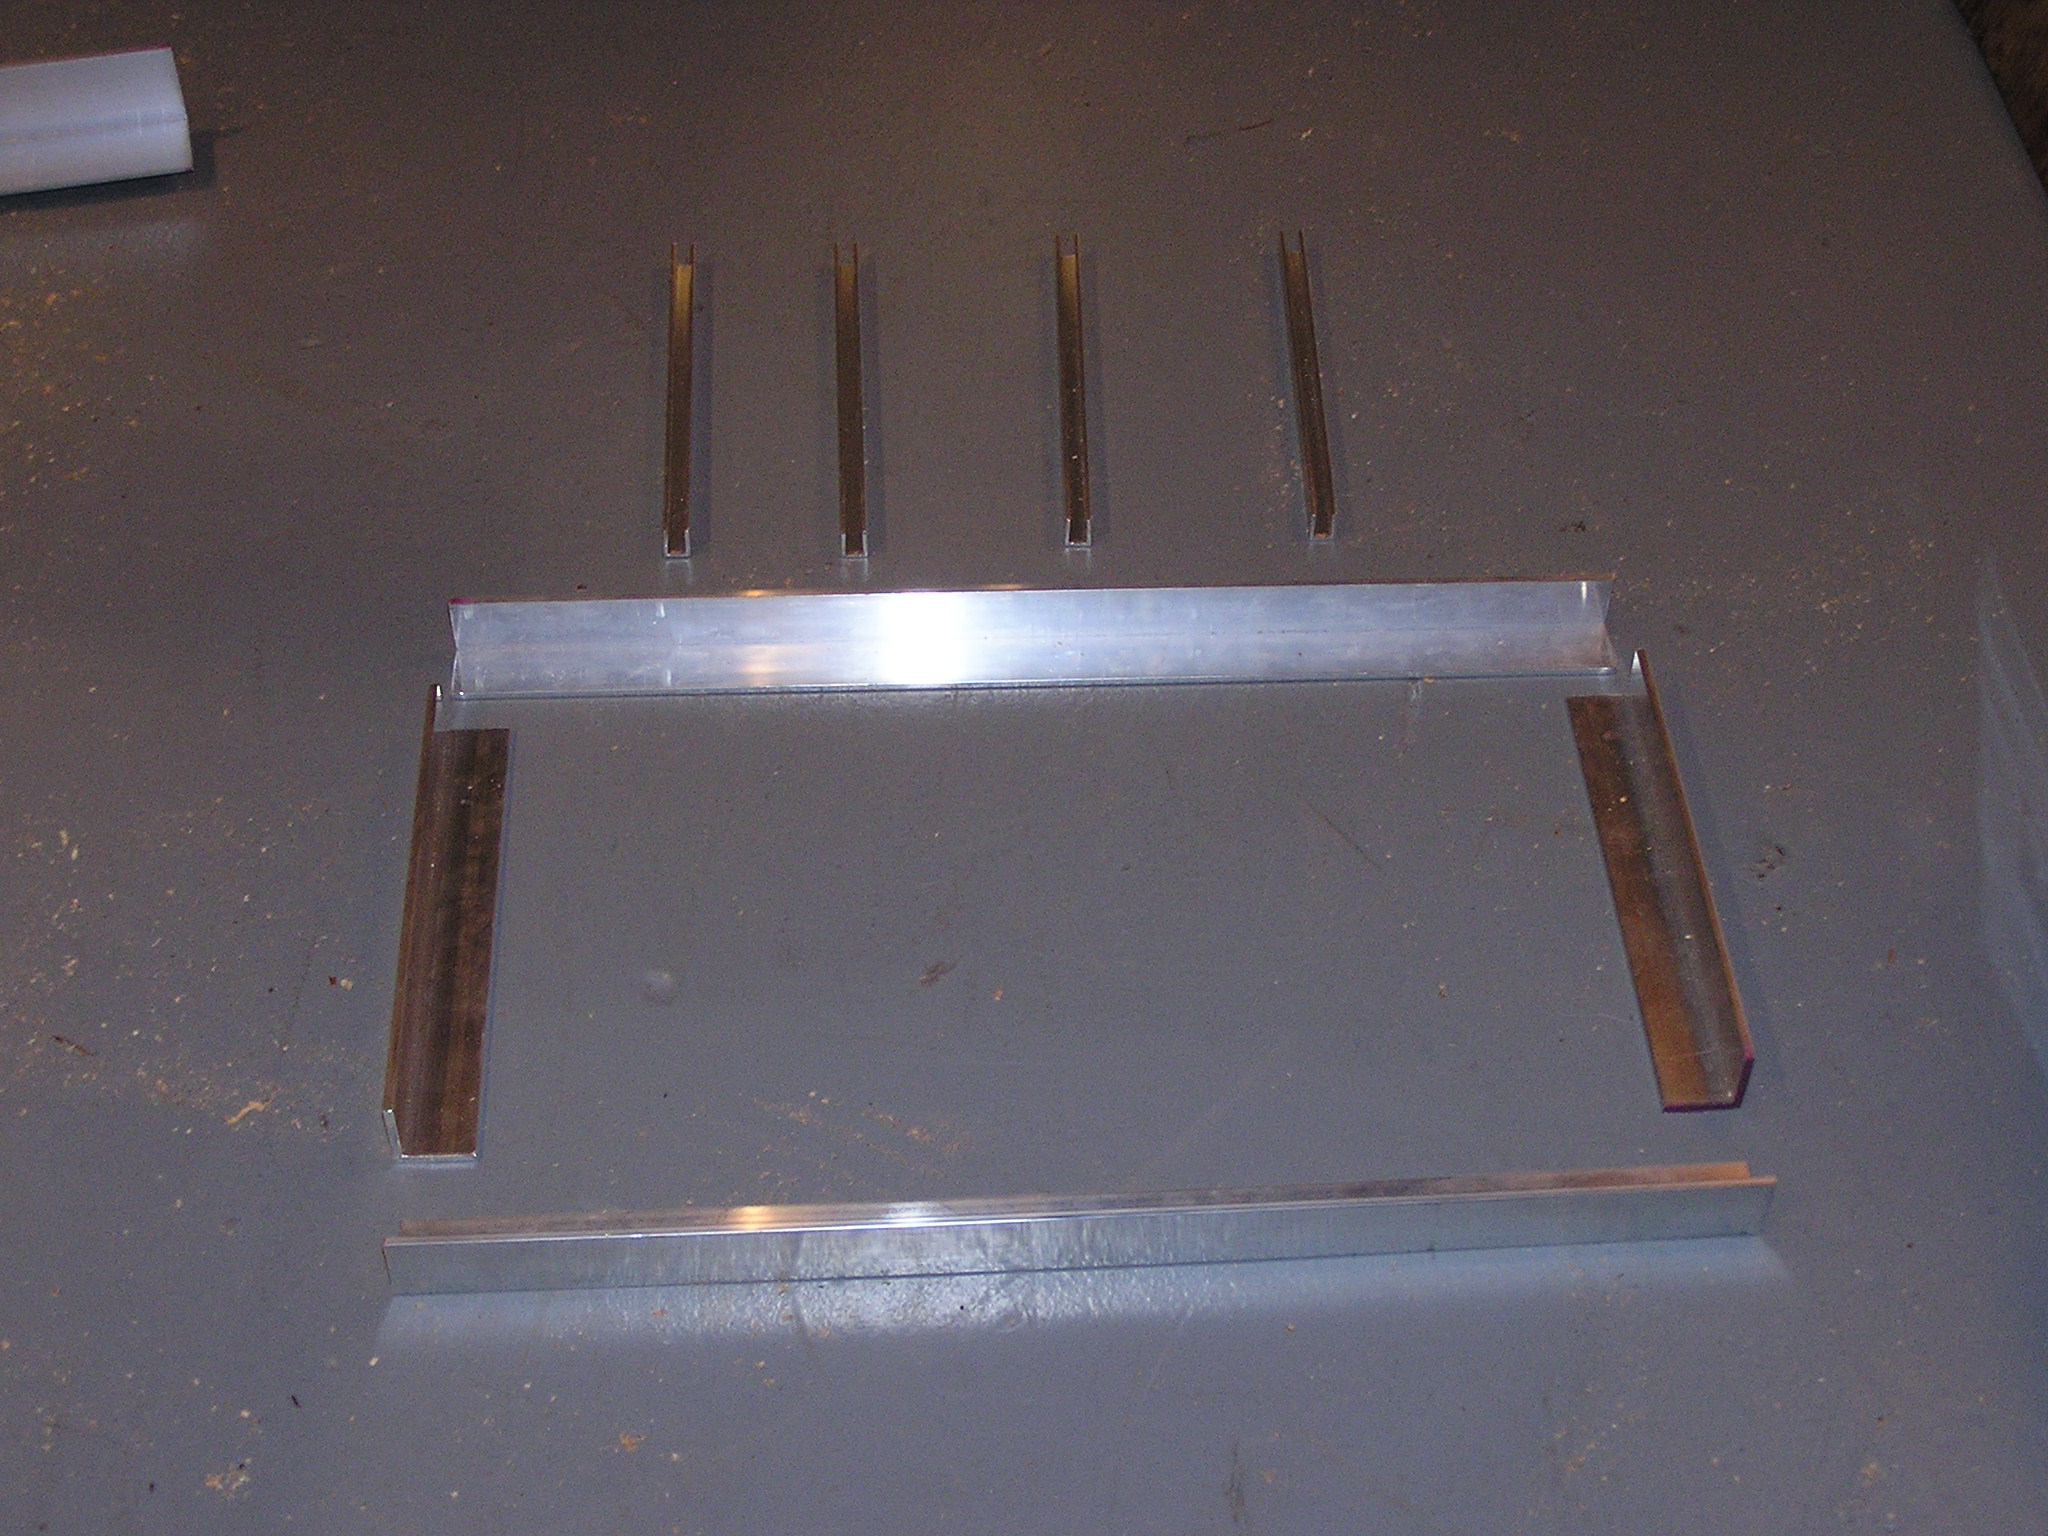
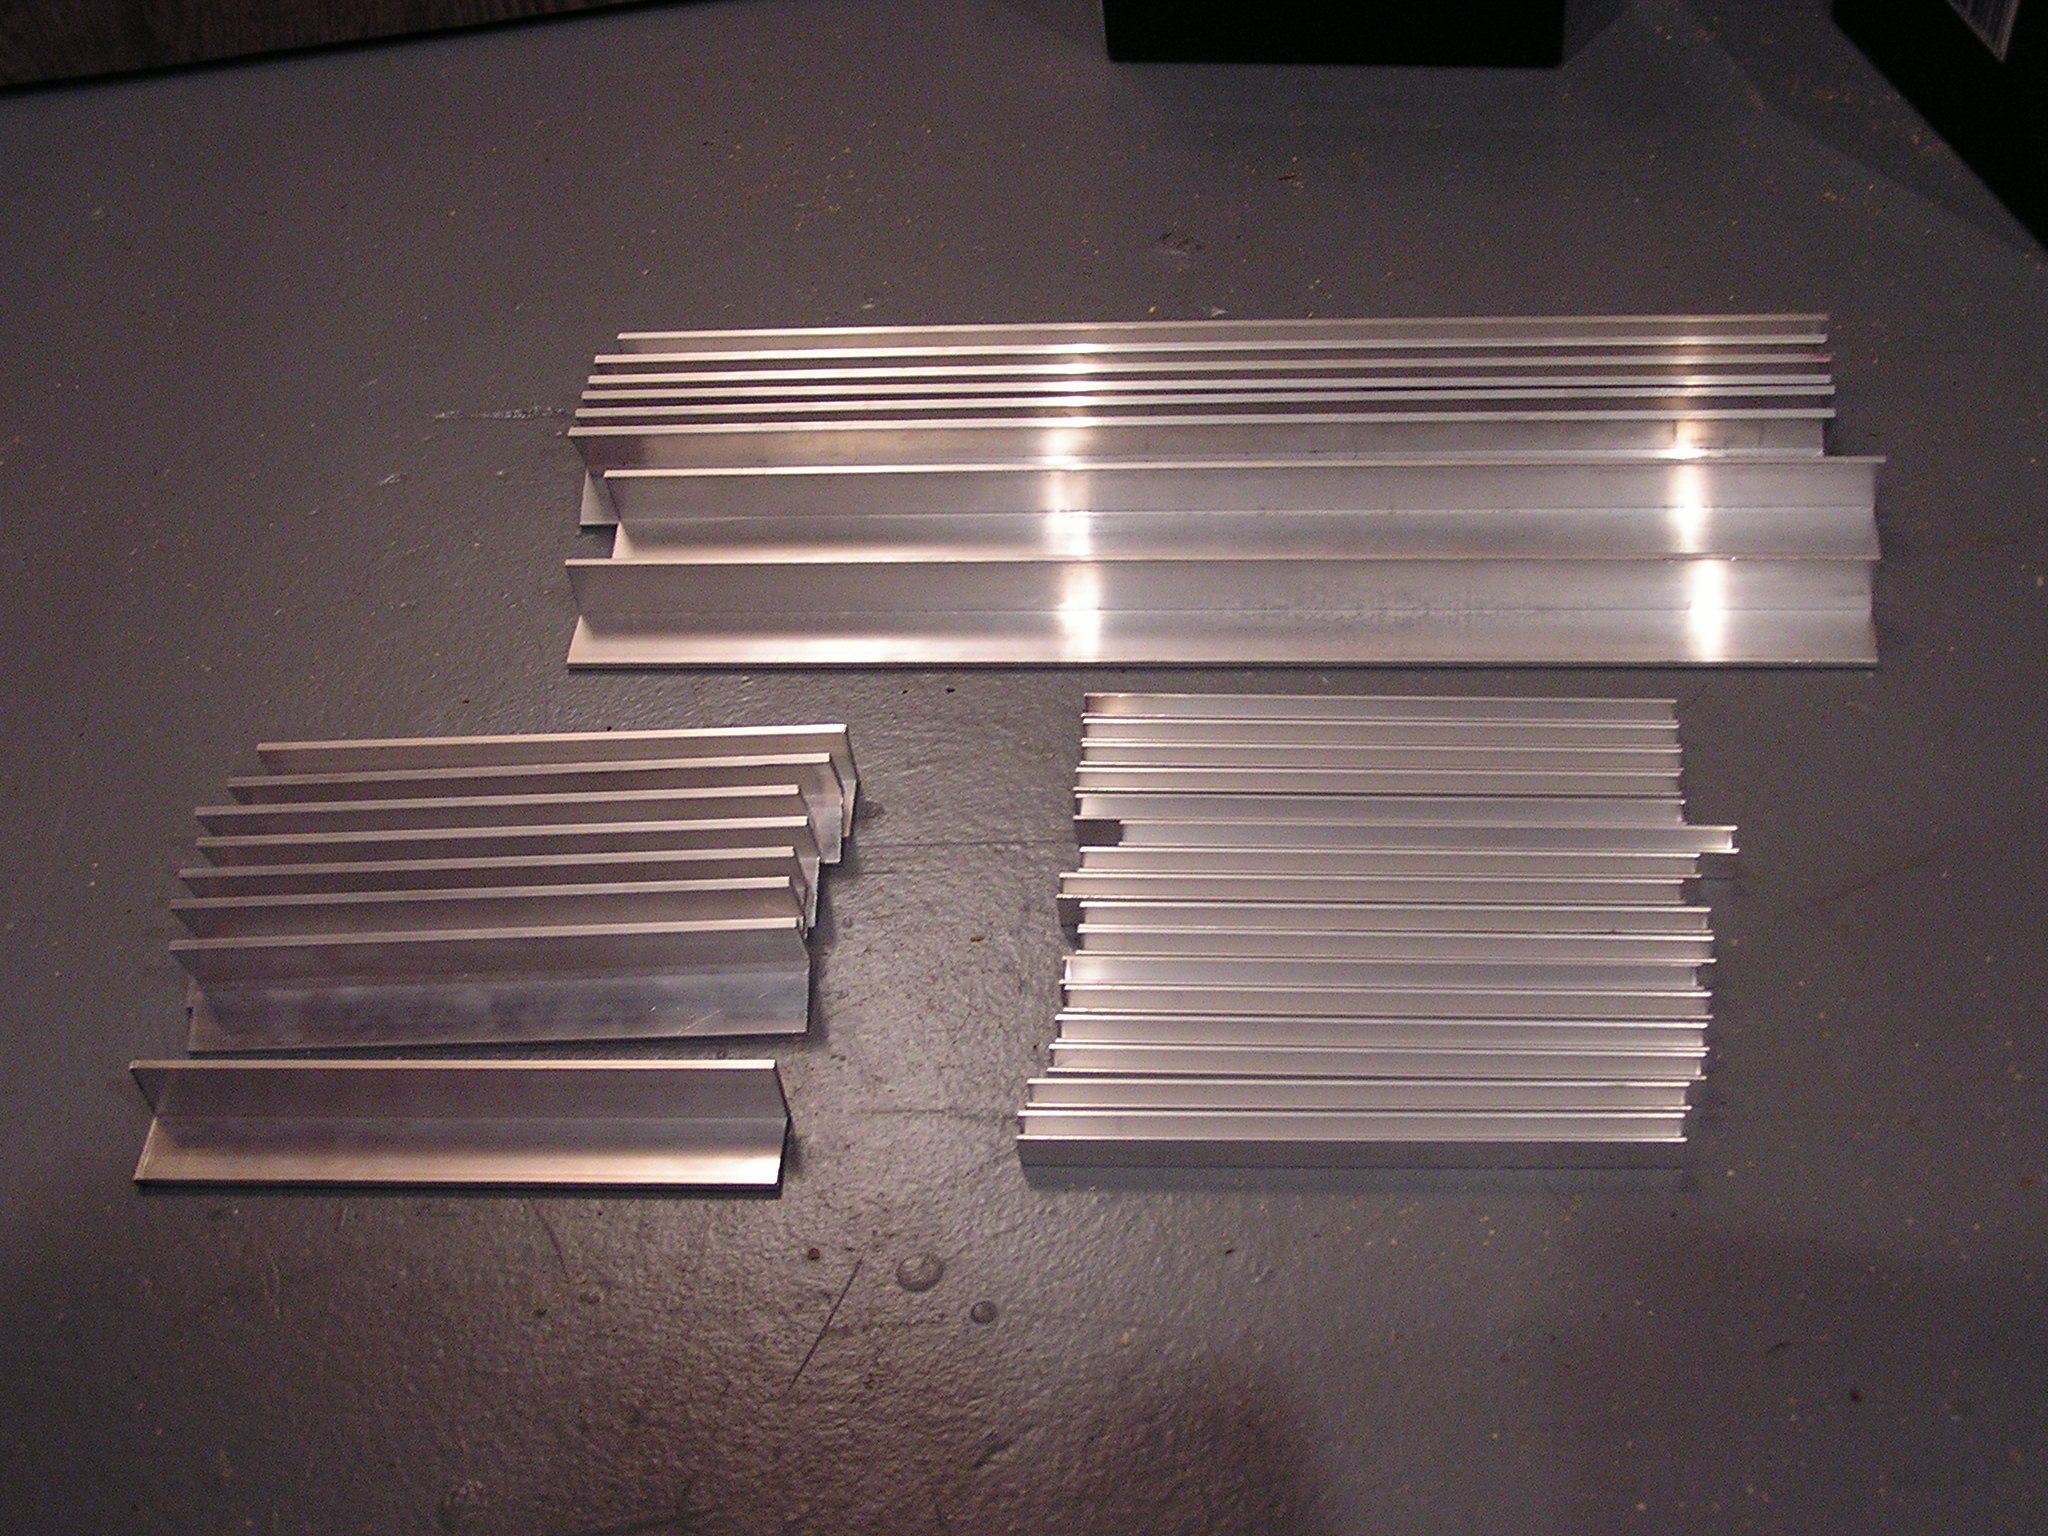
| 04:54, 15 December 2006 | Tray Pieces.JPG (file) |  |
704 KB | Cewert | These are all the aluminum pieces needed to build the 4 battery trays. | 1 |
| 04:51, 15 December 2006 | Cutting Aluminum.JPG (file) |  |
704 KB | Cewert | 1 | |
| 08:53, 13 December 2006 | EAA-PHEV-PRIUS-HighPowerSchematic.png (file) |  |
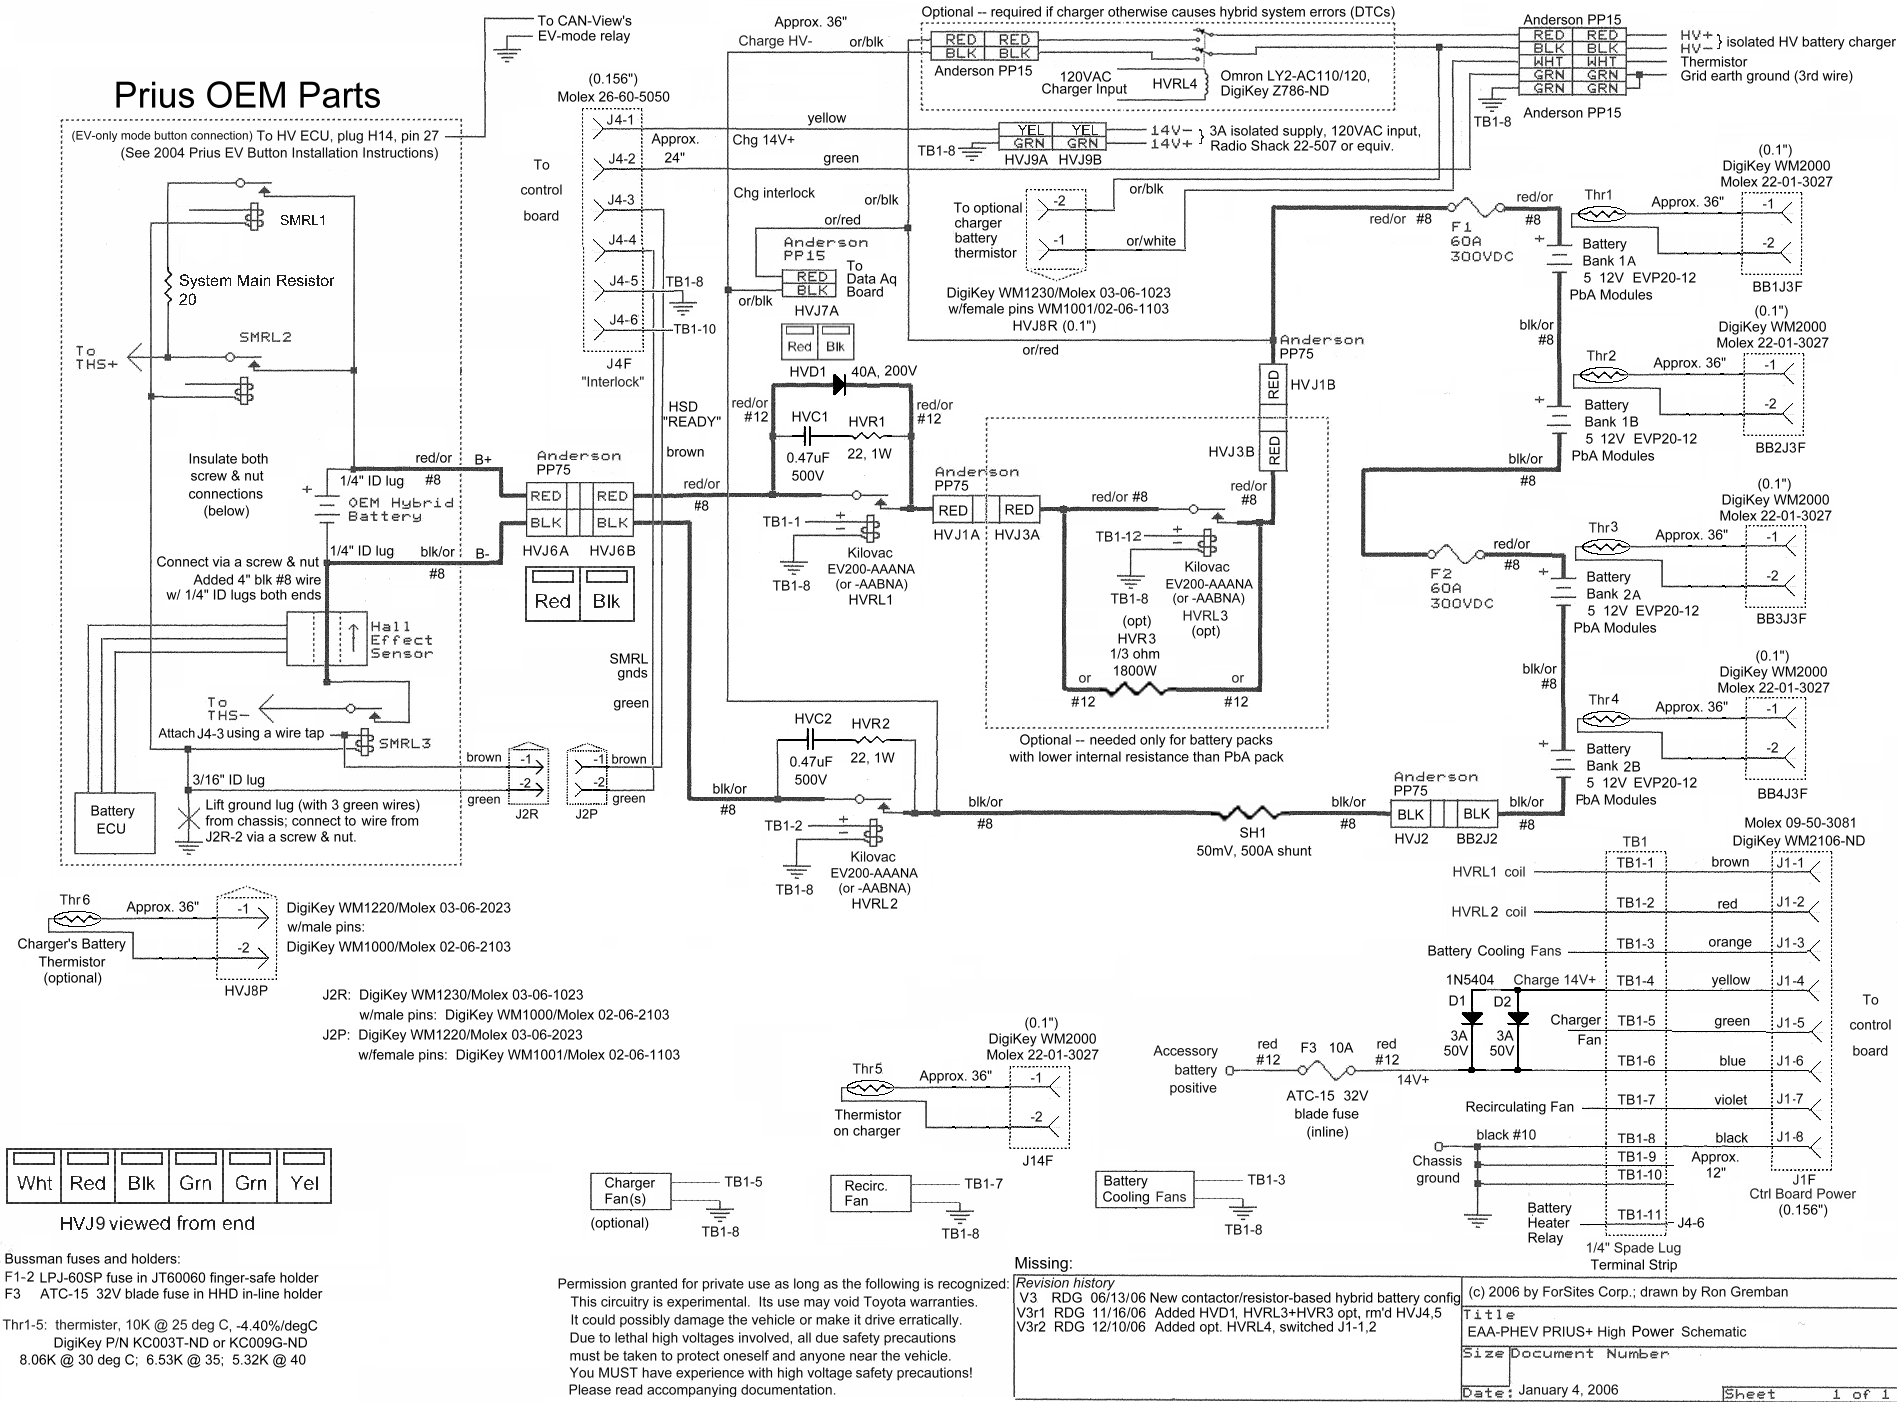
356 KB | Rjf | These are the high power schematics from the latest PriusPlus conversion. V3r2_061210 | 1 |
| 17:22, 6 December 2006 | Day 4 Image 9.JPG (file) |  |
65 KB | Rjf | brightness adjusted. | 2 |
| 17:22, 6 December 2006 | Day 4 Image 8.JPG (file) |  |
70 KB | Rjf | brightness adjusted. | 2 |
| 17:22, 6 December 2006 | Day 4 Image 1.jpg (file) |  |
42 KB | Rjf | brightness adjusted. | 2 |
| 17:22, 6 December 2006 | Day 1 Image 12.jpg (file) |  |
71 KB | Rjf | brightness adjusted. | 2 |
| 17:22, 6 December 2006 | Day 1 Image 9.jpg (file) |  |
67 KB | Rjf | brightness adjusted. | 2 |
| 12:01, 26 November 2006 | Capture013.zip (file) | 254 KB | Rjf | Ah Counter per CAN-View down from 10.0 Ah used by TSD CAN-View Capture Set 013 2006.11.22 * CapFile:miles-mpg |Trip miles-mpg|Ah Counter,Comments * 0130:0.0-mpg | 28.21- 52mpg | 5.32 Ah , PHEV from work to apt, need to up NiMH-High Voltage setting, PFC @ | 1 | |
| 12:01, 26 November 2006 | Capture014.zip (file) | 121 KB | Rjf | Ah Counter per CAN-View down from 10.0 Ah used by TSD CAN-View Capture Set 014 2006.11.26 * CapFile:miles-mpg |Trip miles-mpg|Ah Counter,Comments * 0143:-mpg | 0.45- 240mpg | ? Ah , Reset DTC and reinit log, drove home, PFC @10A 1.49kWh * 0142:-mpg | 0. | 1 | |
| 03:44, 25 November 2006 | P10409.JPG (file) |  |
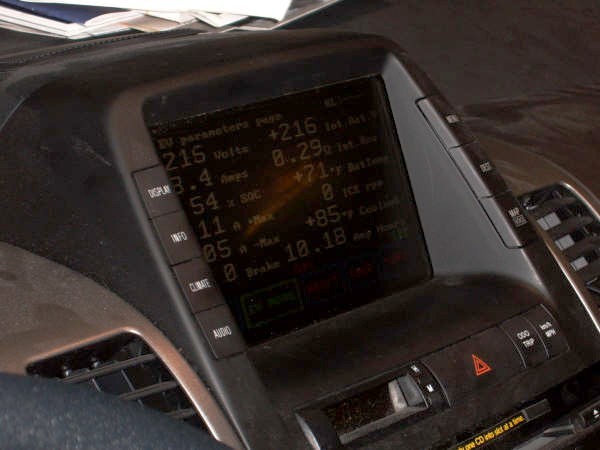
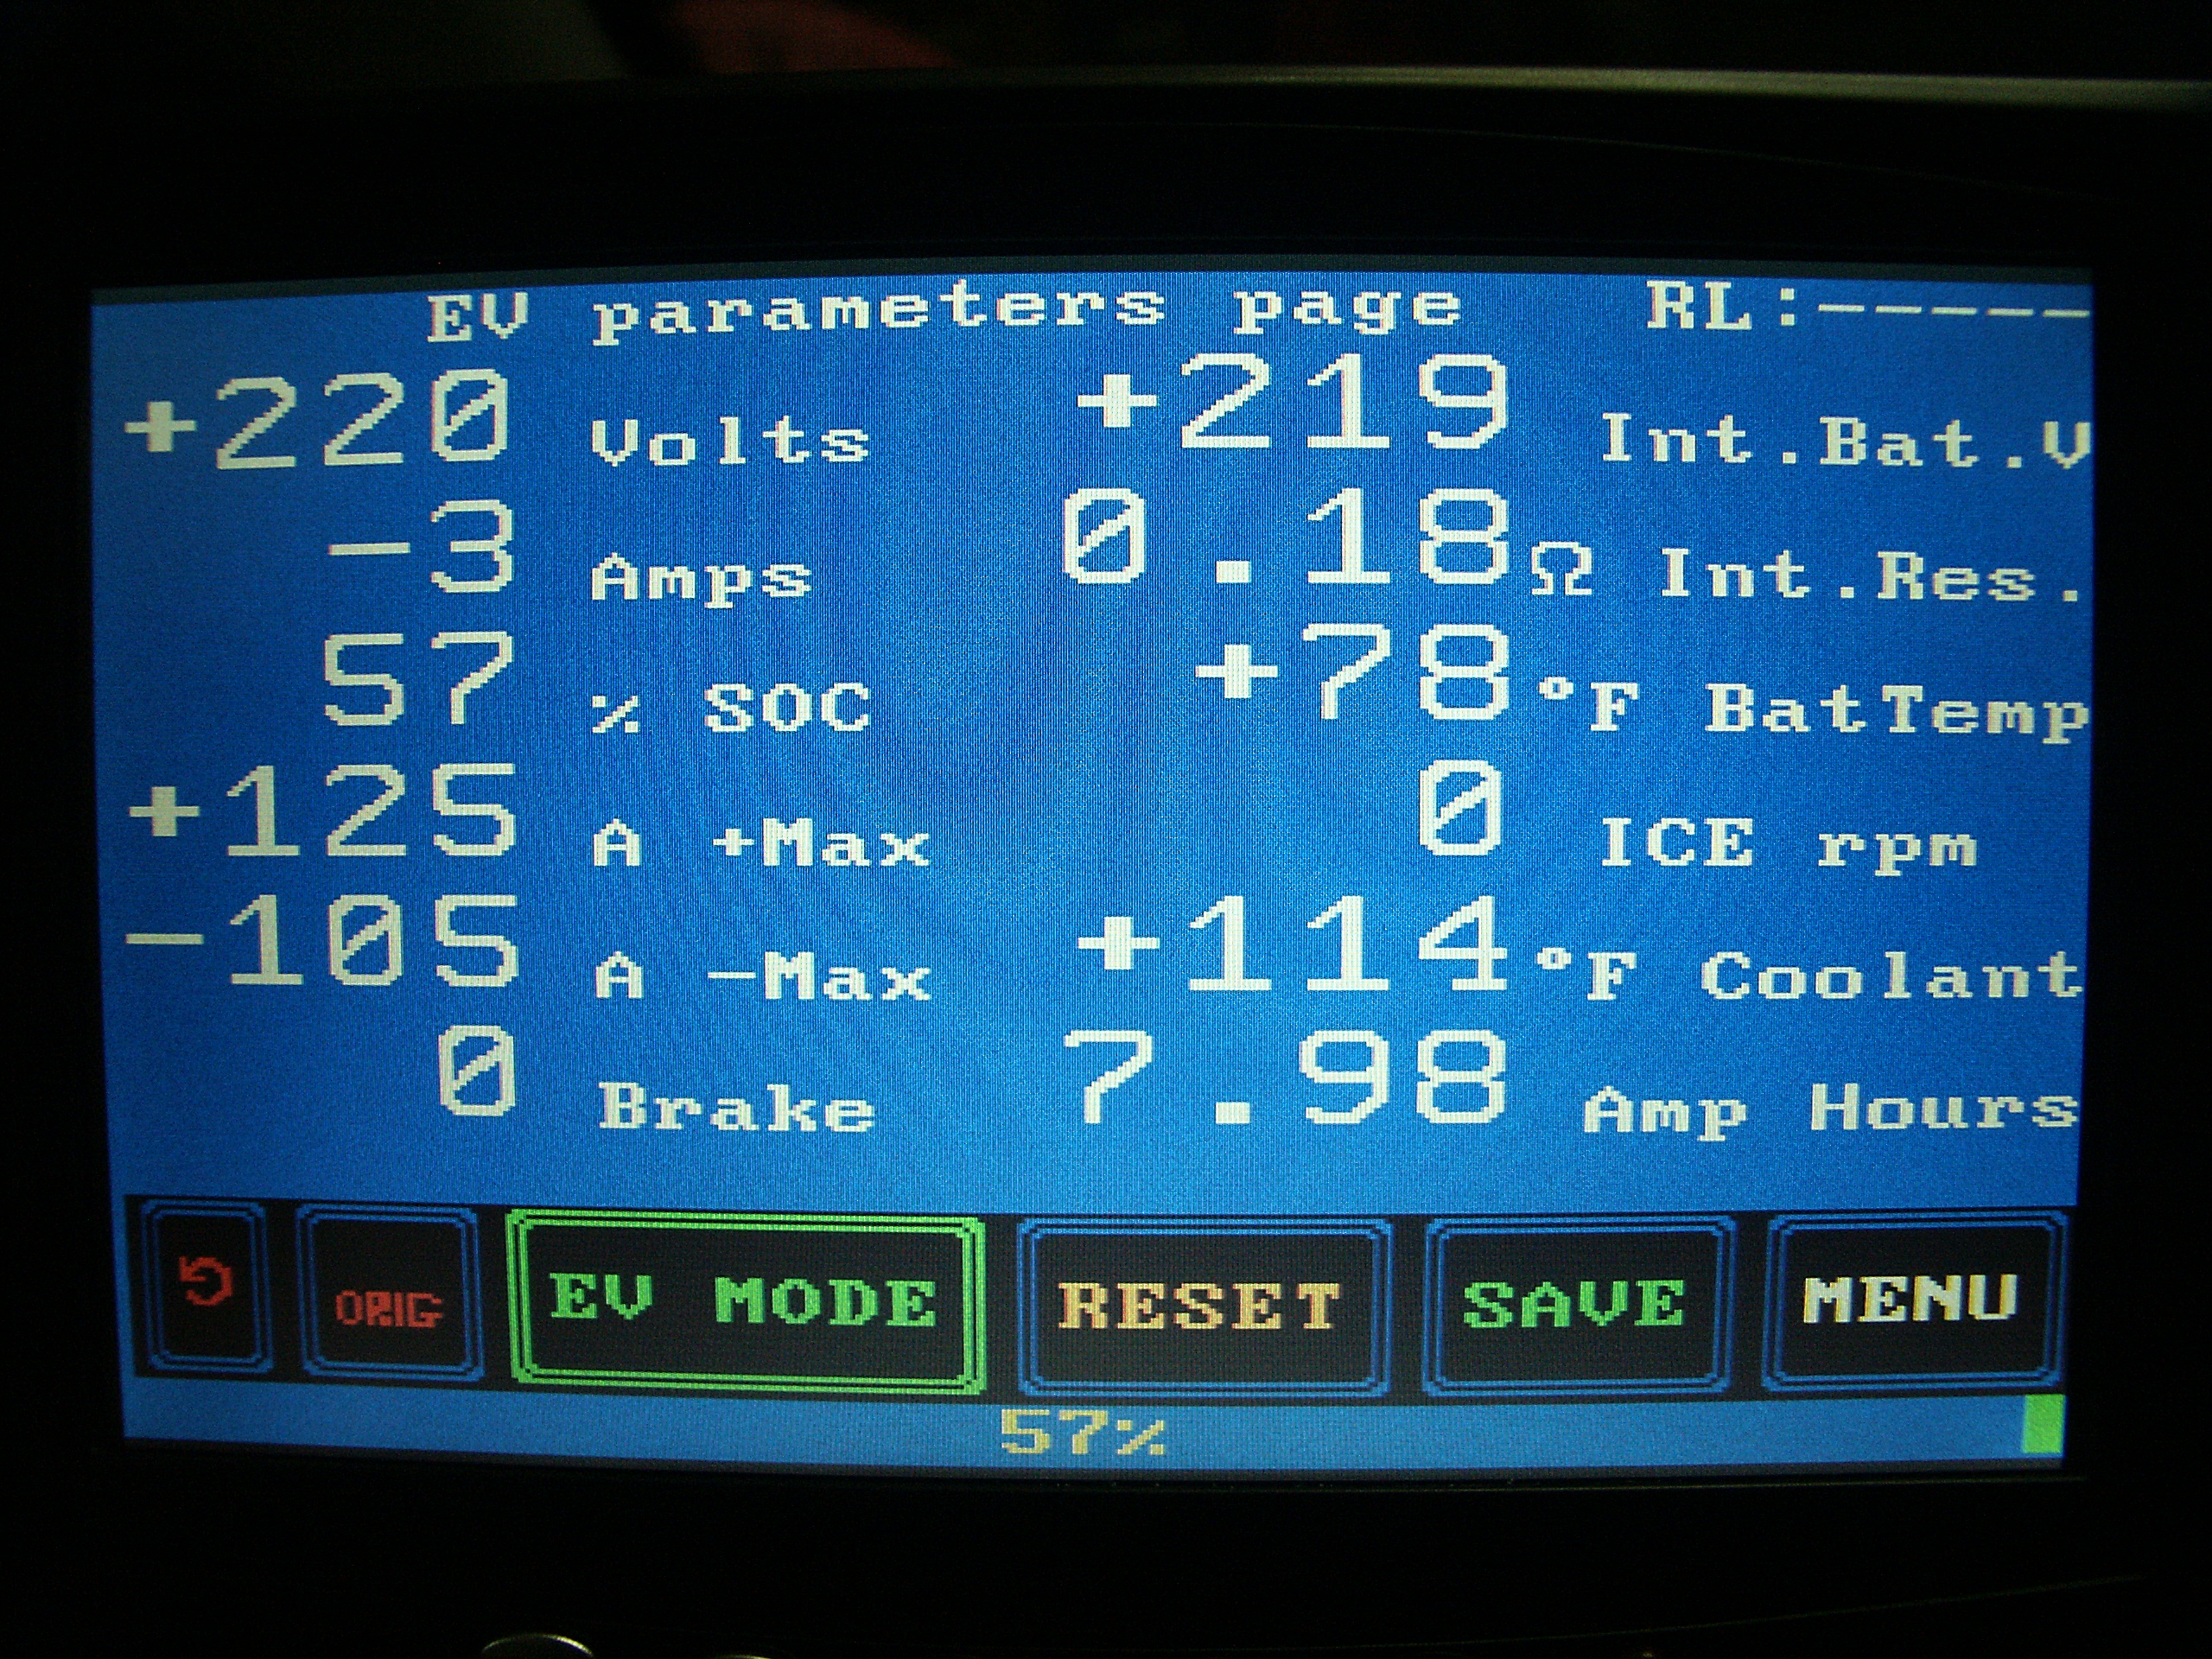
3.12 MB | Rjf | Photo from Ron of the PriusPlus conversion of Sven's Prius from Nov 2006. CAN-View screen. | 1 |
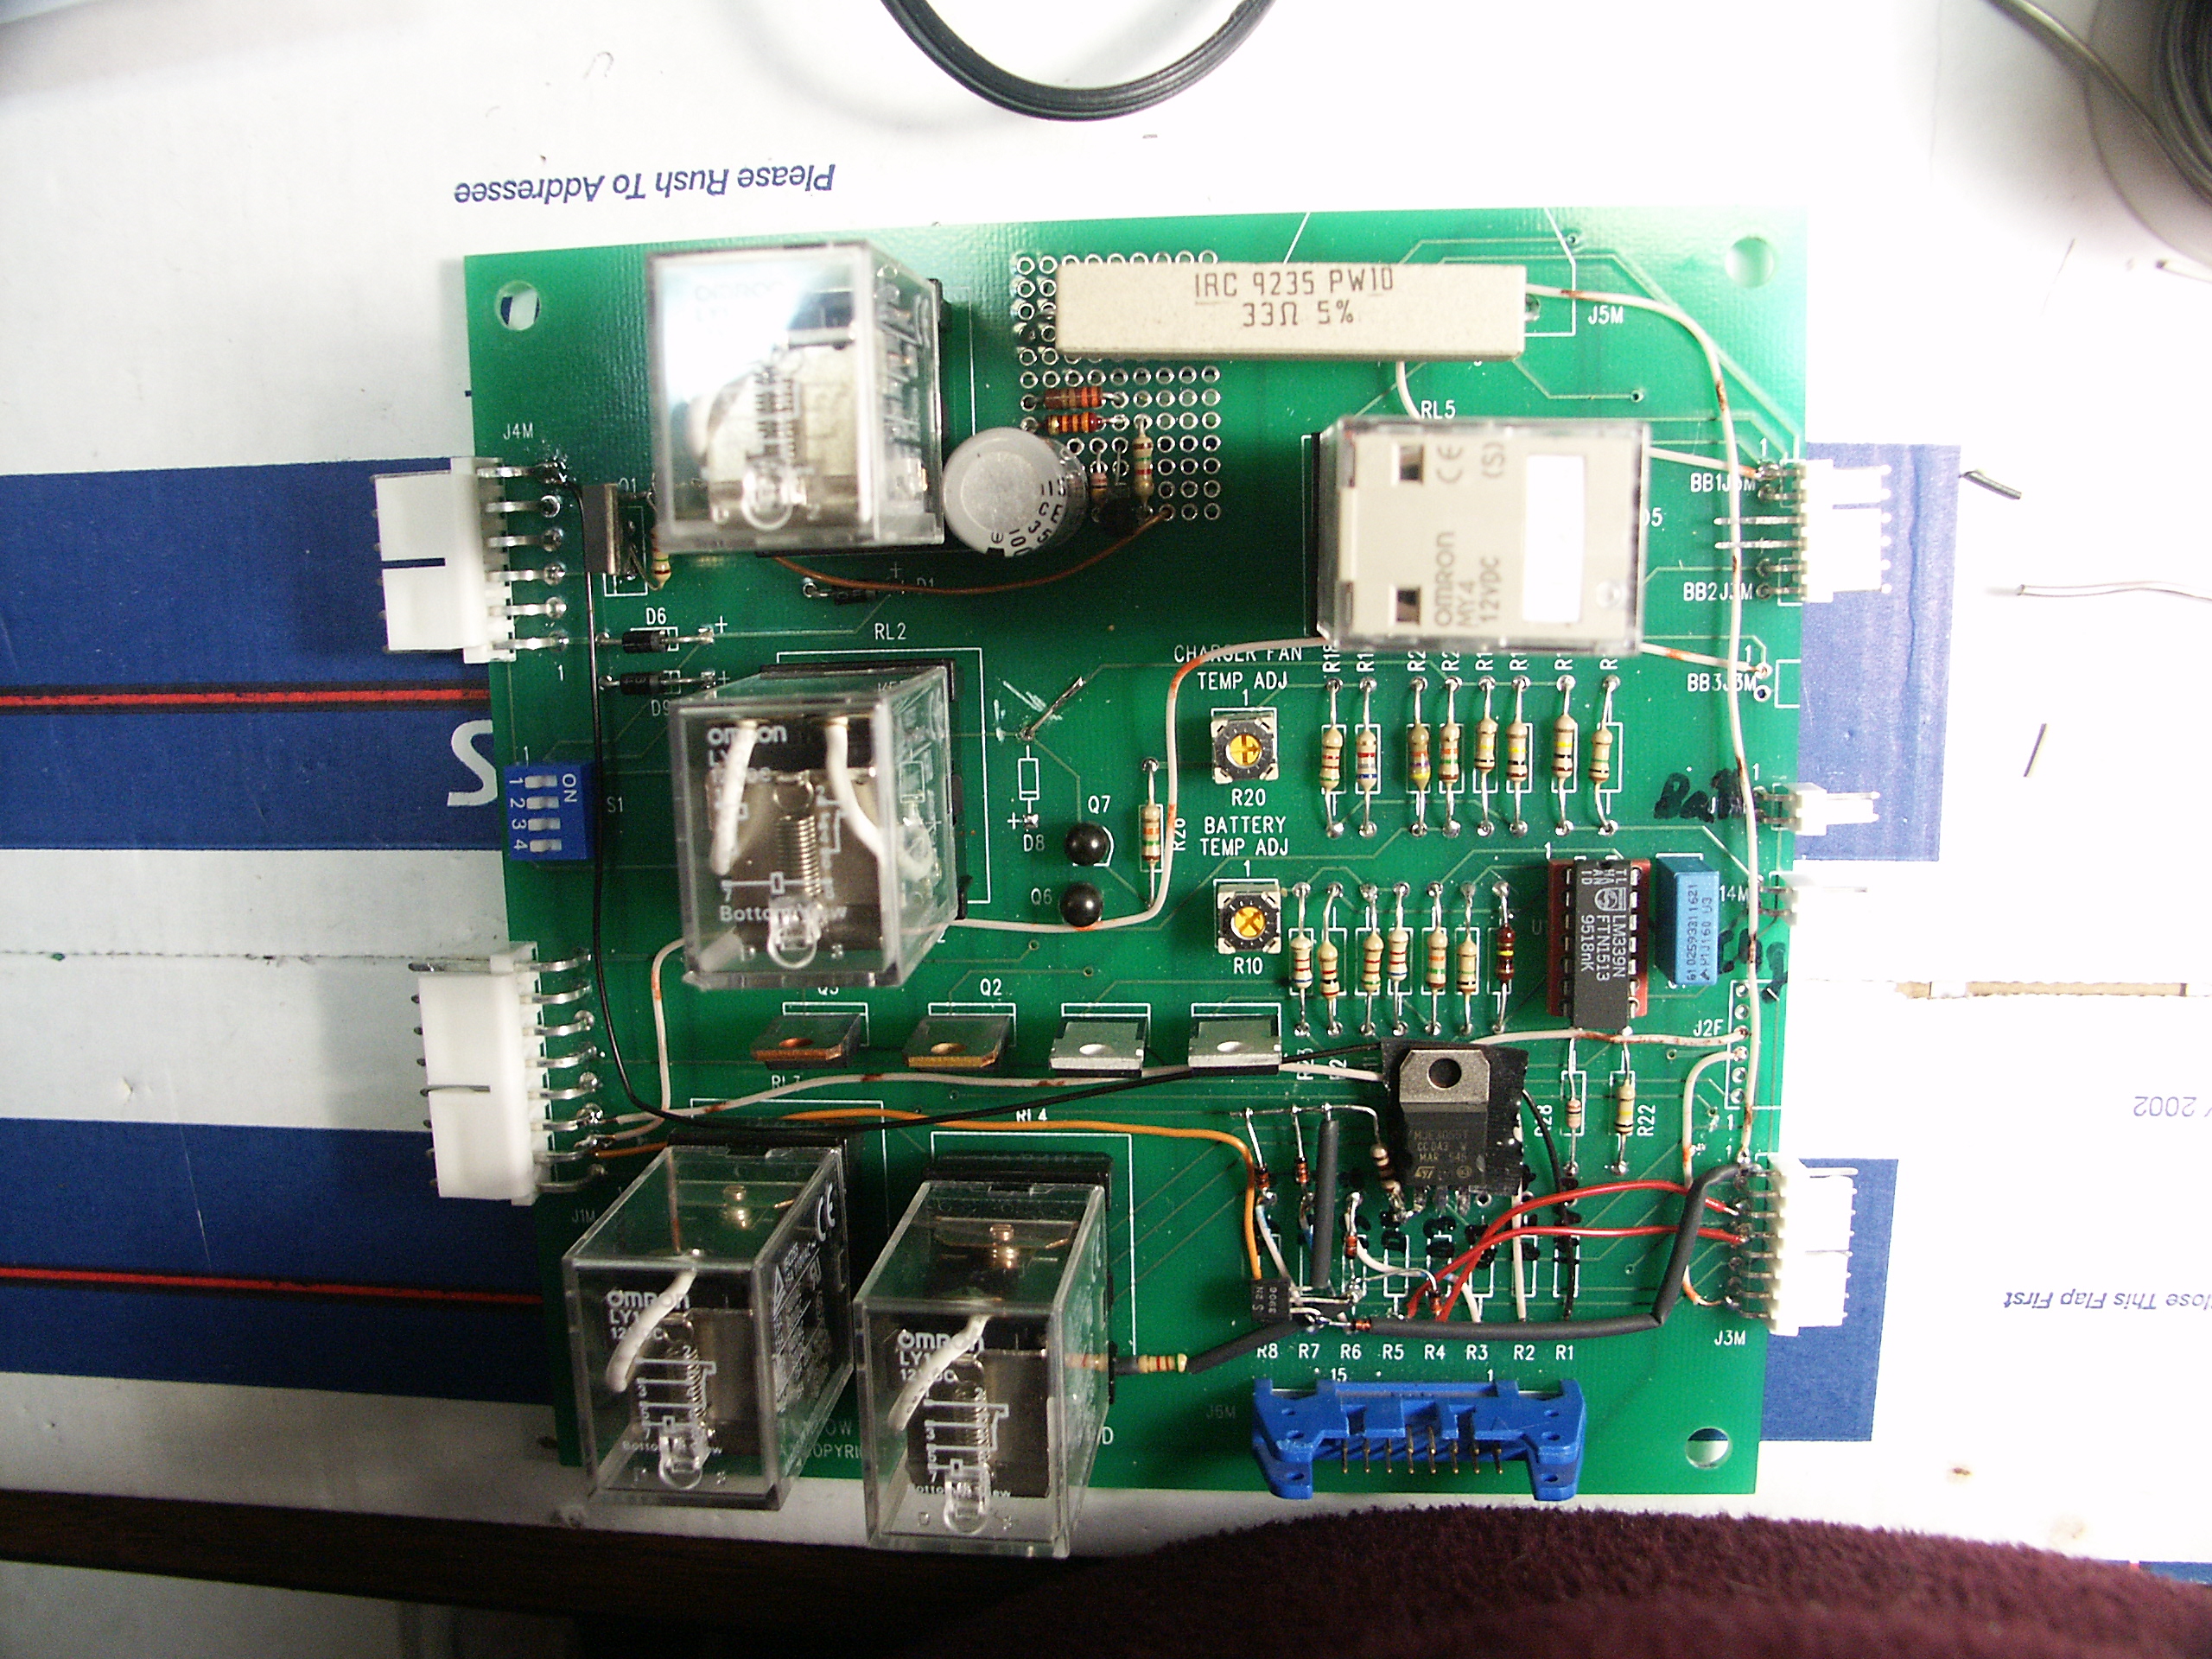
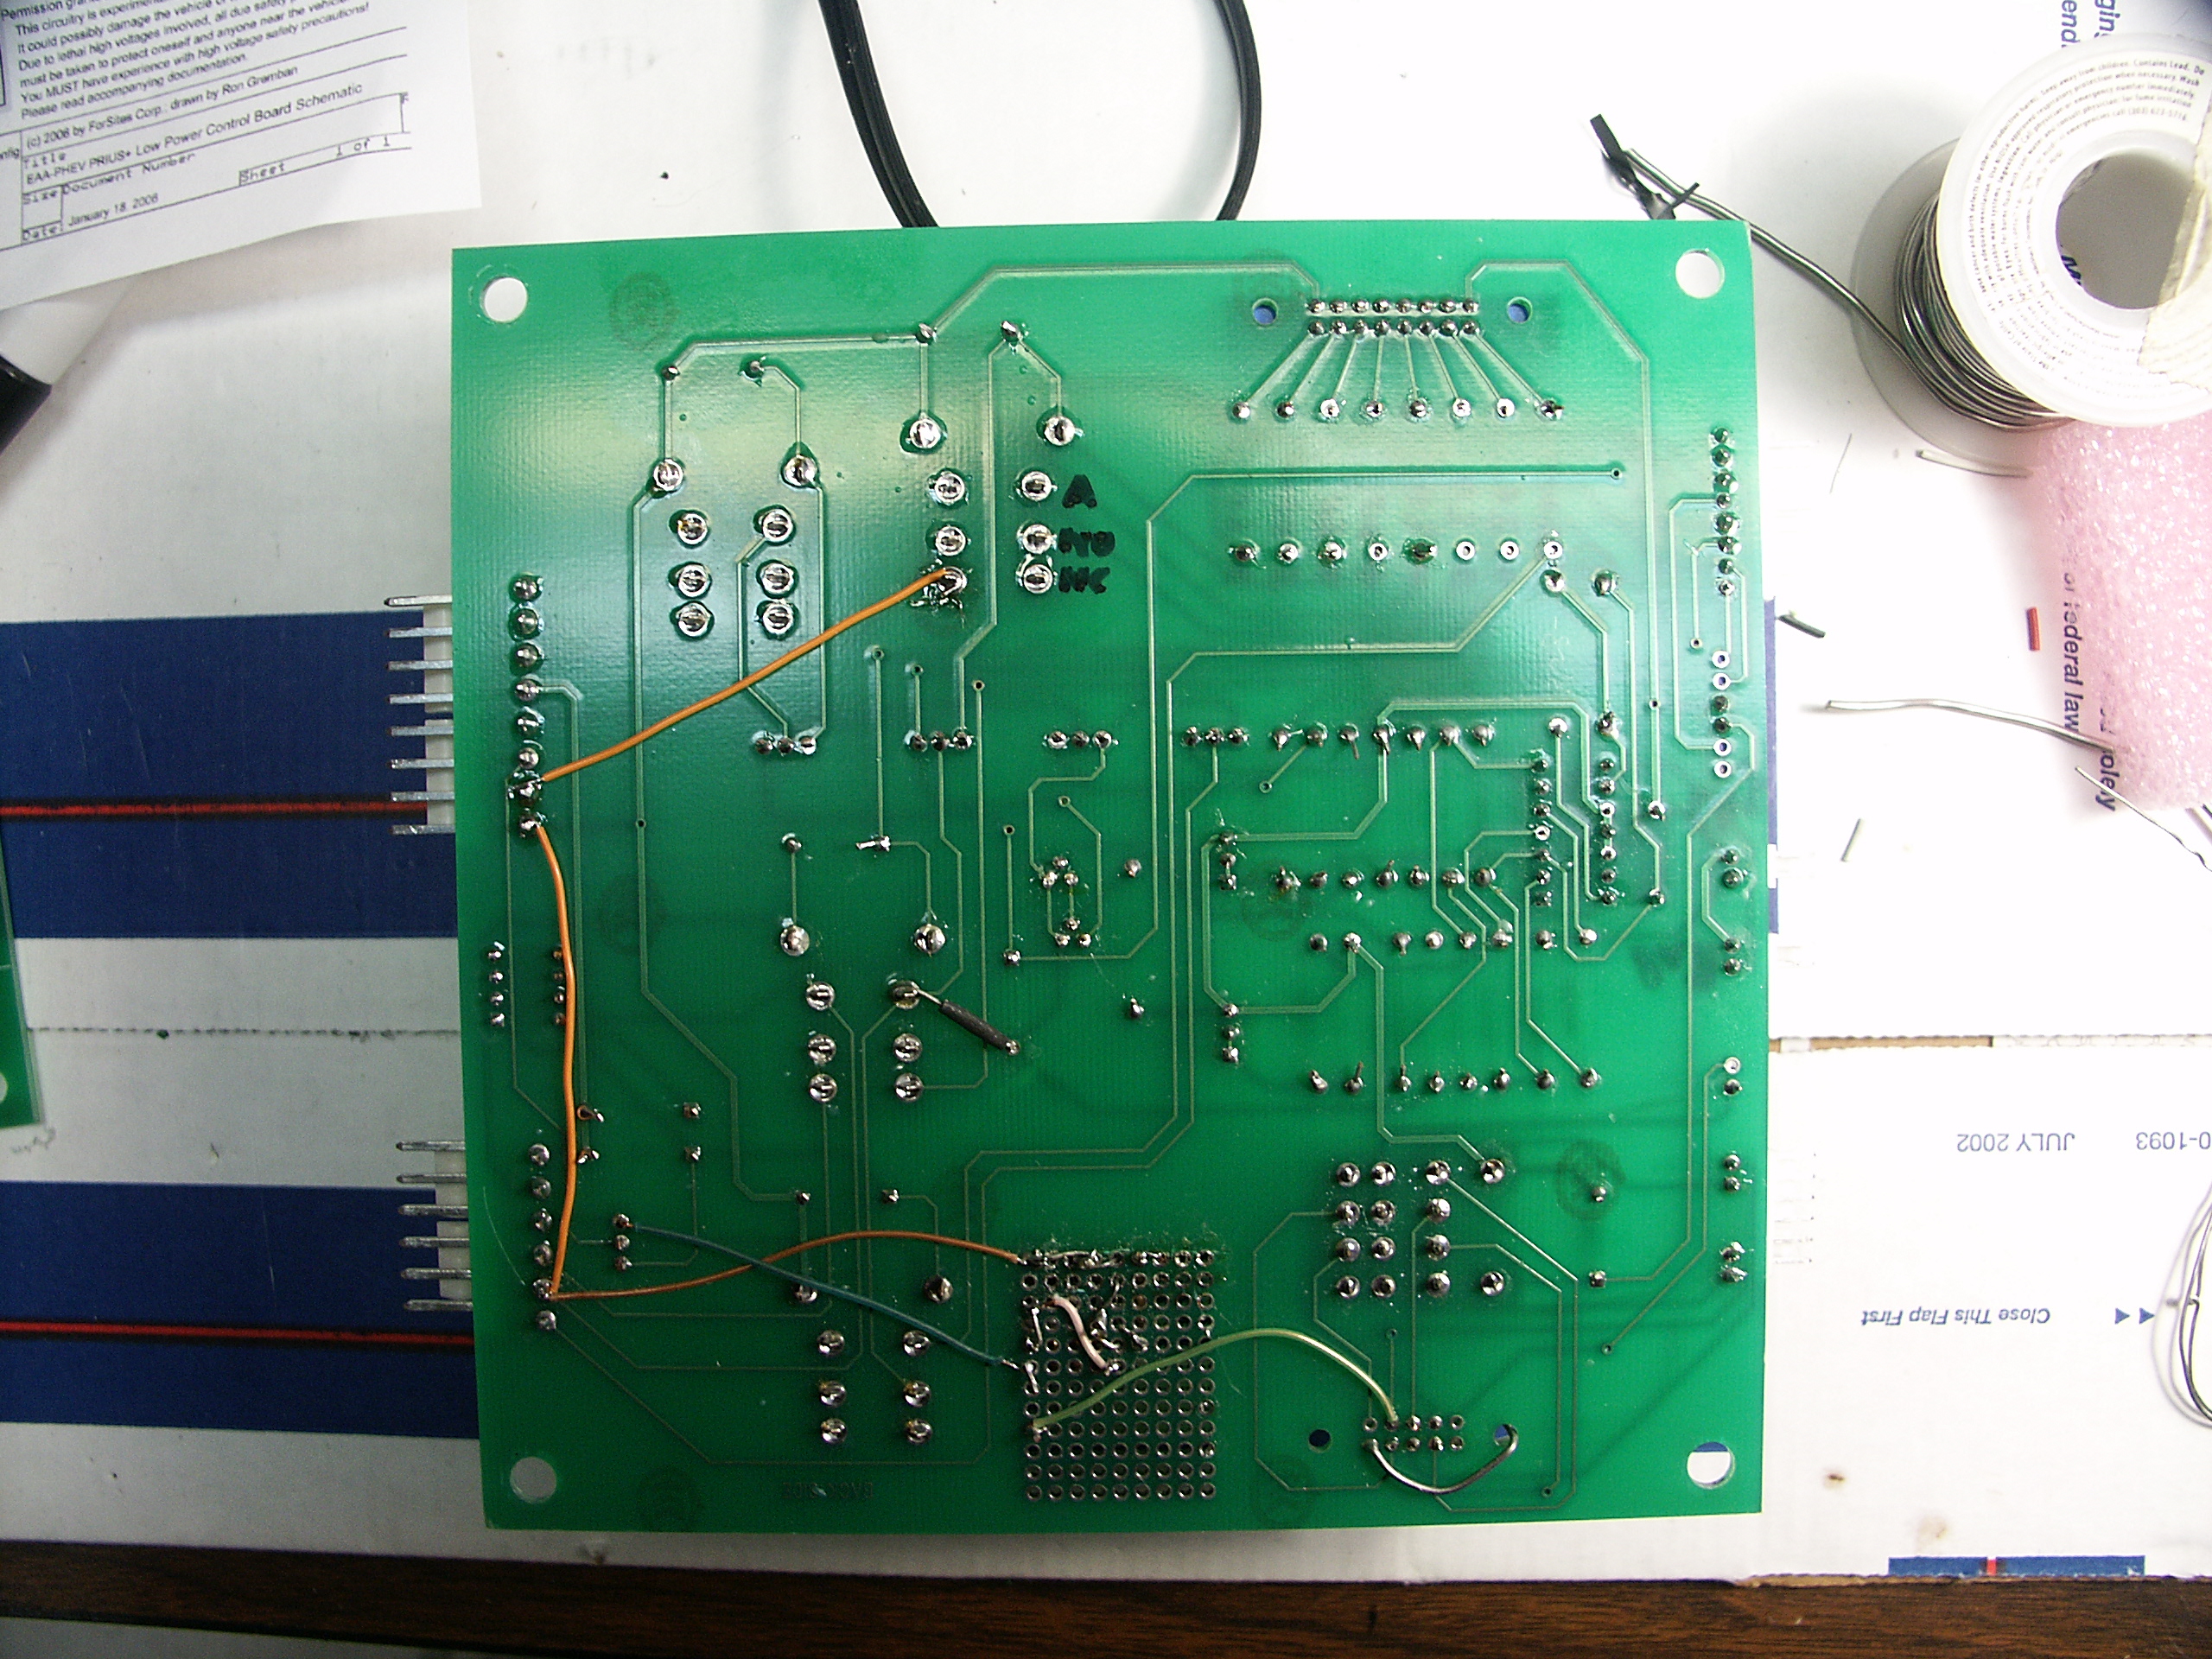
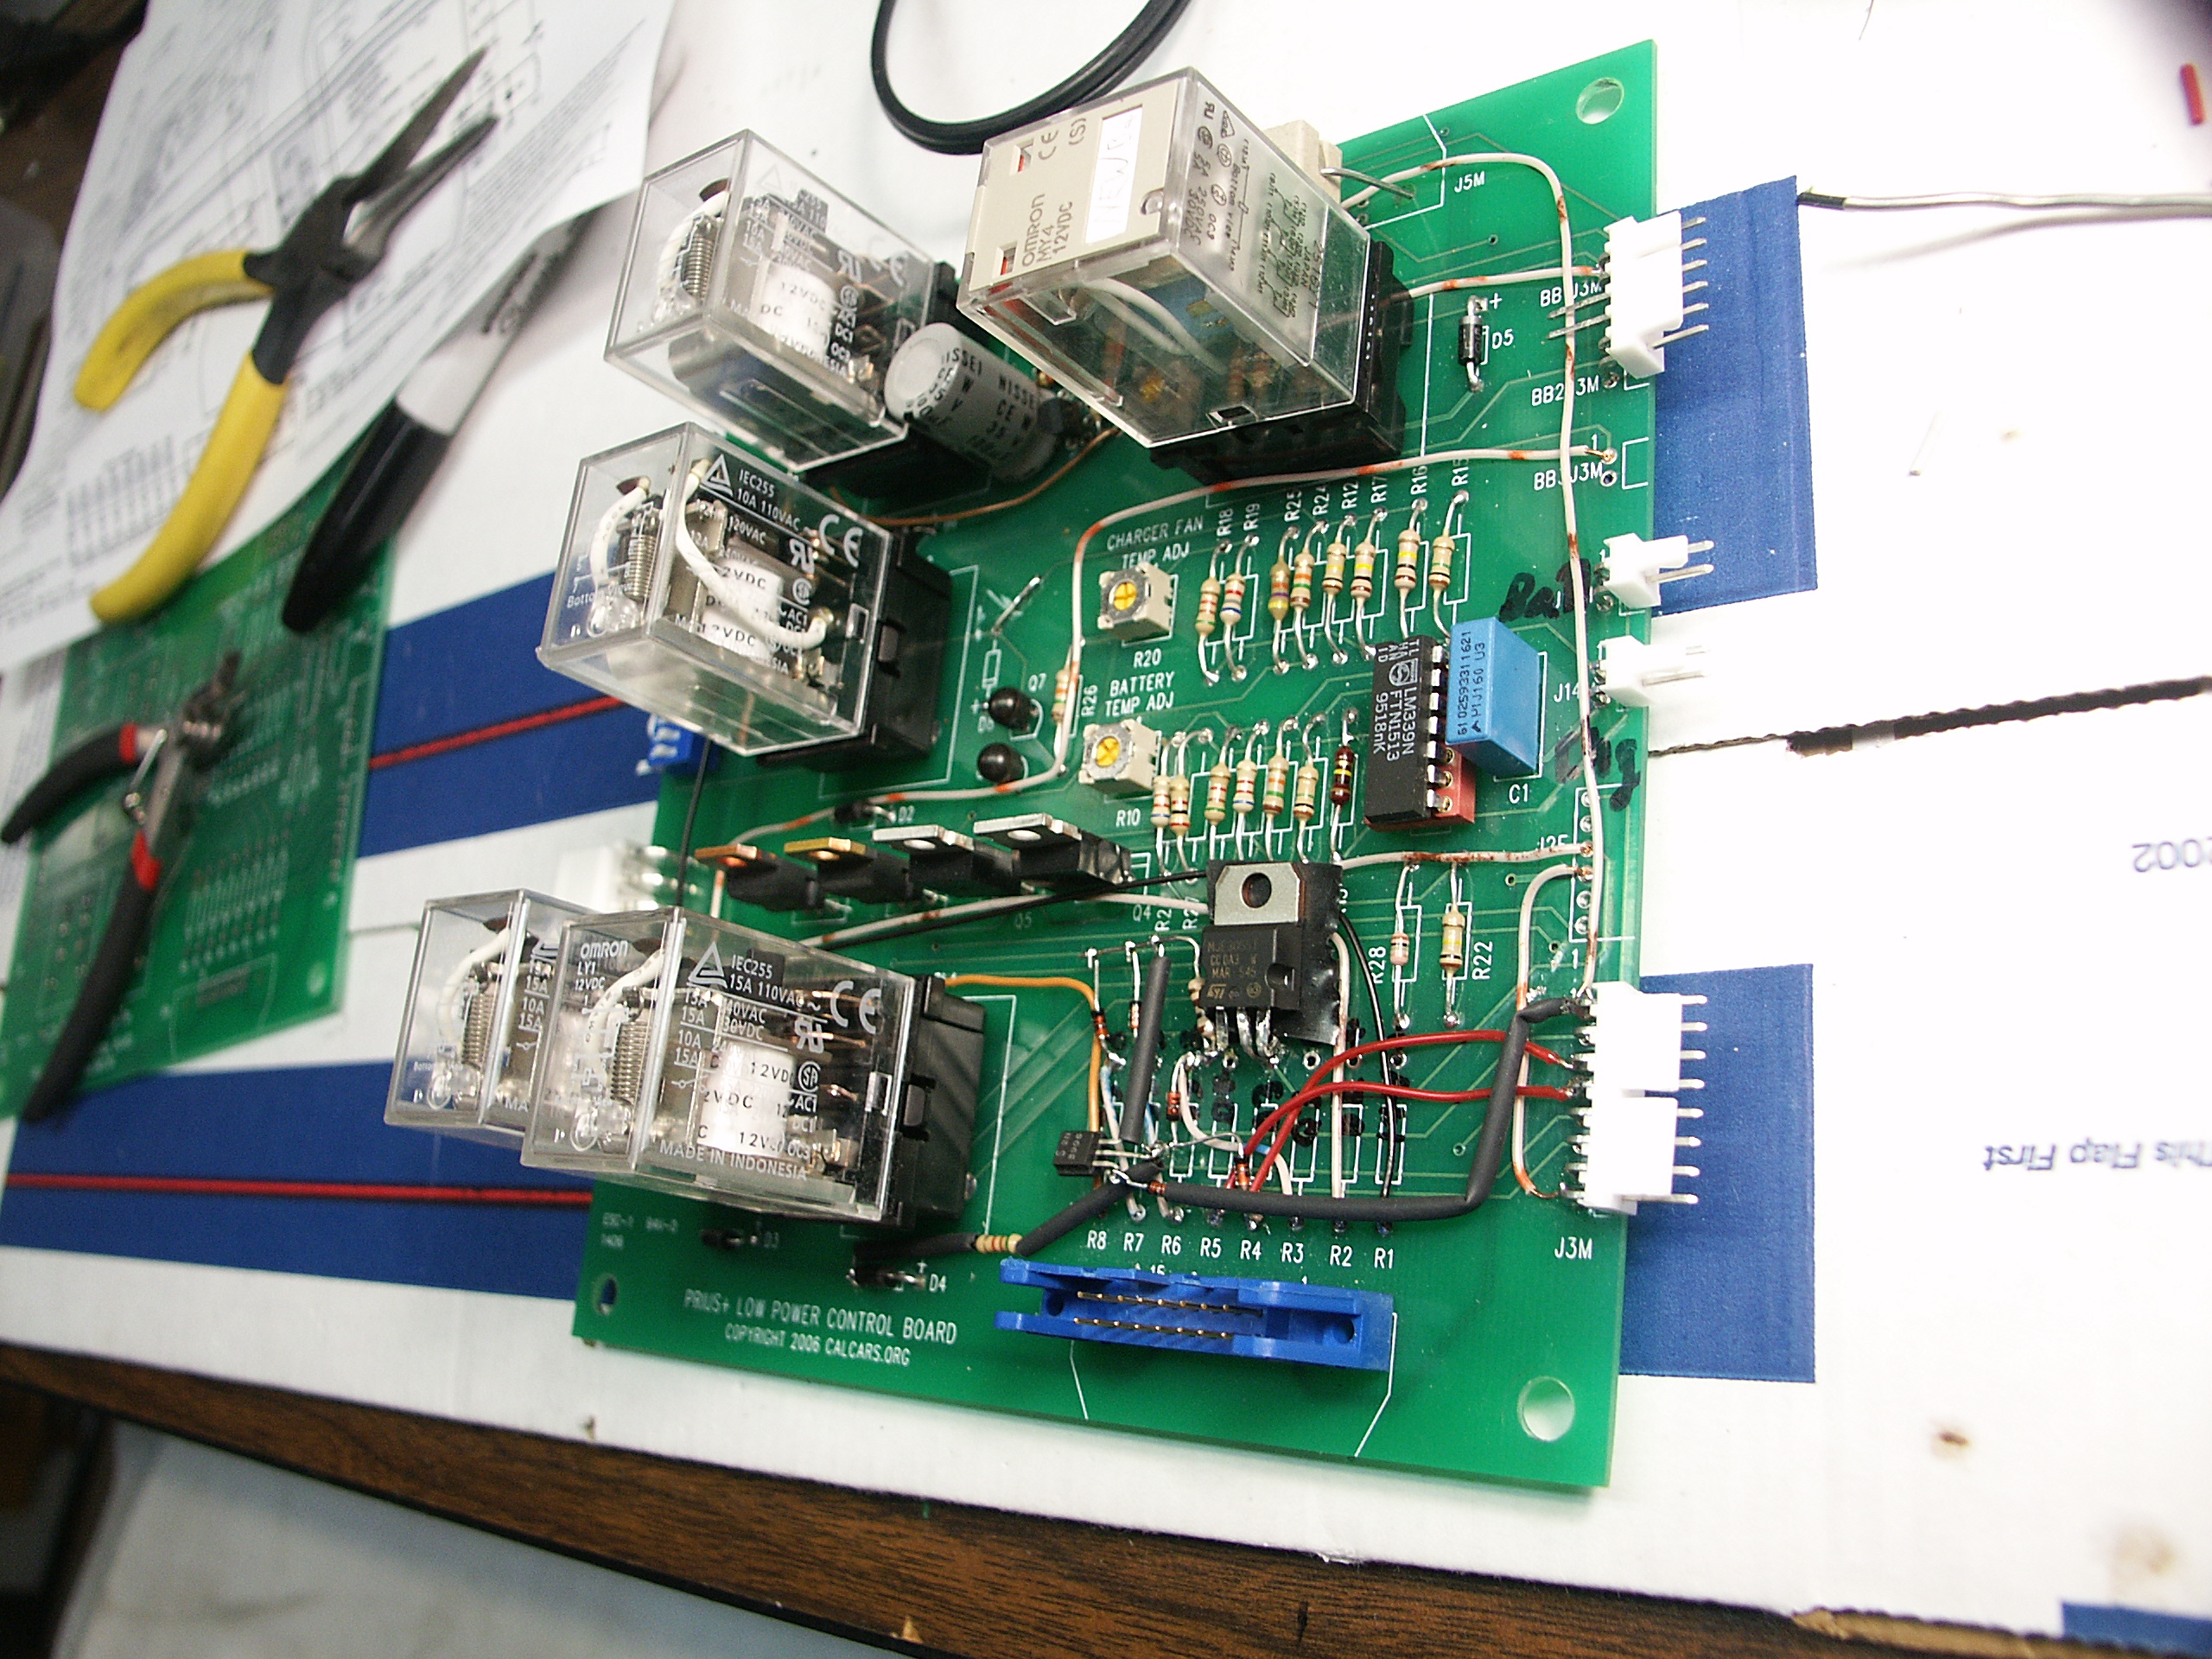
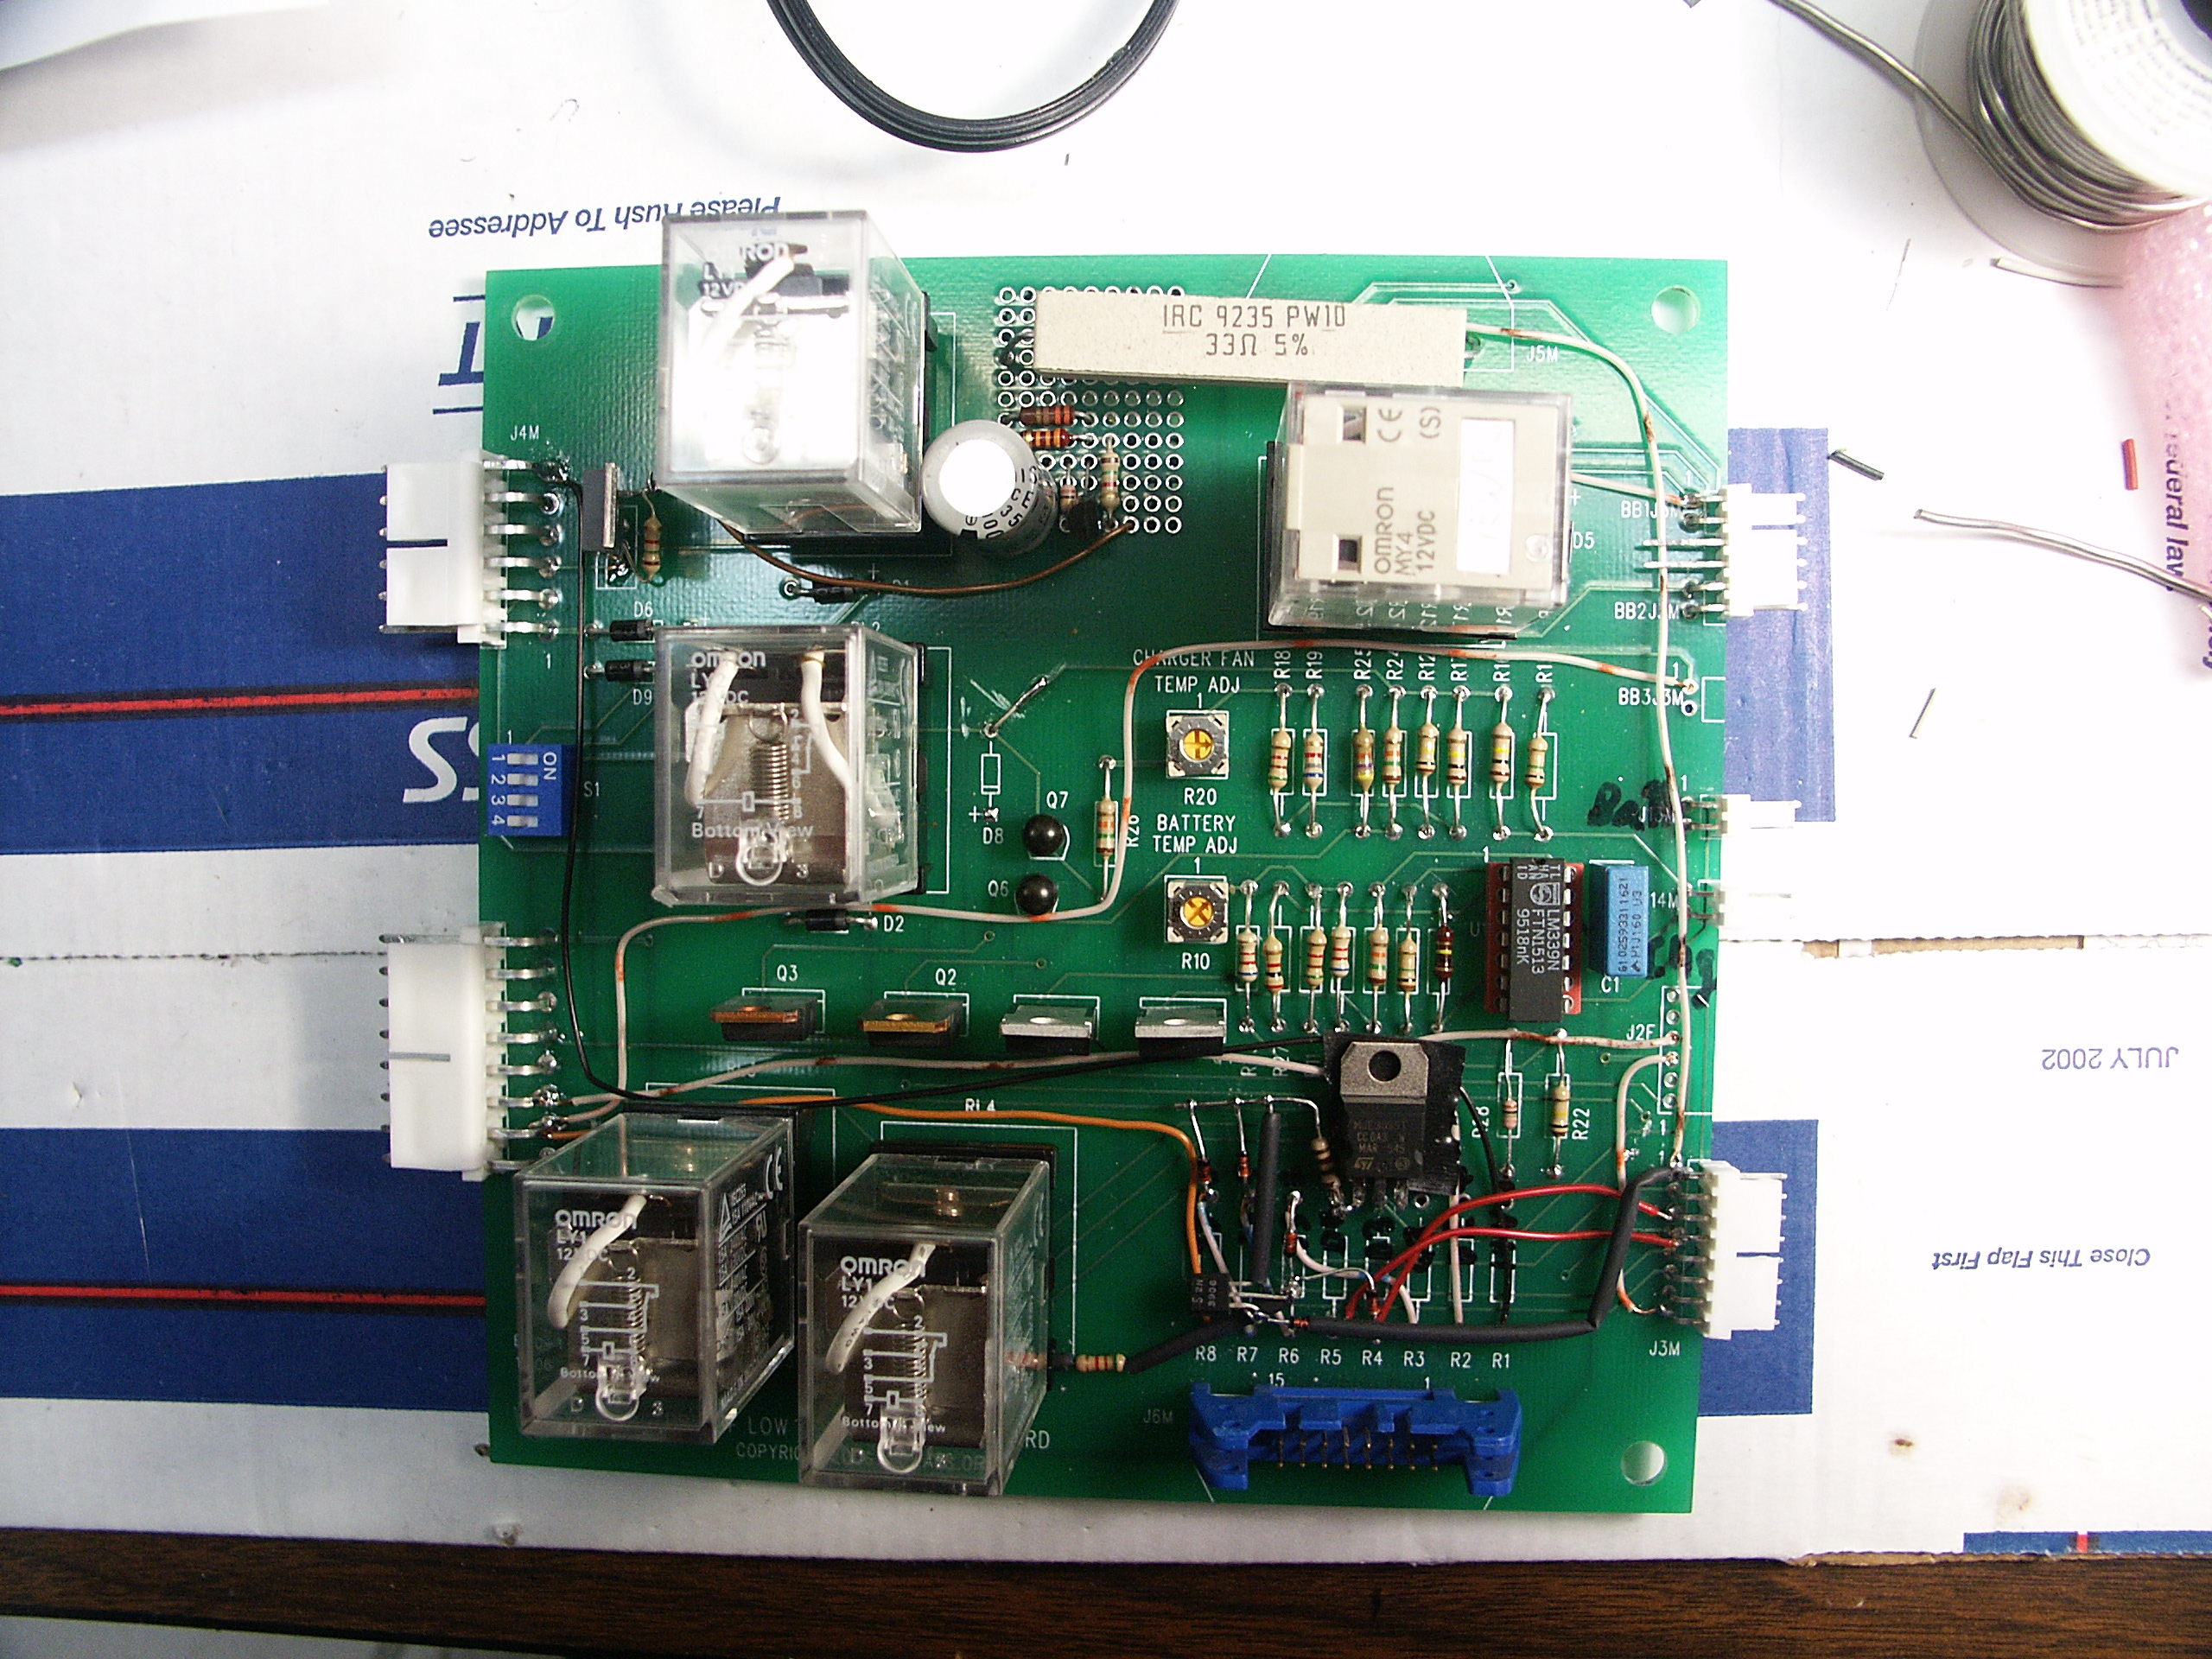
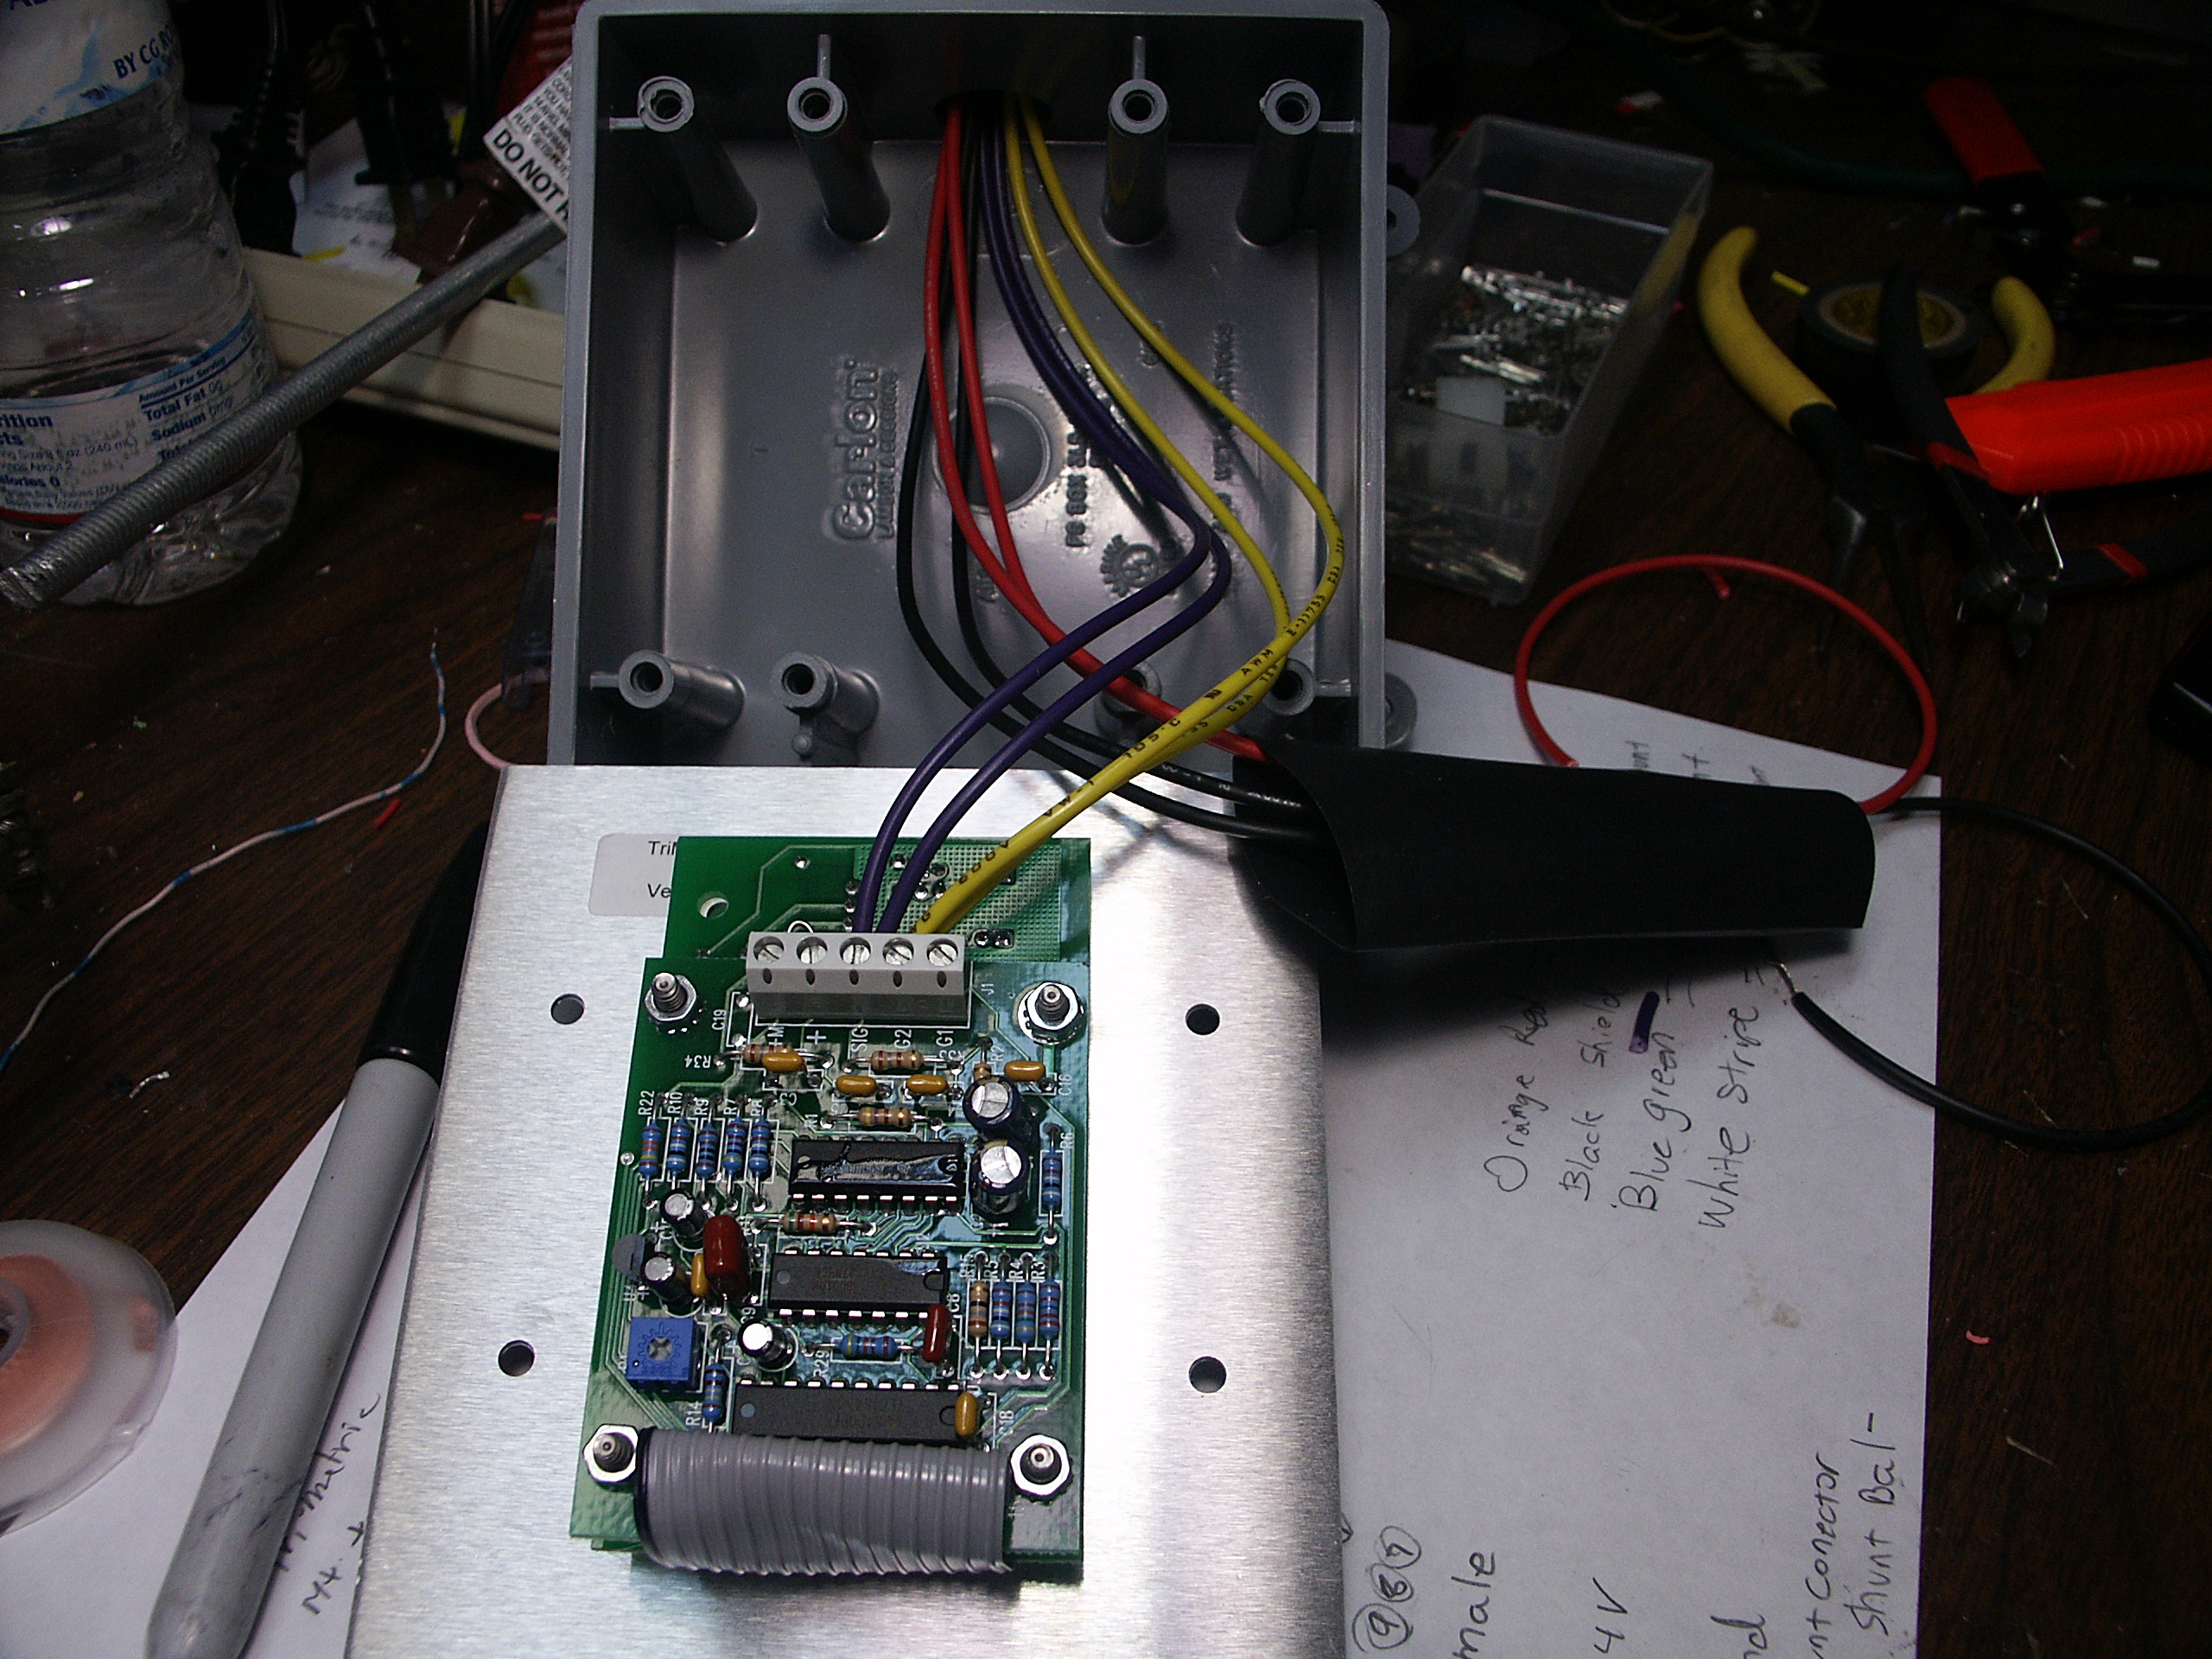
| 03:43, 25 November 2006 | P10408.JPG (file) |  |
2.12 MB | Rjf | Photo from Ron of the PriusPlus conversion of Sven's Prius from Nov 2006. Electronics Board. | 1 |
| 03:43, 25 November 2006 | P10407.JPG (file) |  |
2.05 MB | Rjf | Photo from Ron of the PriusPlus conversion of Sven's Prius from Nov 2006. Electronics Board. | 1 |
| 03:41, 25 November 2006 | P10406.JPG (file) |  |
2.06 MB | Rjf | Photo from Ron of the PriusPlus conversion of Sven's Prius from Nov 2006. Electronics Board. | 1 |
| 03:41, 25 November 2006 | P10405.JPG (file) |  |
2.14 MB | Rjf | Photo from Ron of the PriusPlus conversion of Sven's Prius from Nov 2006. Electronics Board. | 1 |
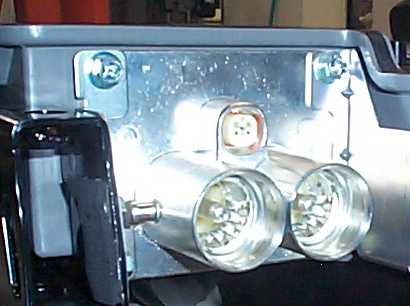
| 03:40, 25 November 2006 | P10403.JPG (file) |  |
2.48 MB | Rjf | Photo from Ron of the PriusPlus conversion of Sven's Prius from Nov 2006. Electronics housing cooling fan flaps. | 1 |
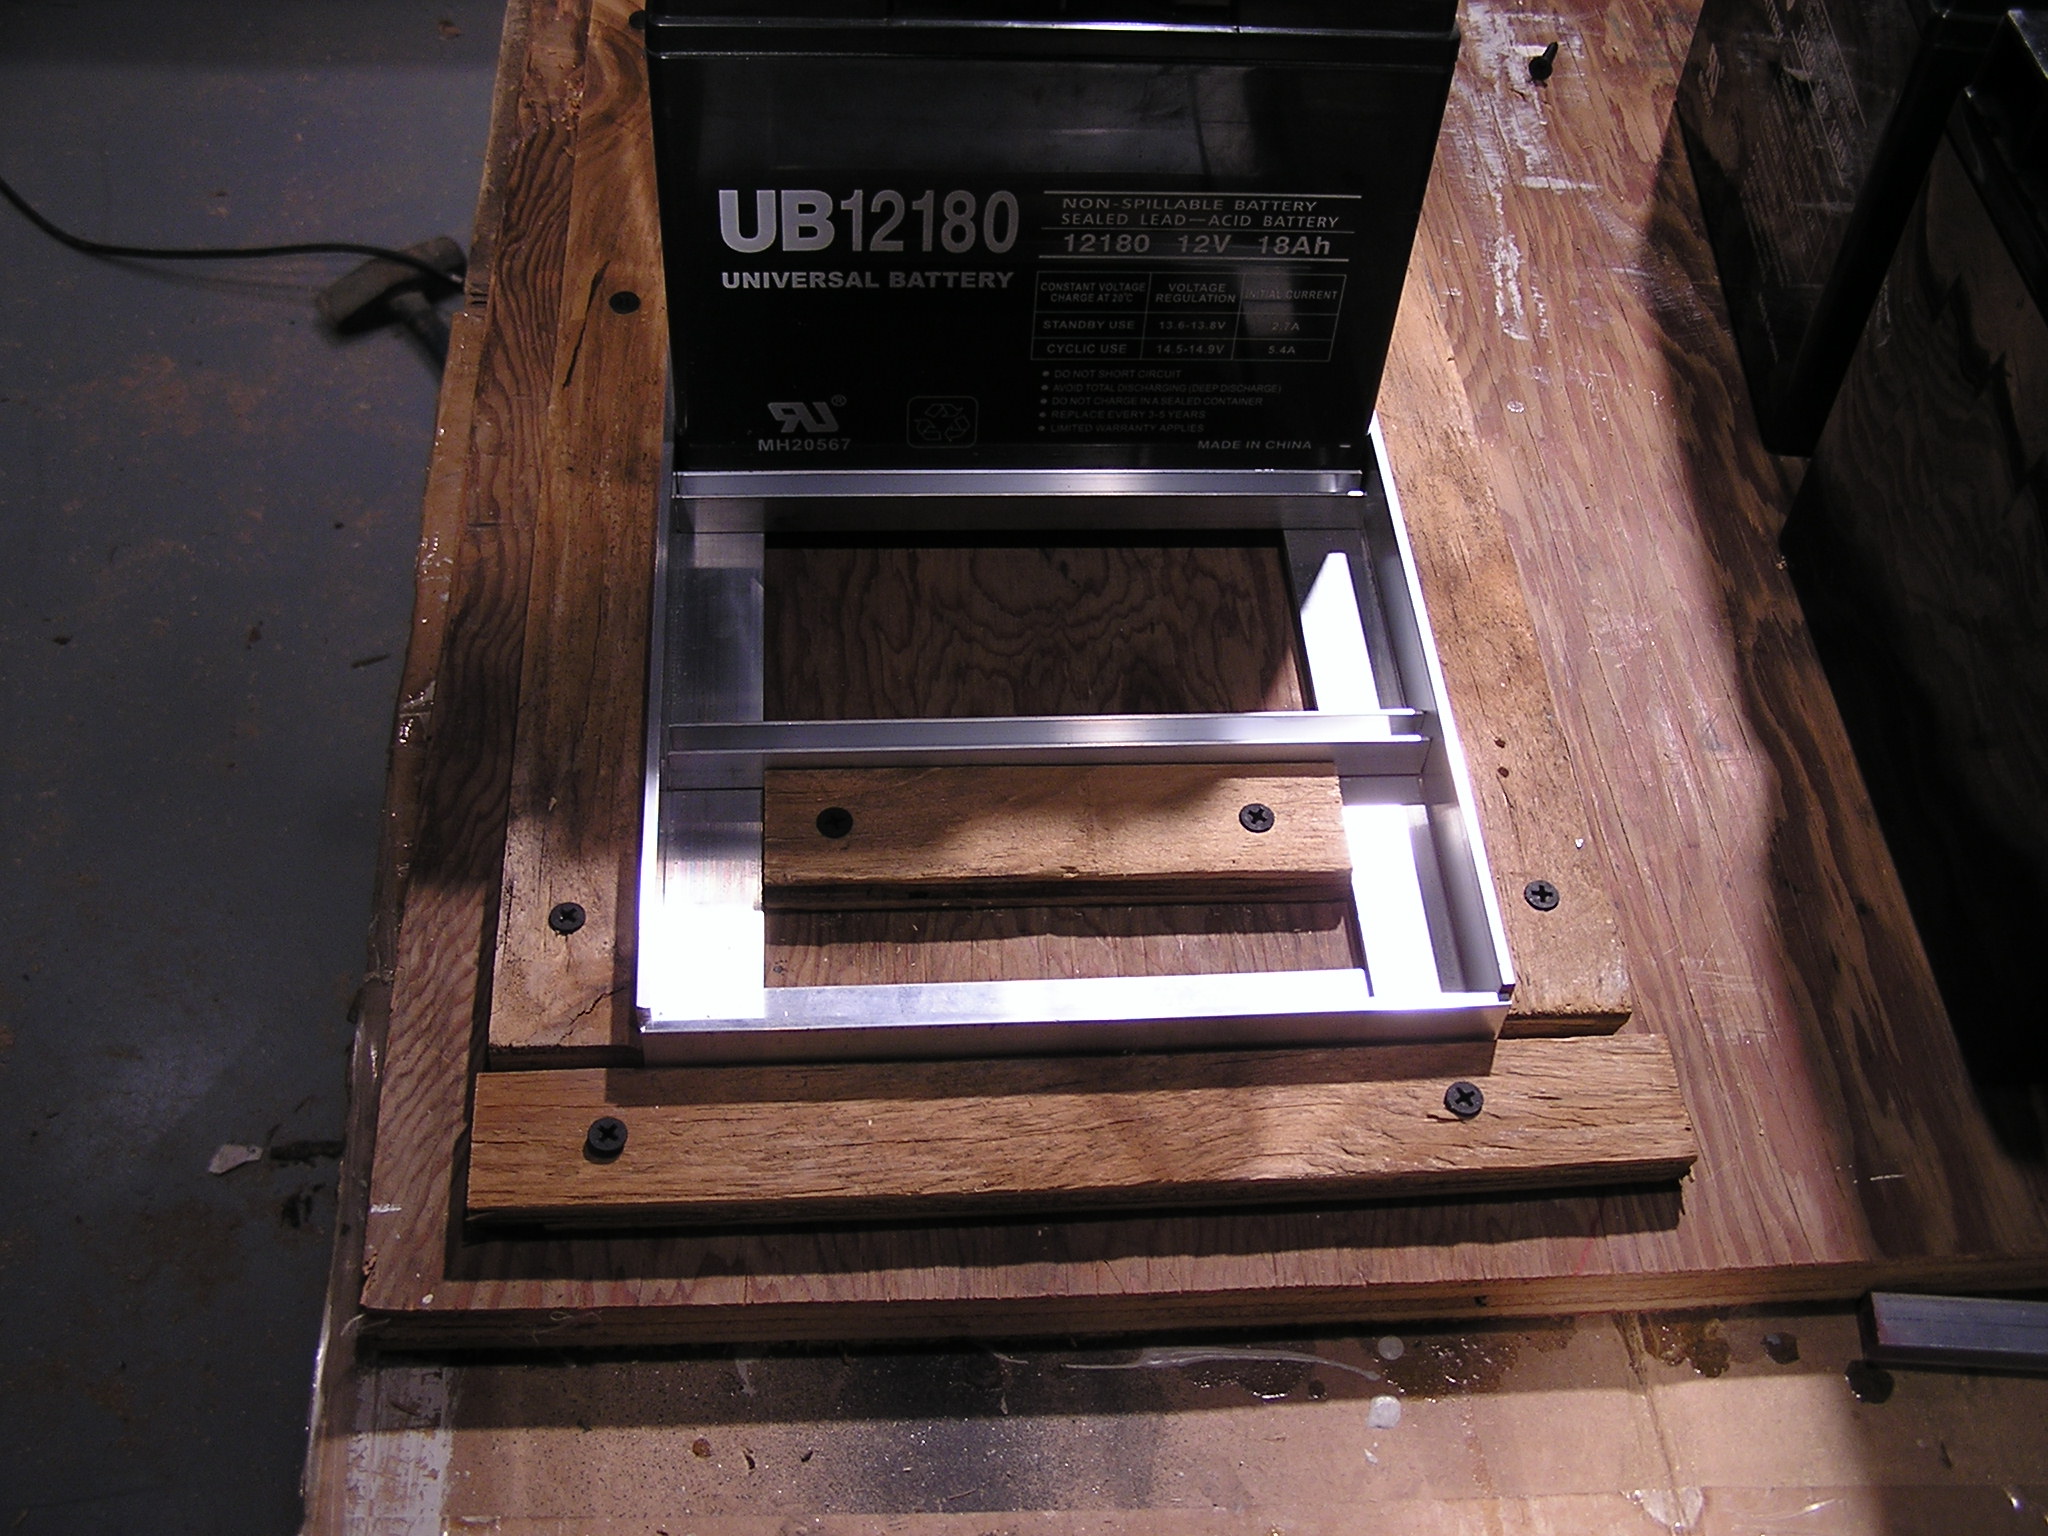
| 03:39, 25 November 2006 | P10404.JPG (file) |  |
1.92 MB | Rjf | Photo from Ron of the PriusPlus conversion of Sven's Prius from Nov 2006. Inside corner of battery box top. | 1 |
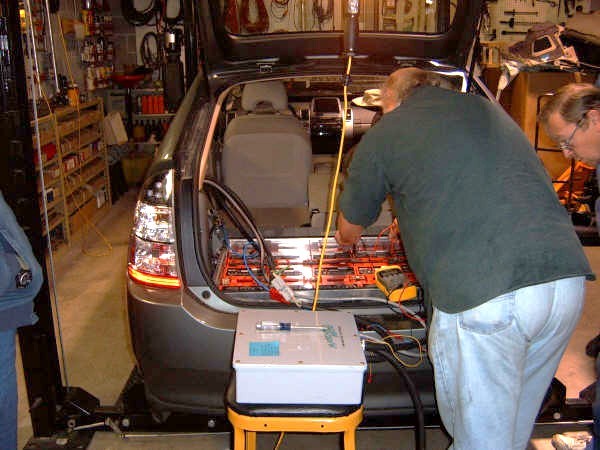
| 03:36, 25 November 2006 | P10402.JPG (file) |  |
2.15 MB | Rjf | Photo from Ron of the PriusPlus conversion of Sven's Prius from Nov 2006. Ah Meter. | 1 |
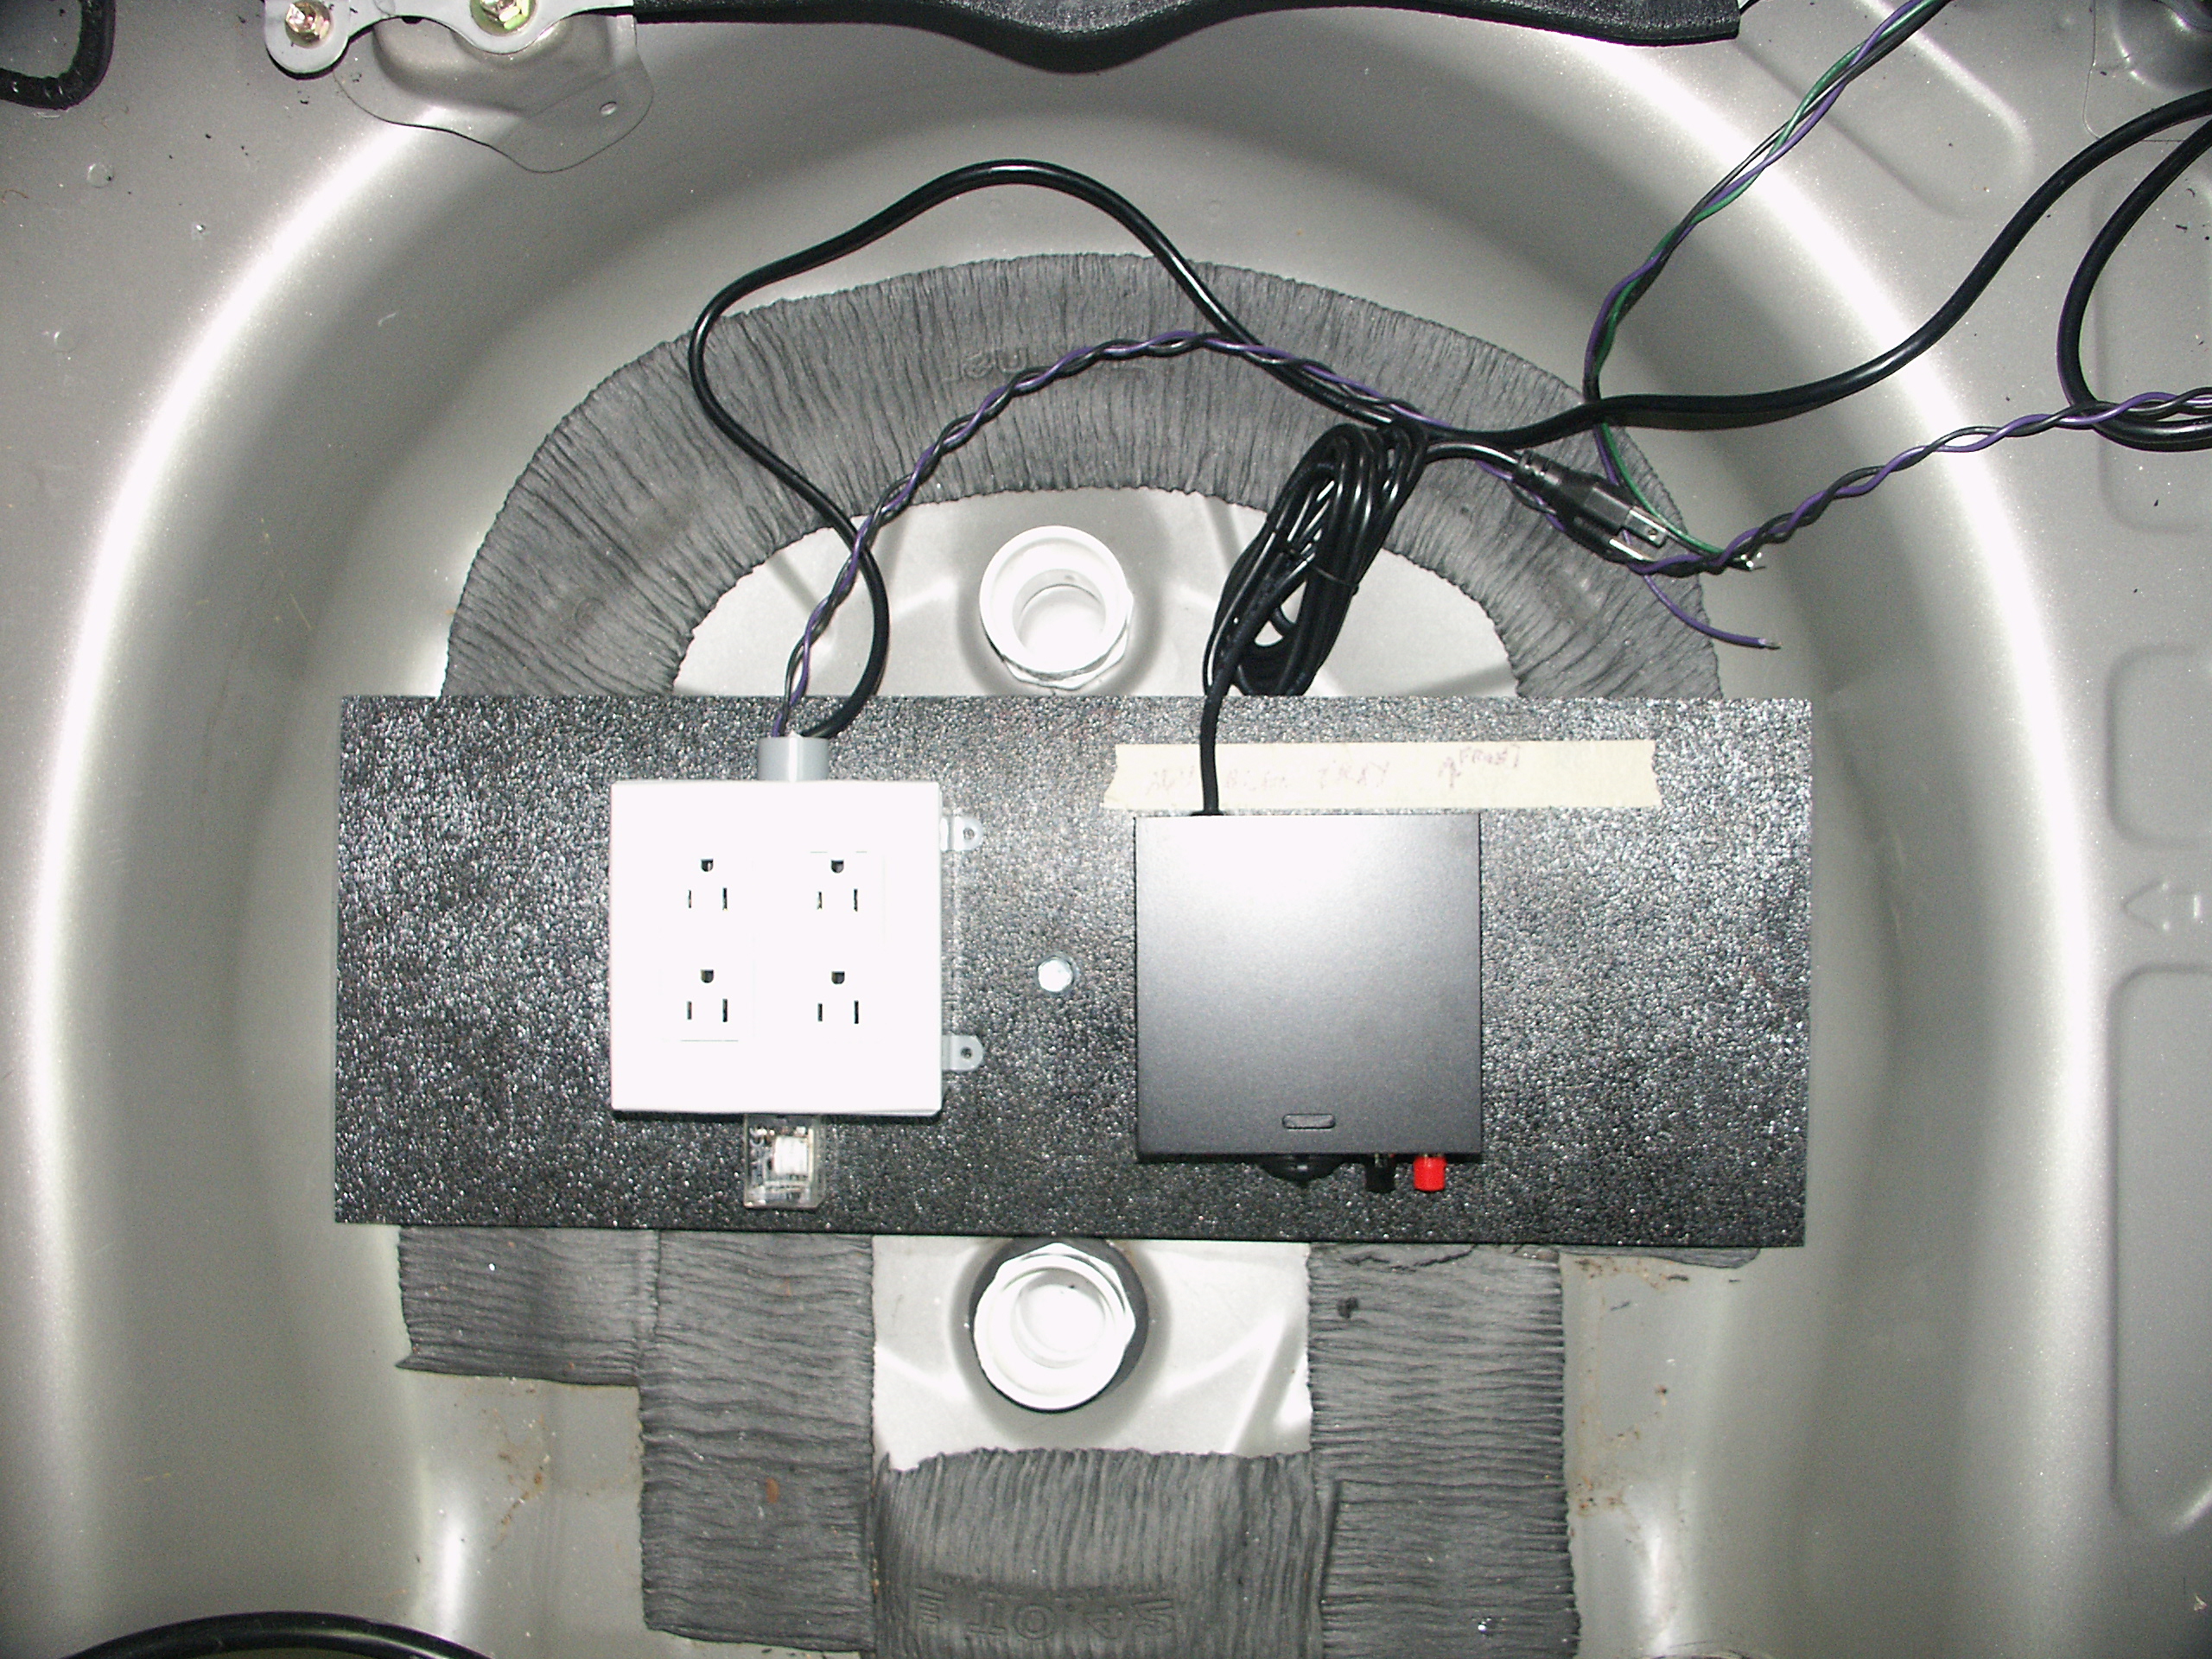
| 03:35, 25 November 2006 | P10400.JPG (file) |  |
2.42 MB | Rjf | Photo from Ron of the PriusPlus conversion of Sven's Prius from Nov 2006. 110v breakout quad and 110 to 12v power supply. | 1 |
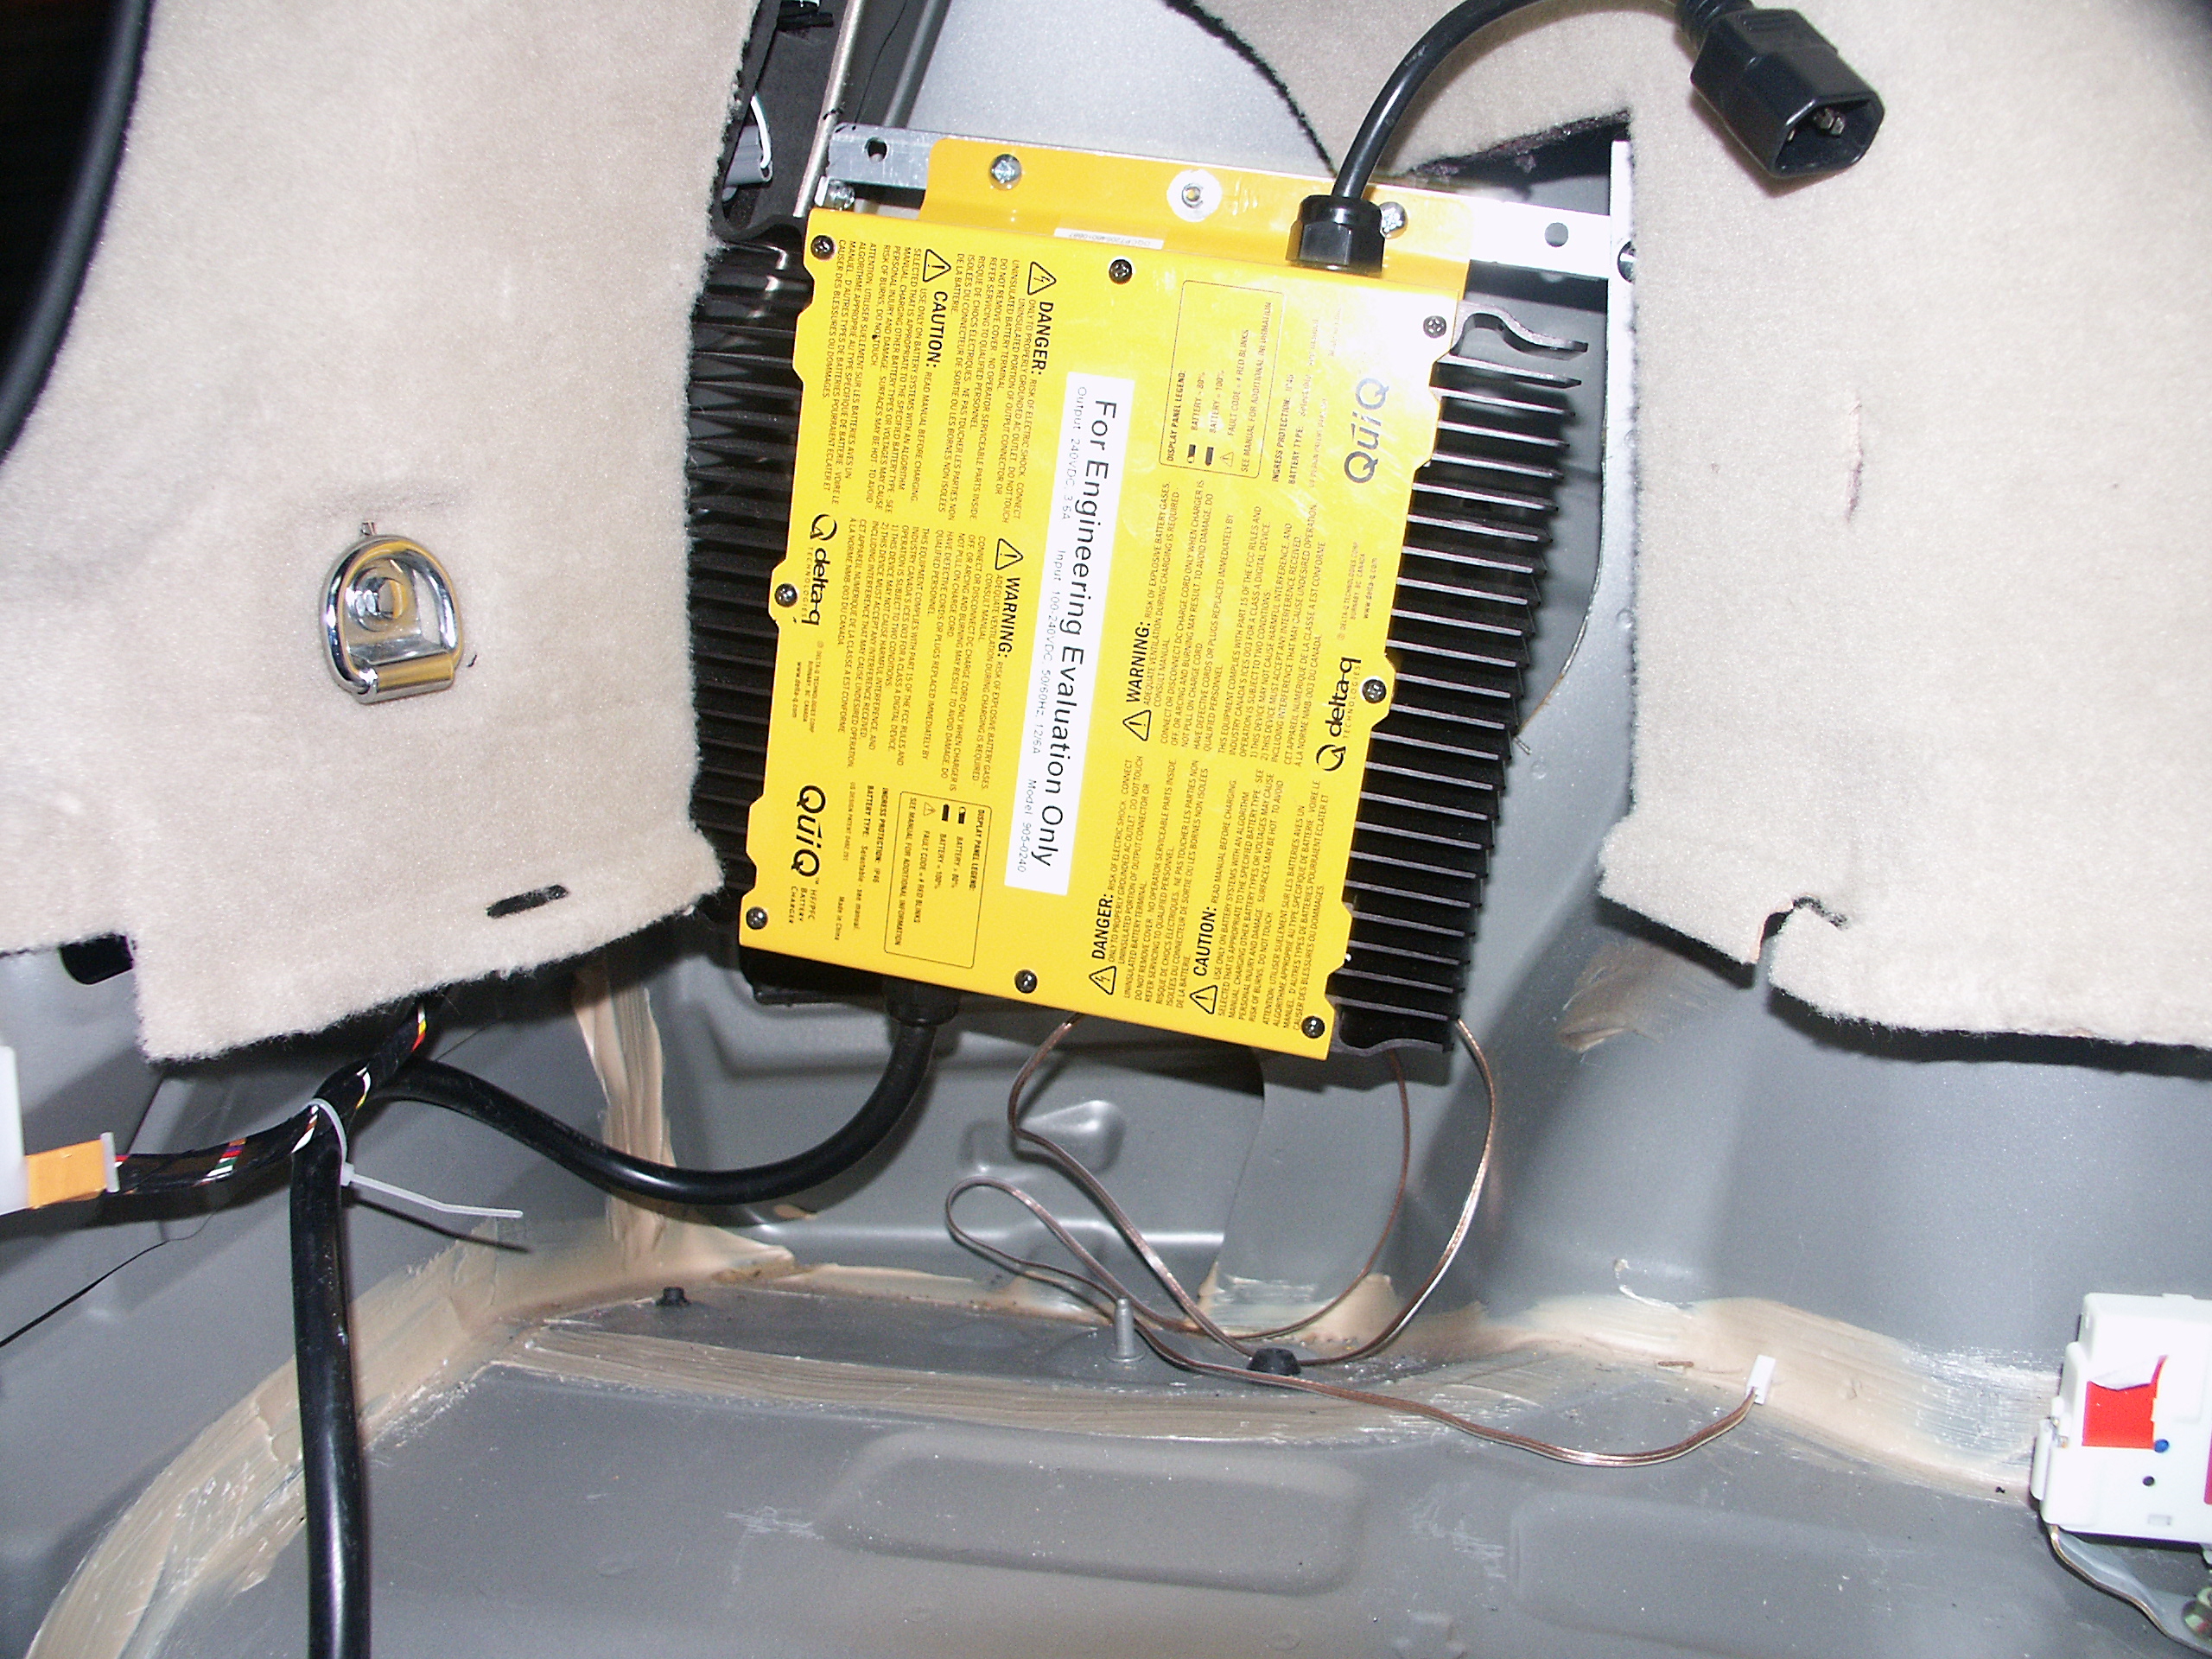
| 03:34, 25 November 2006 | P10398.JPG (file) |  |
2.1 MB | Rjf | Photo from Ron of the PriusPlus conversion of Sven's Prius from Nov 2006. Delta-Q Charger installed. | 1 |
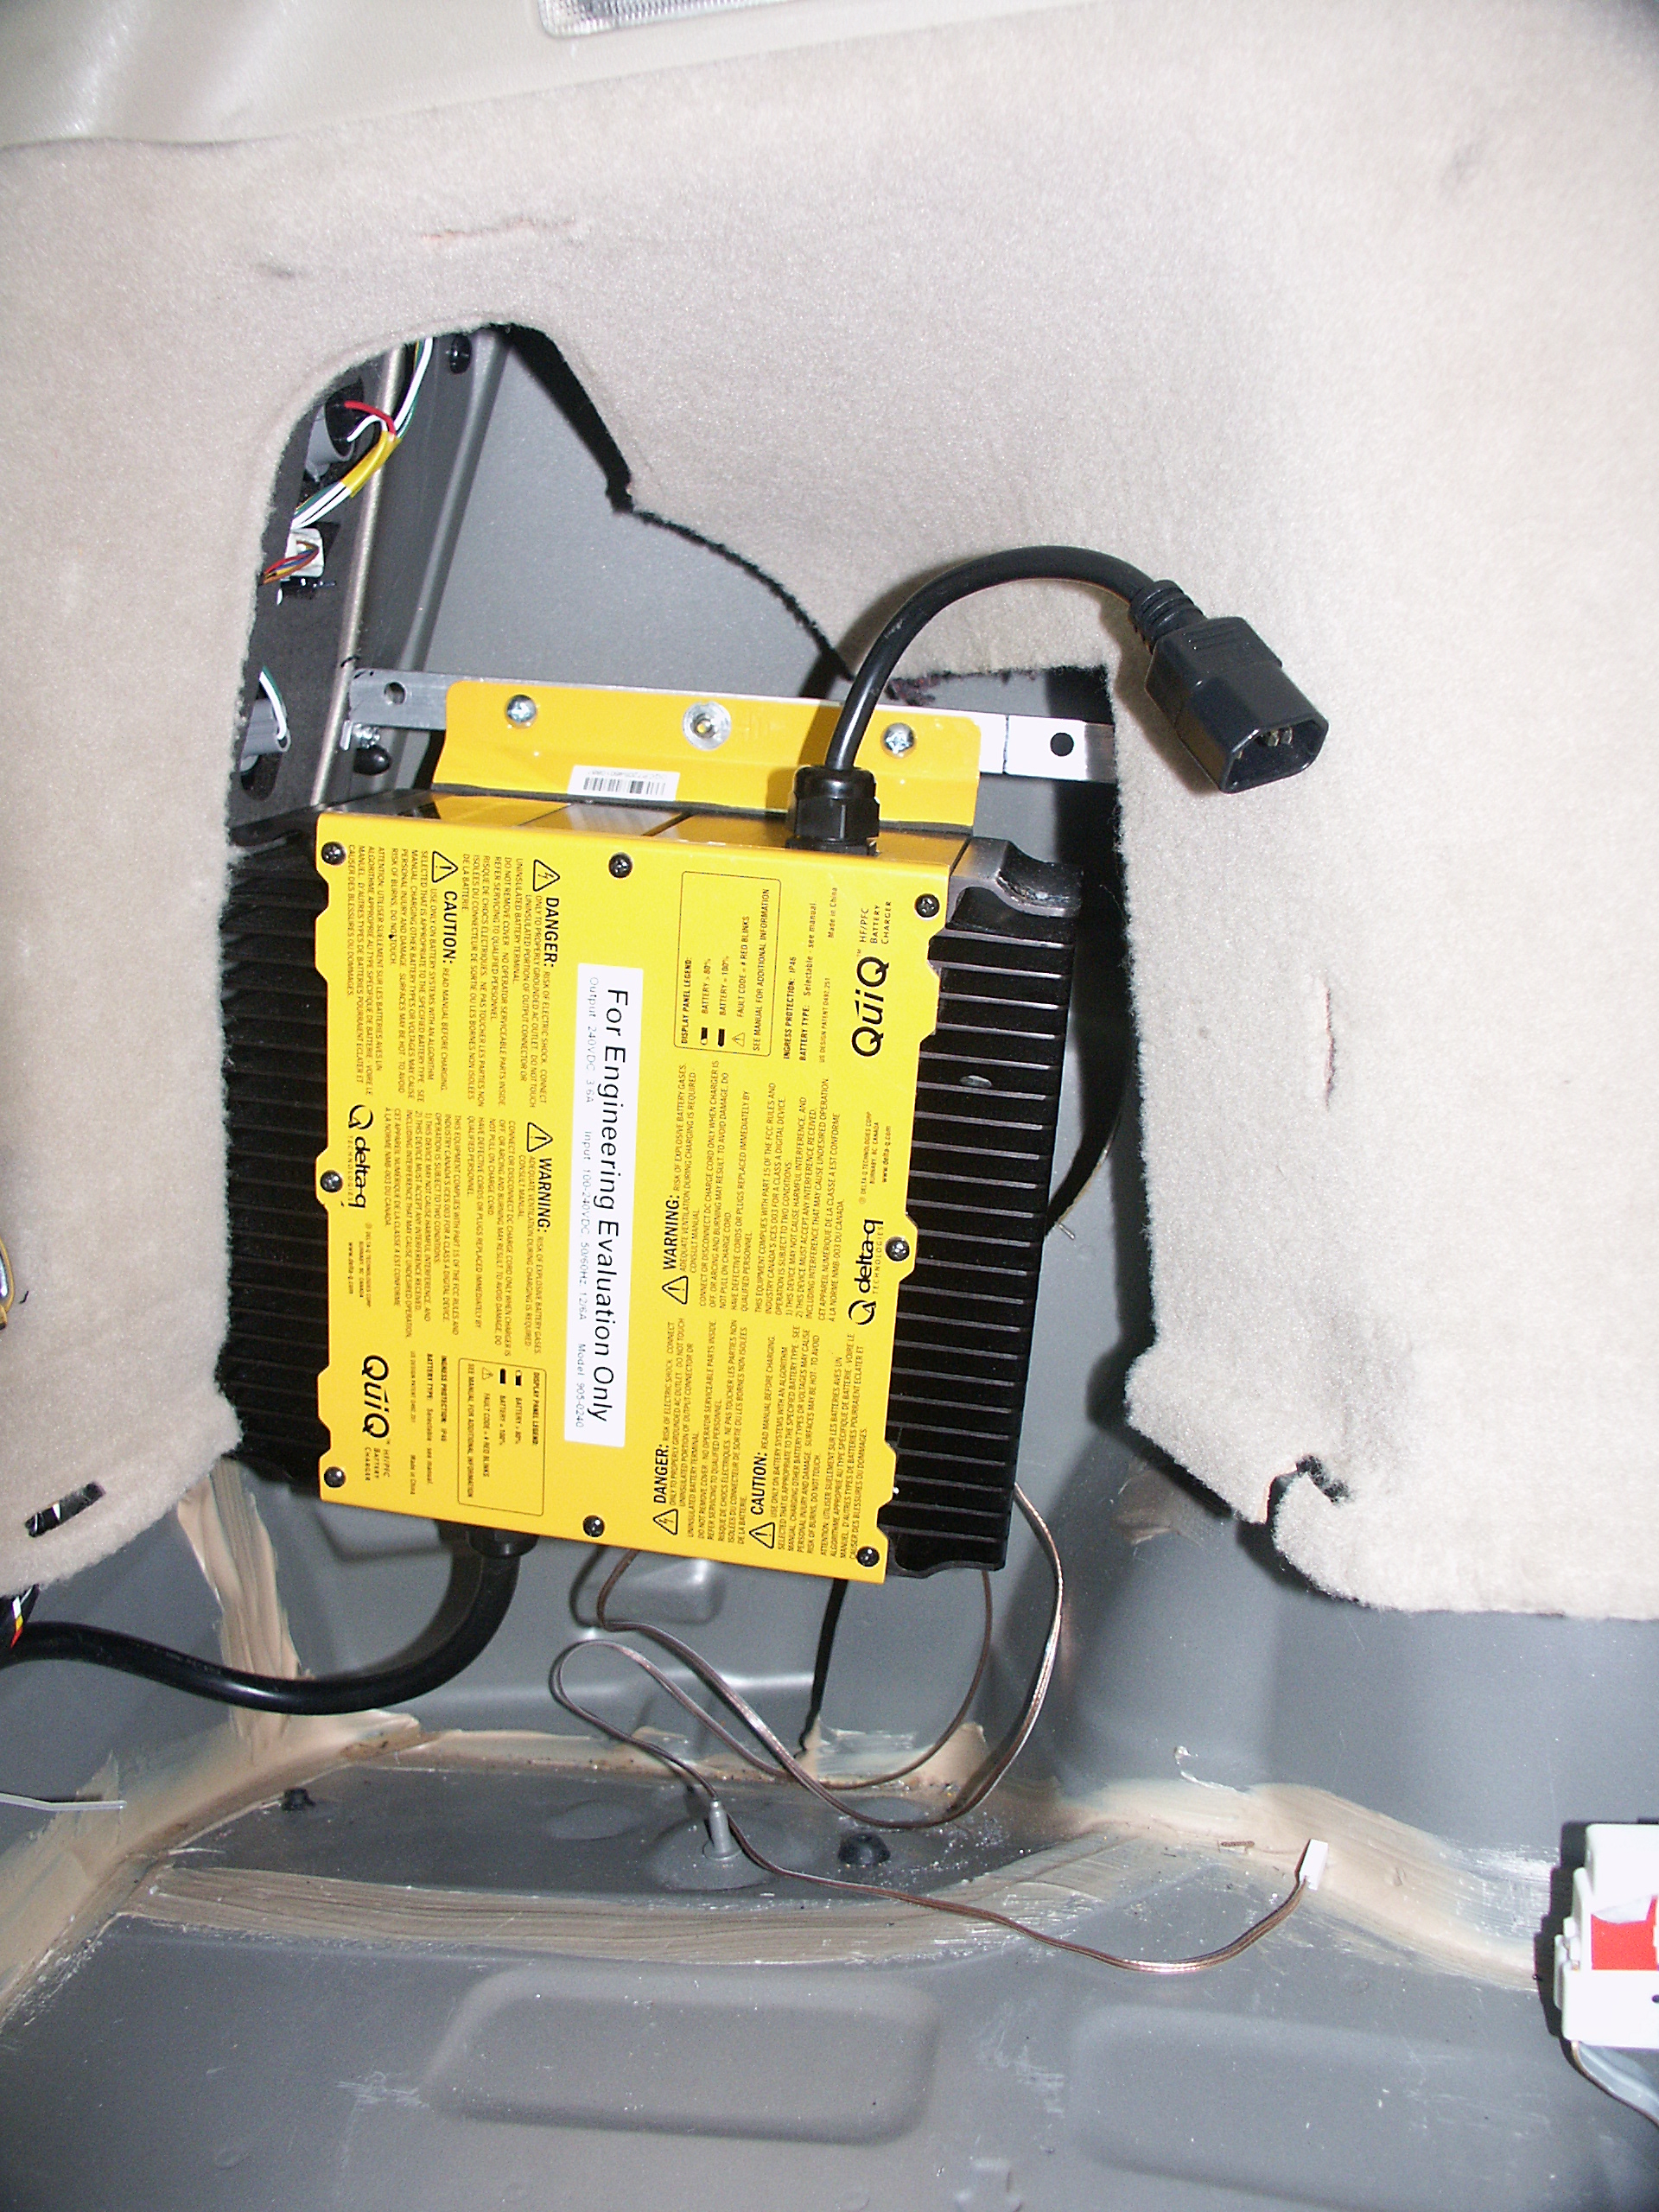
| 03:33, 25 November 2006 | P10397.JPG (file) |  |
2.23 MB | Rjf | Photo from Ron of the PriusPlus conversion of Sven's Prius from Nov 2006. Delta-Q Charger installed. | 1 |
| 03:33, 25 November 2006 | P10396.JPG (file) |  |
2.36 MB | Rjf | Photo from Ron of the PriusPlus conversion of Sven's Prius from Nov 2006. Bracket for ABS control. | 1 |
| 03:31, 25 November 2006 | P10395.JPG (file) |  |
2.44 MB | Rjf | Photo from Ron of the PriusPlus conversion of Sven's Prius from Nov 2006. Bracket for ABS control. | 1 |
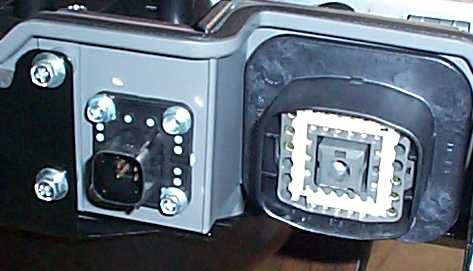
| 03:31, 25 November 2006 | P10394.JPG (file) |  |
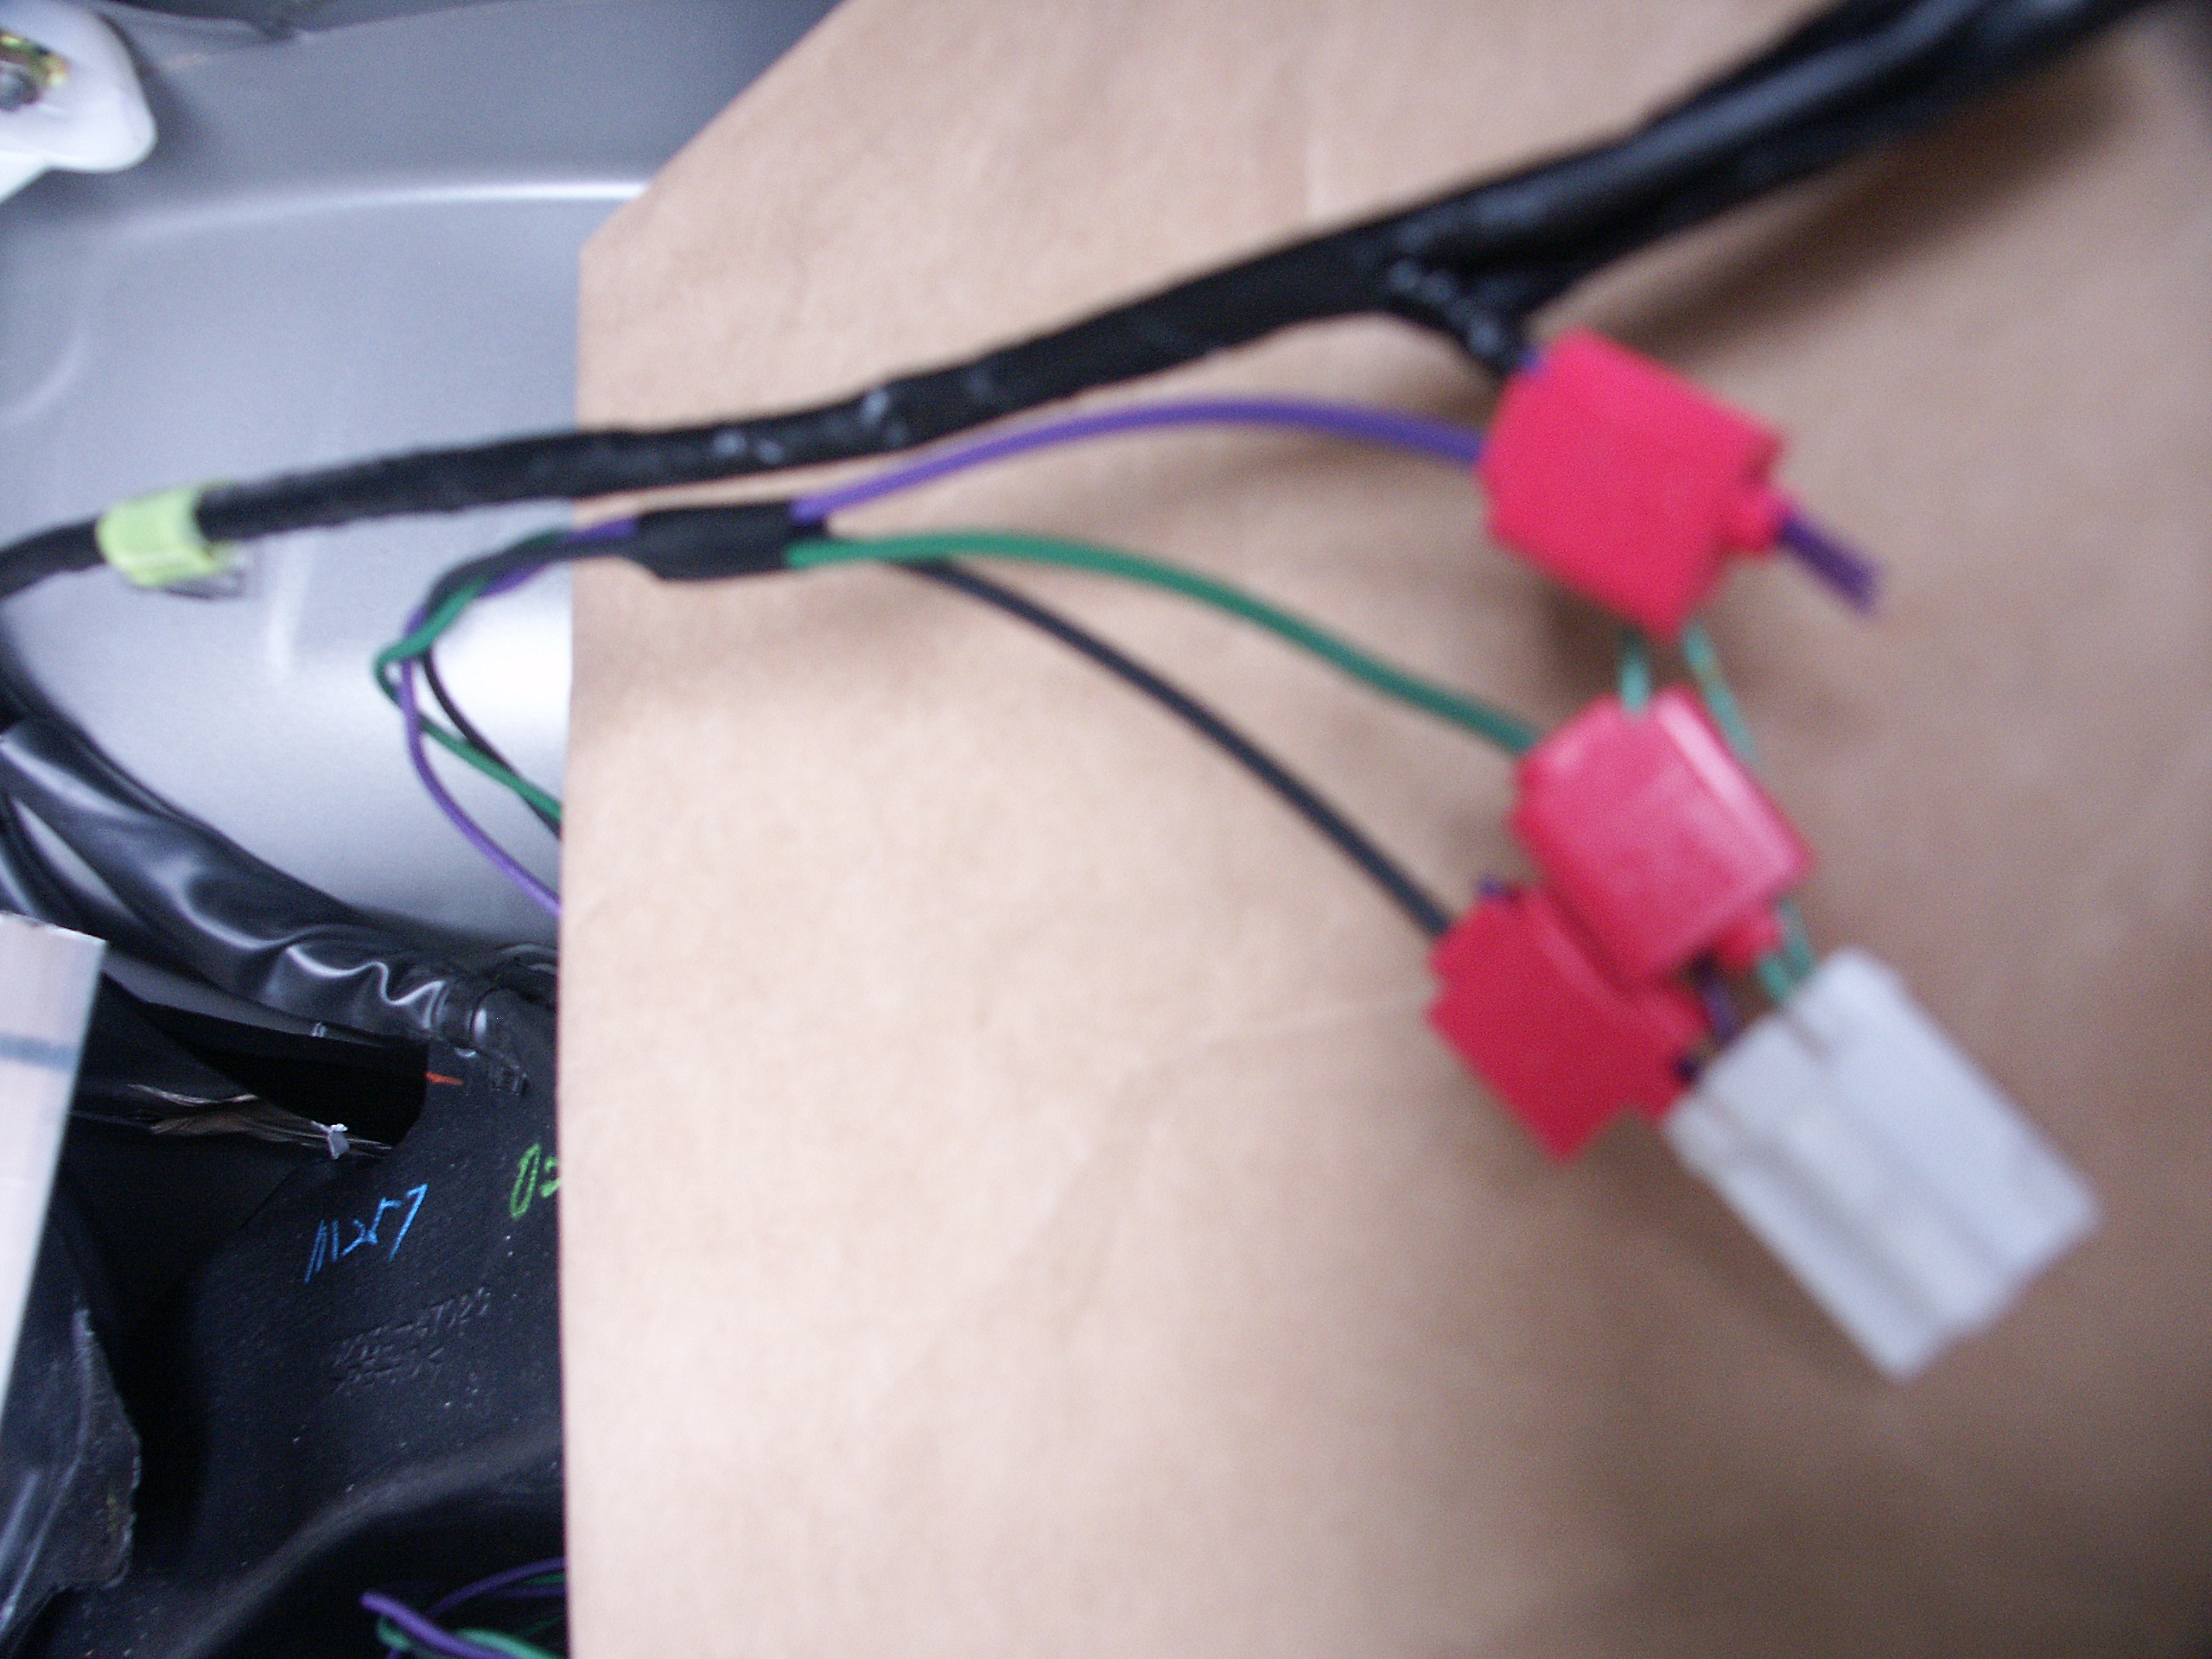
1.93 MB | Rjf | Photo from Ron of the PriusPlus conversion of Sven's Prius from Nov 2006. Wire Taps into OEM contactor controls. | 1 |