|
General Disclaimer: (HV) (DC) injury or death hazard, use at your own risk, may void warranty. |
Uploads by Rjf
Jump to navigation
Jump to search
This special page shows all uploaded files.
| Date | Name | Thumbnail | Size | Description | Versions |
|---|---|---|---|---|---|
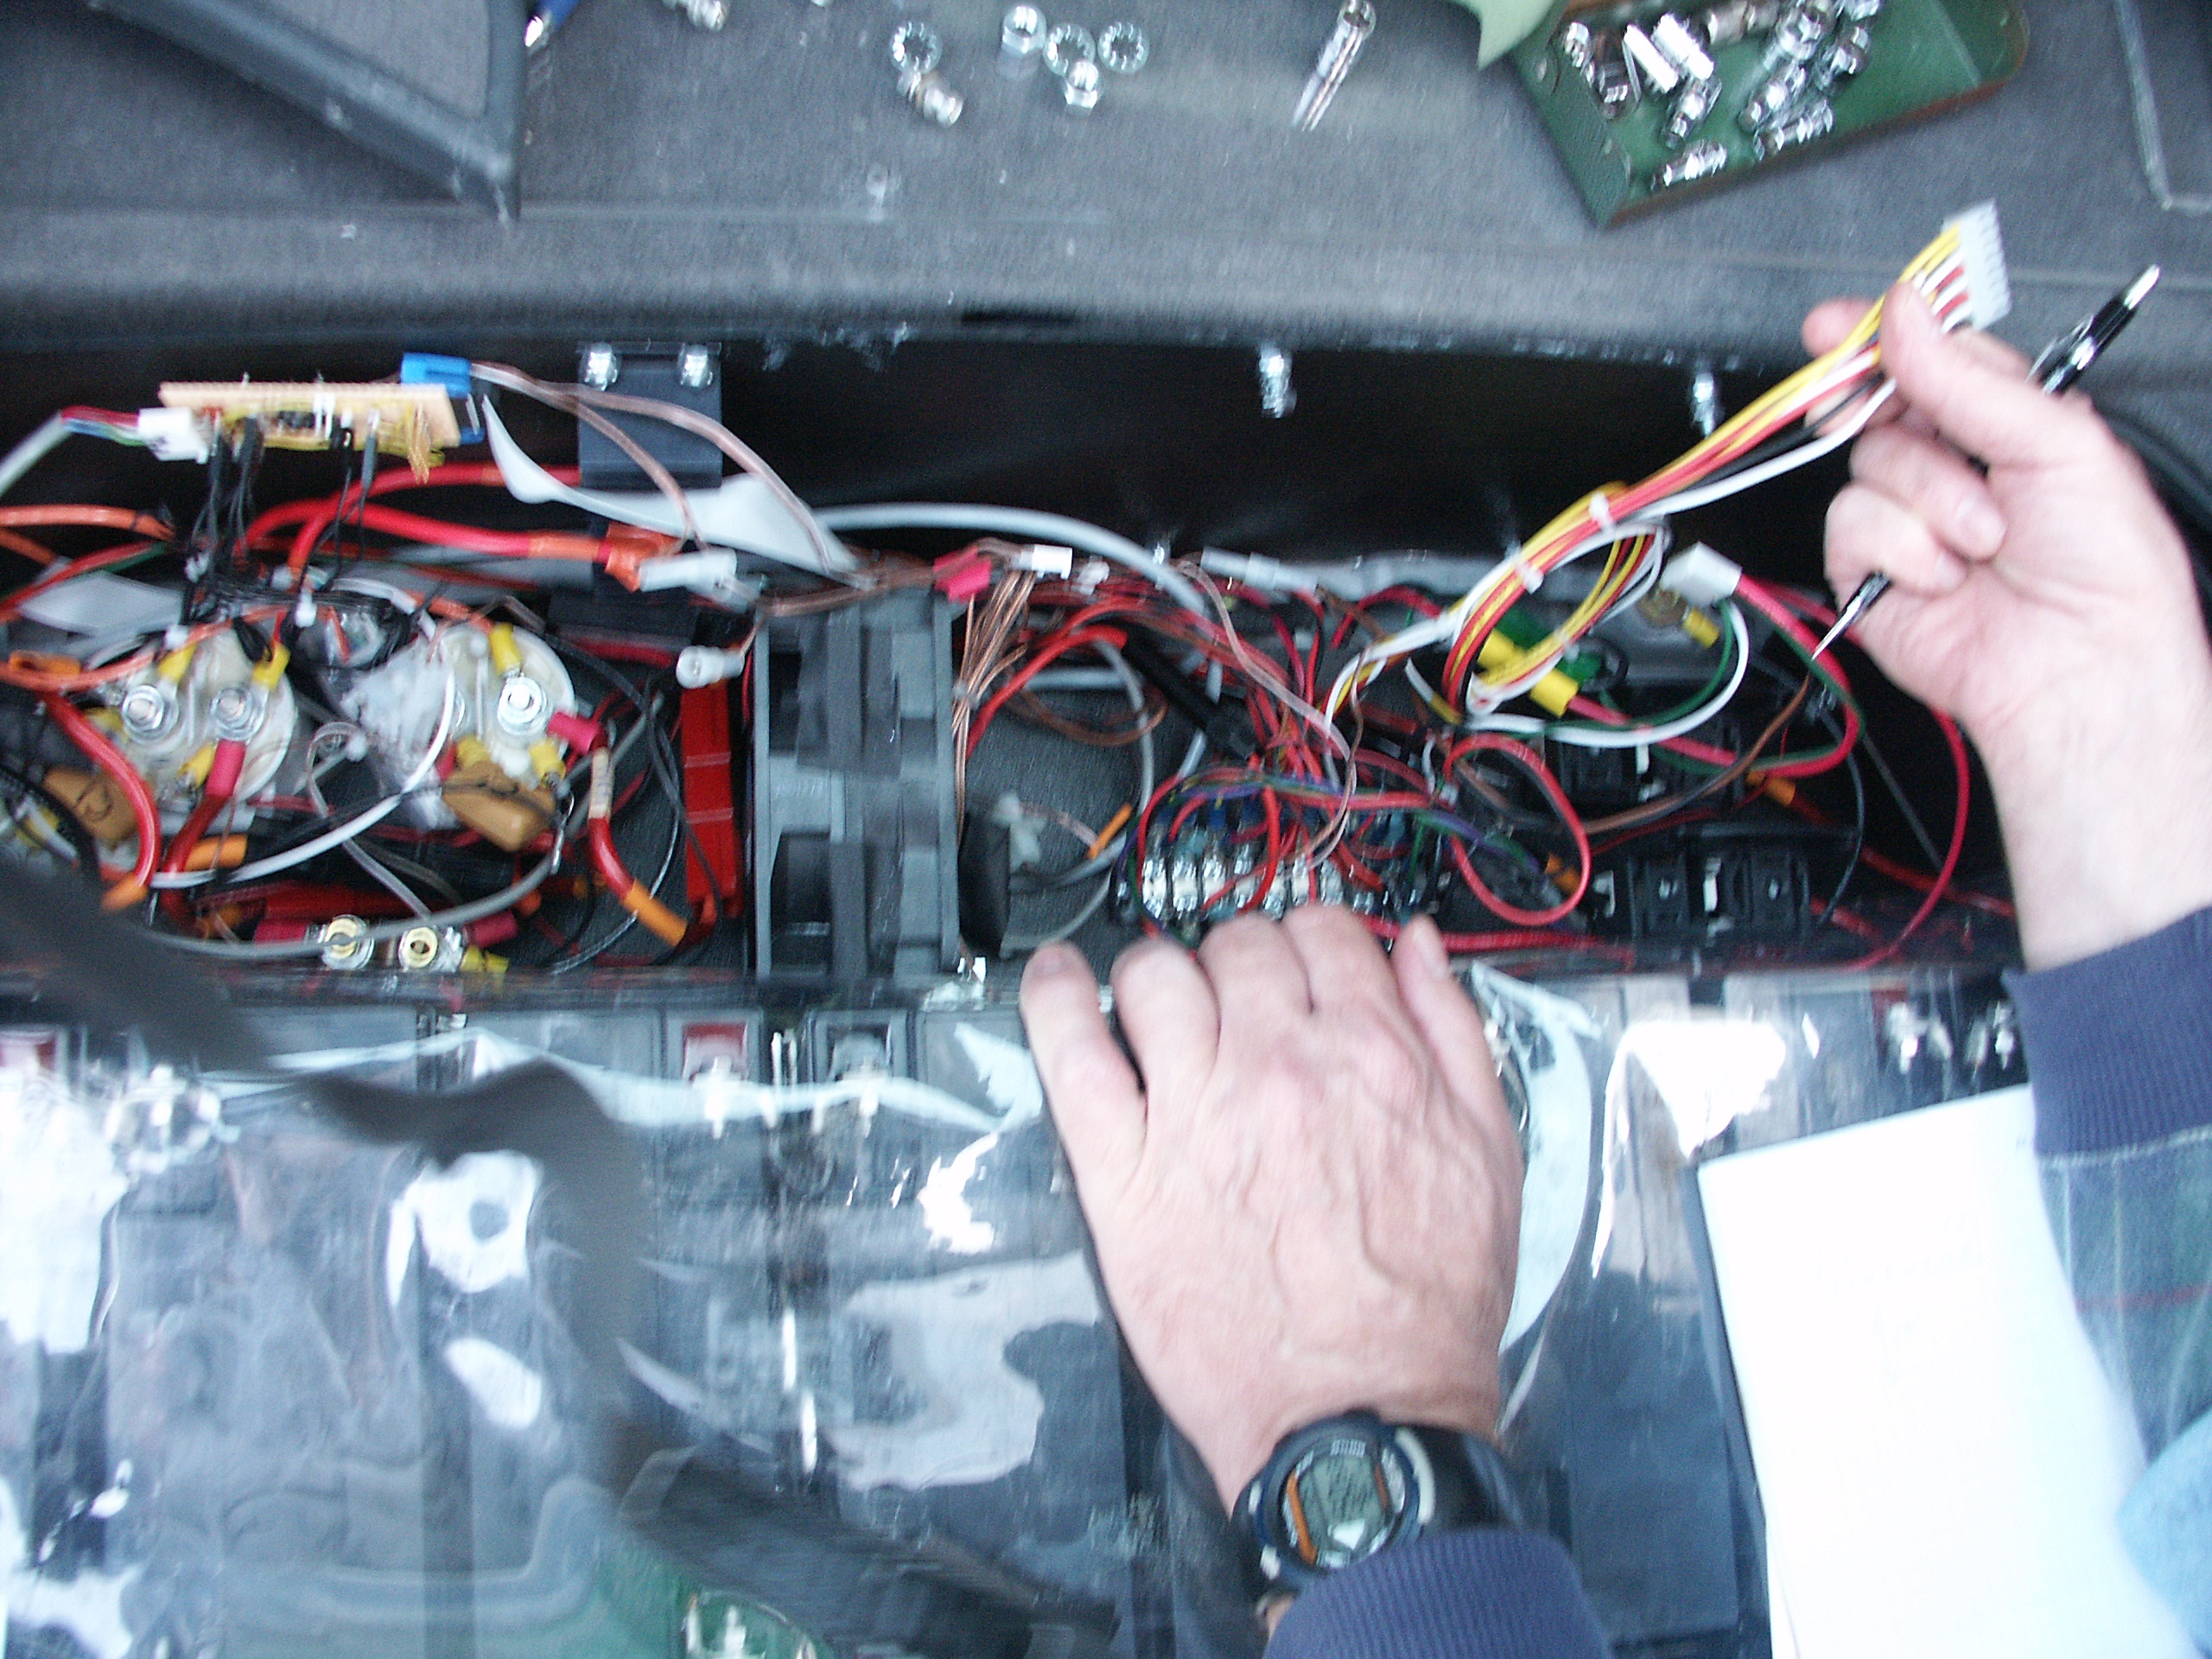
| 03:11, 25 November 2006 | P10367.JPG (file) |  |
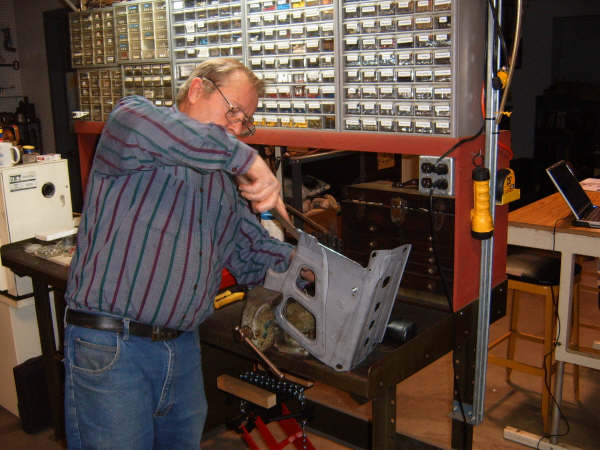
2.3 MB | Photo from Ron of the PriusPlus conversion of Sven's Prius from Nov 2006. Electronics in Rons Prius. | 1 |
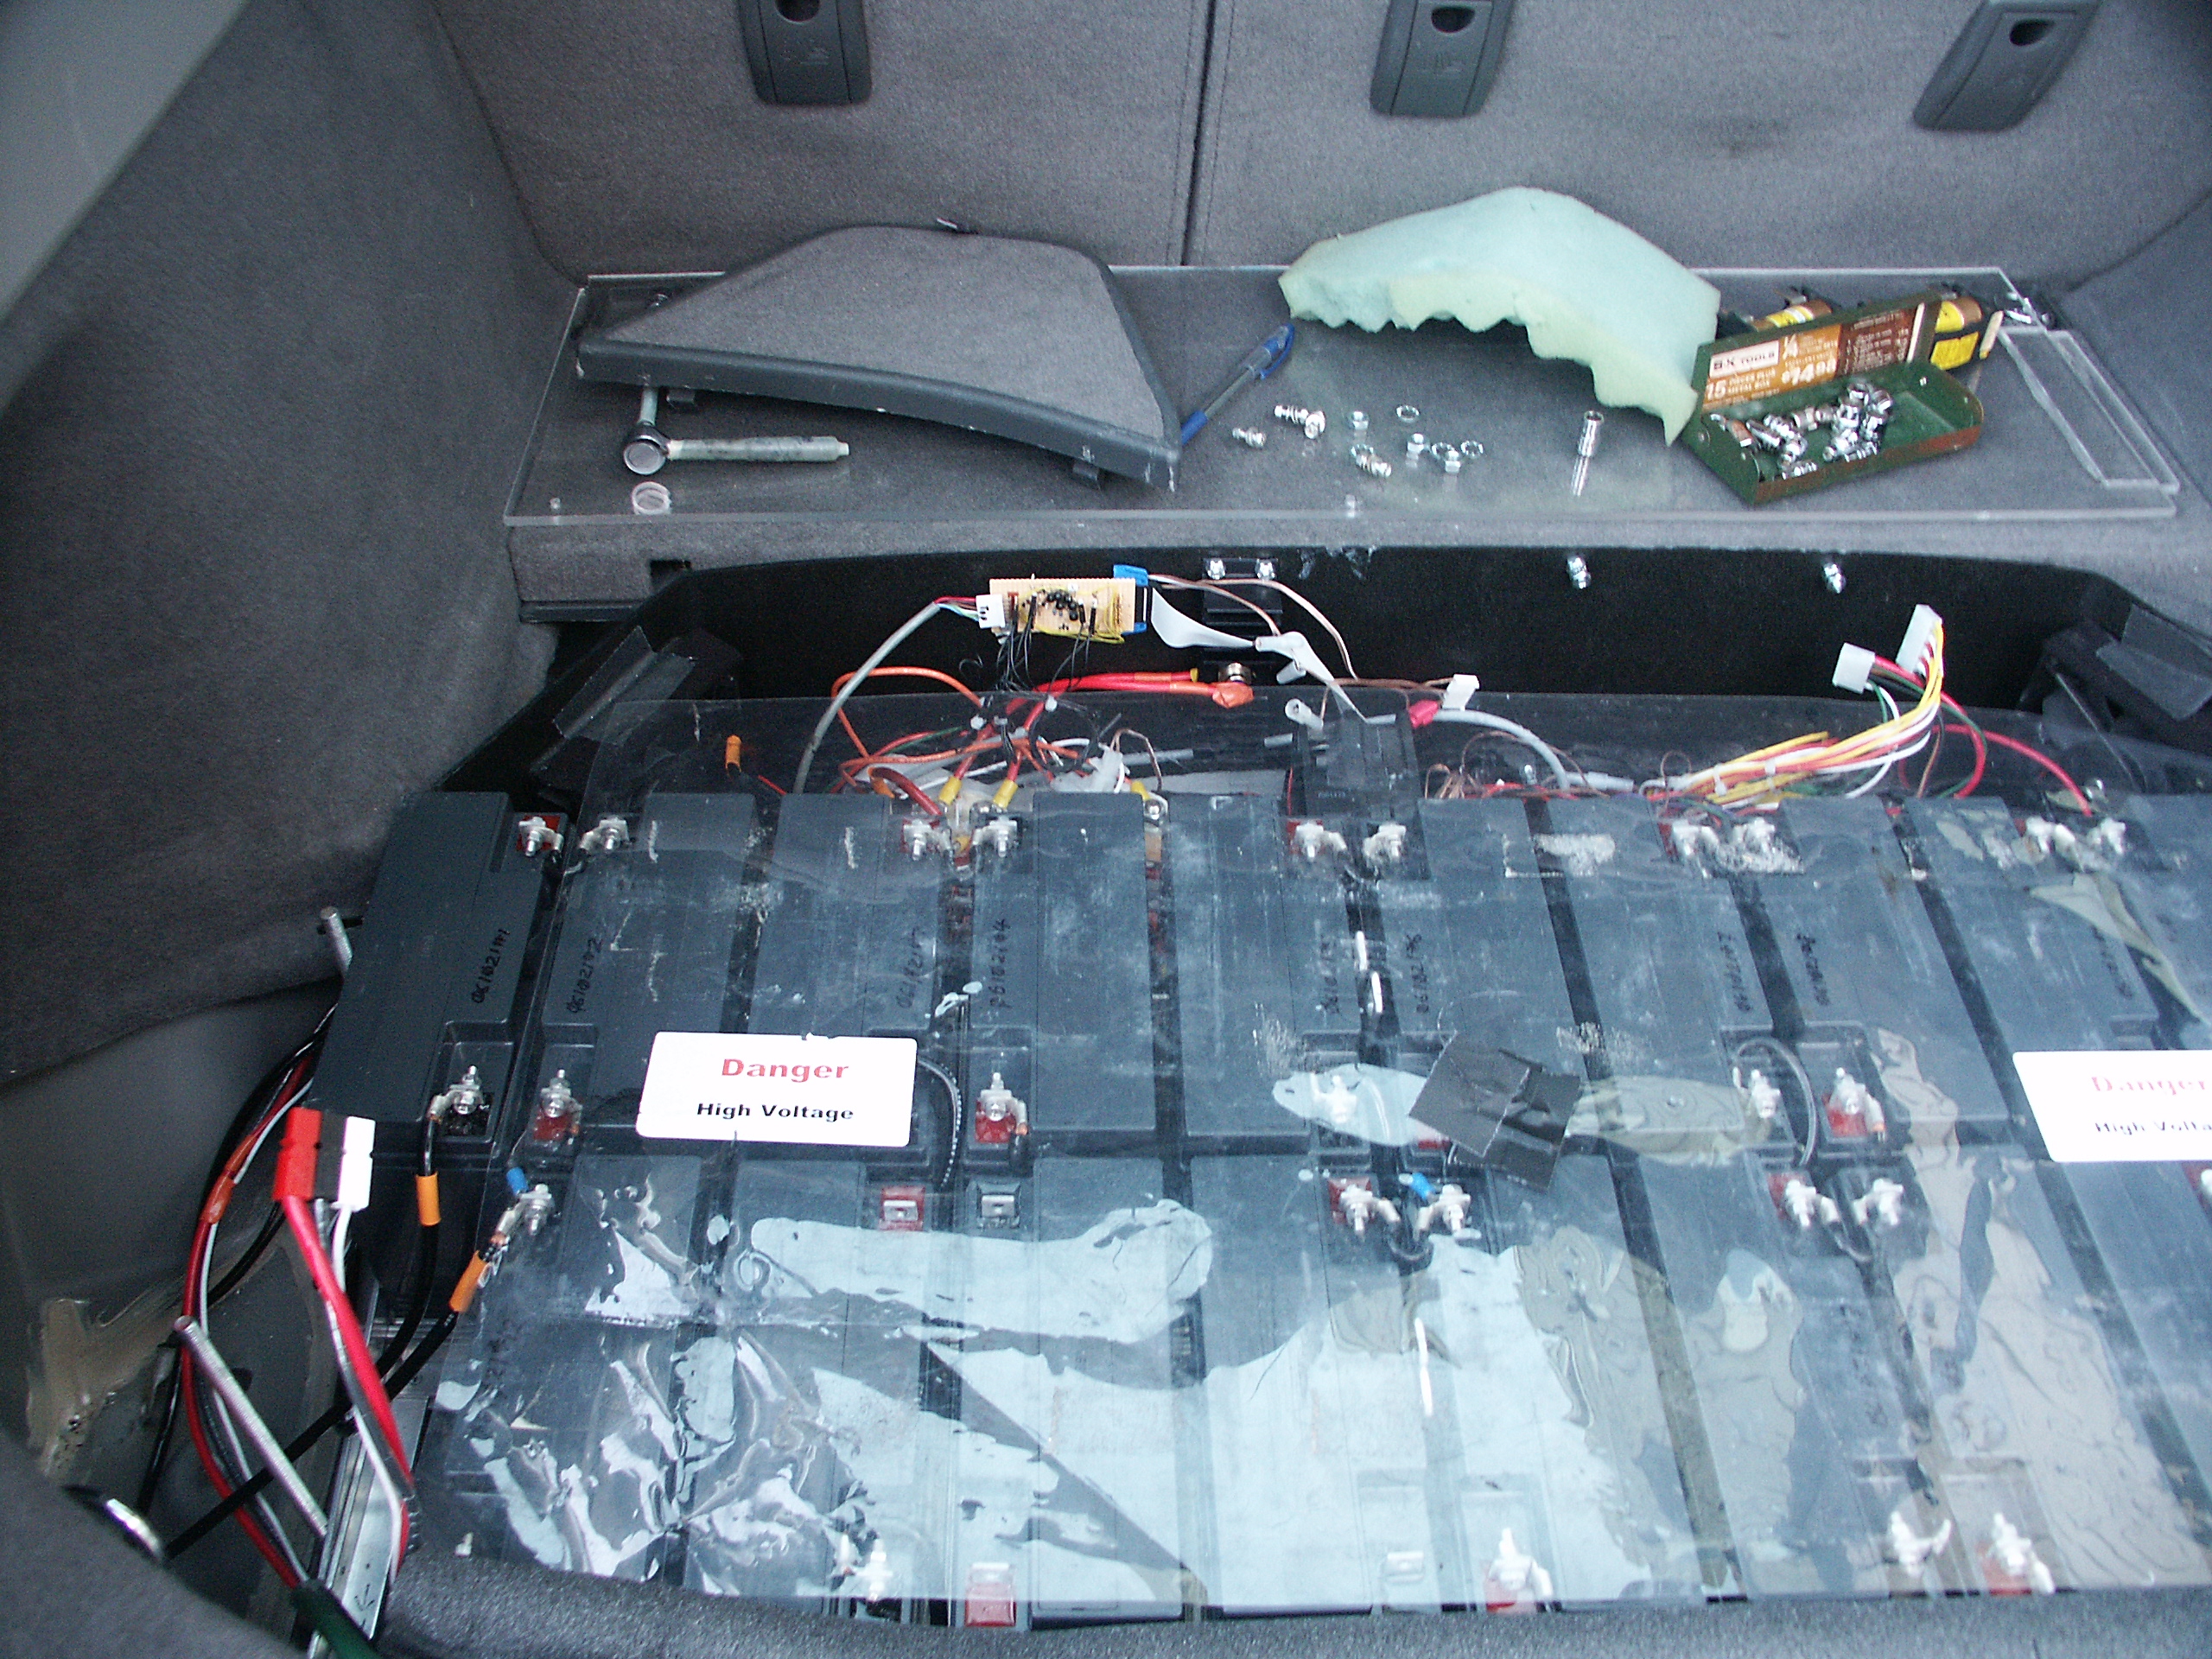
| 03:11, 25 November 2006 | P10366.JPG (file) |  |
2.53 MB | Photo from Ron of the PriusPlus conversion of Sven's Prius from Nov 2006. Electronics in Rons Prius. | 1 |
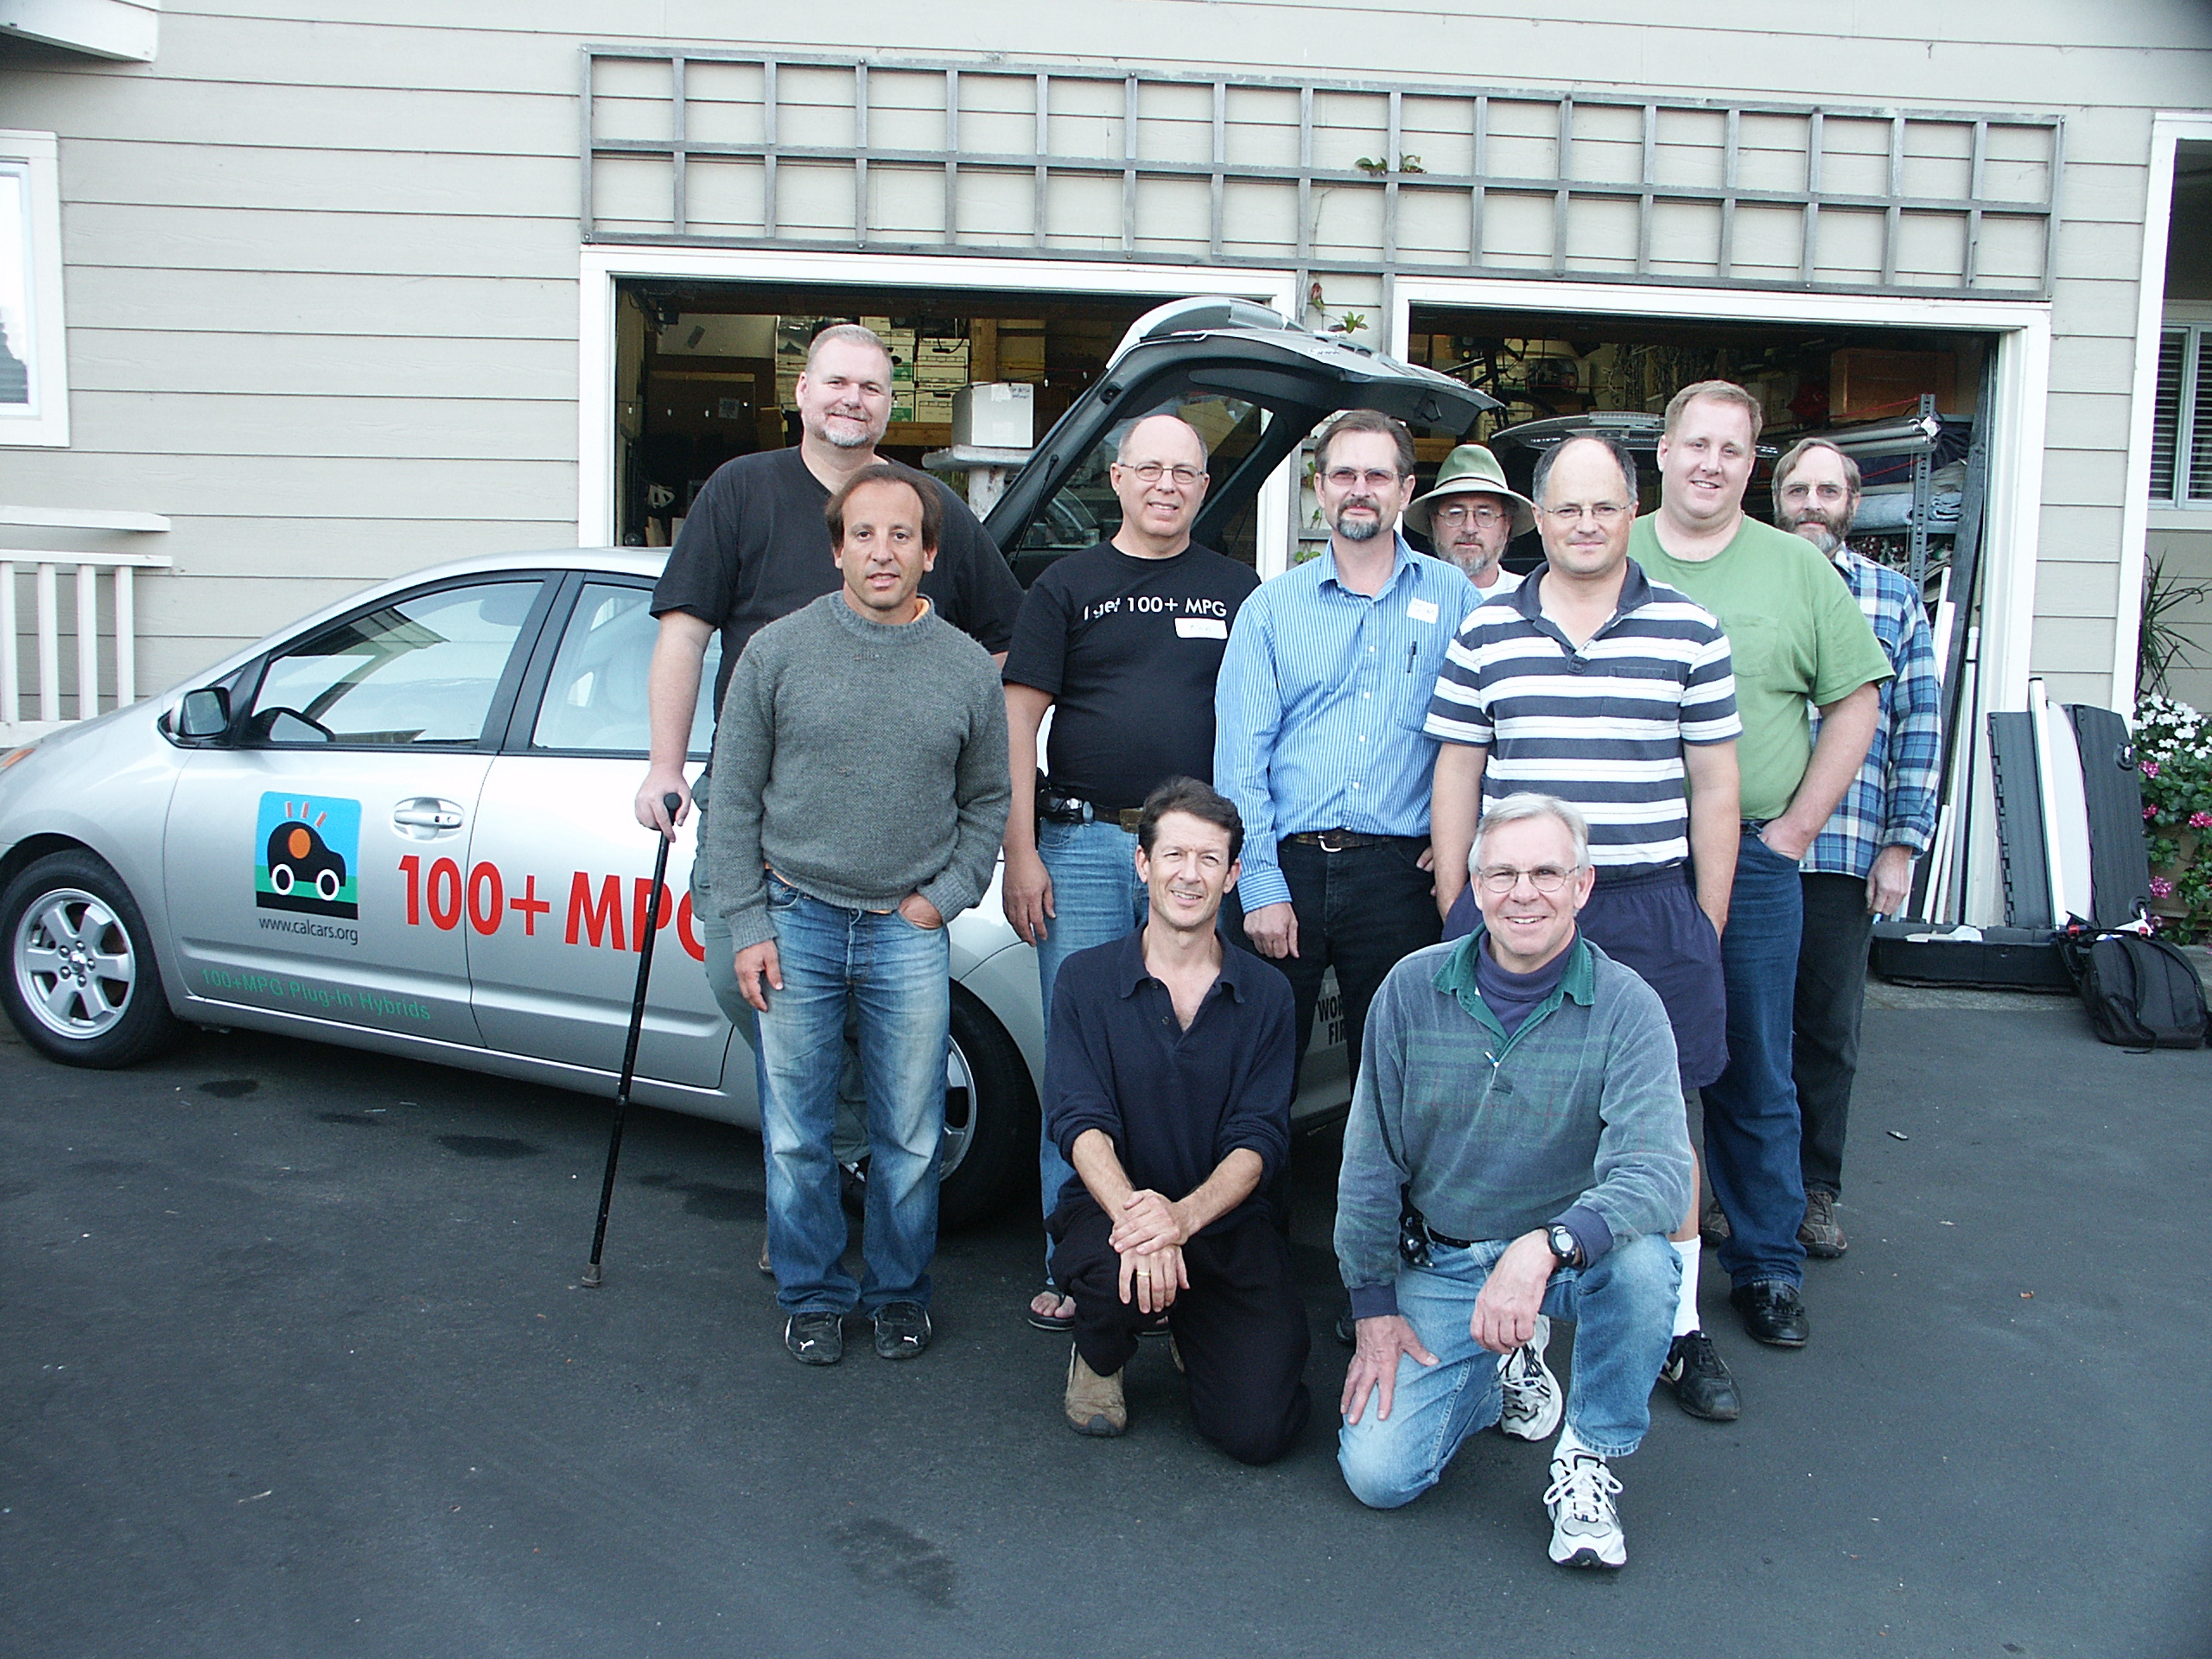
| 03:07, 25 November 2006 | P10371.JPG (file) |  |
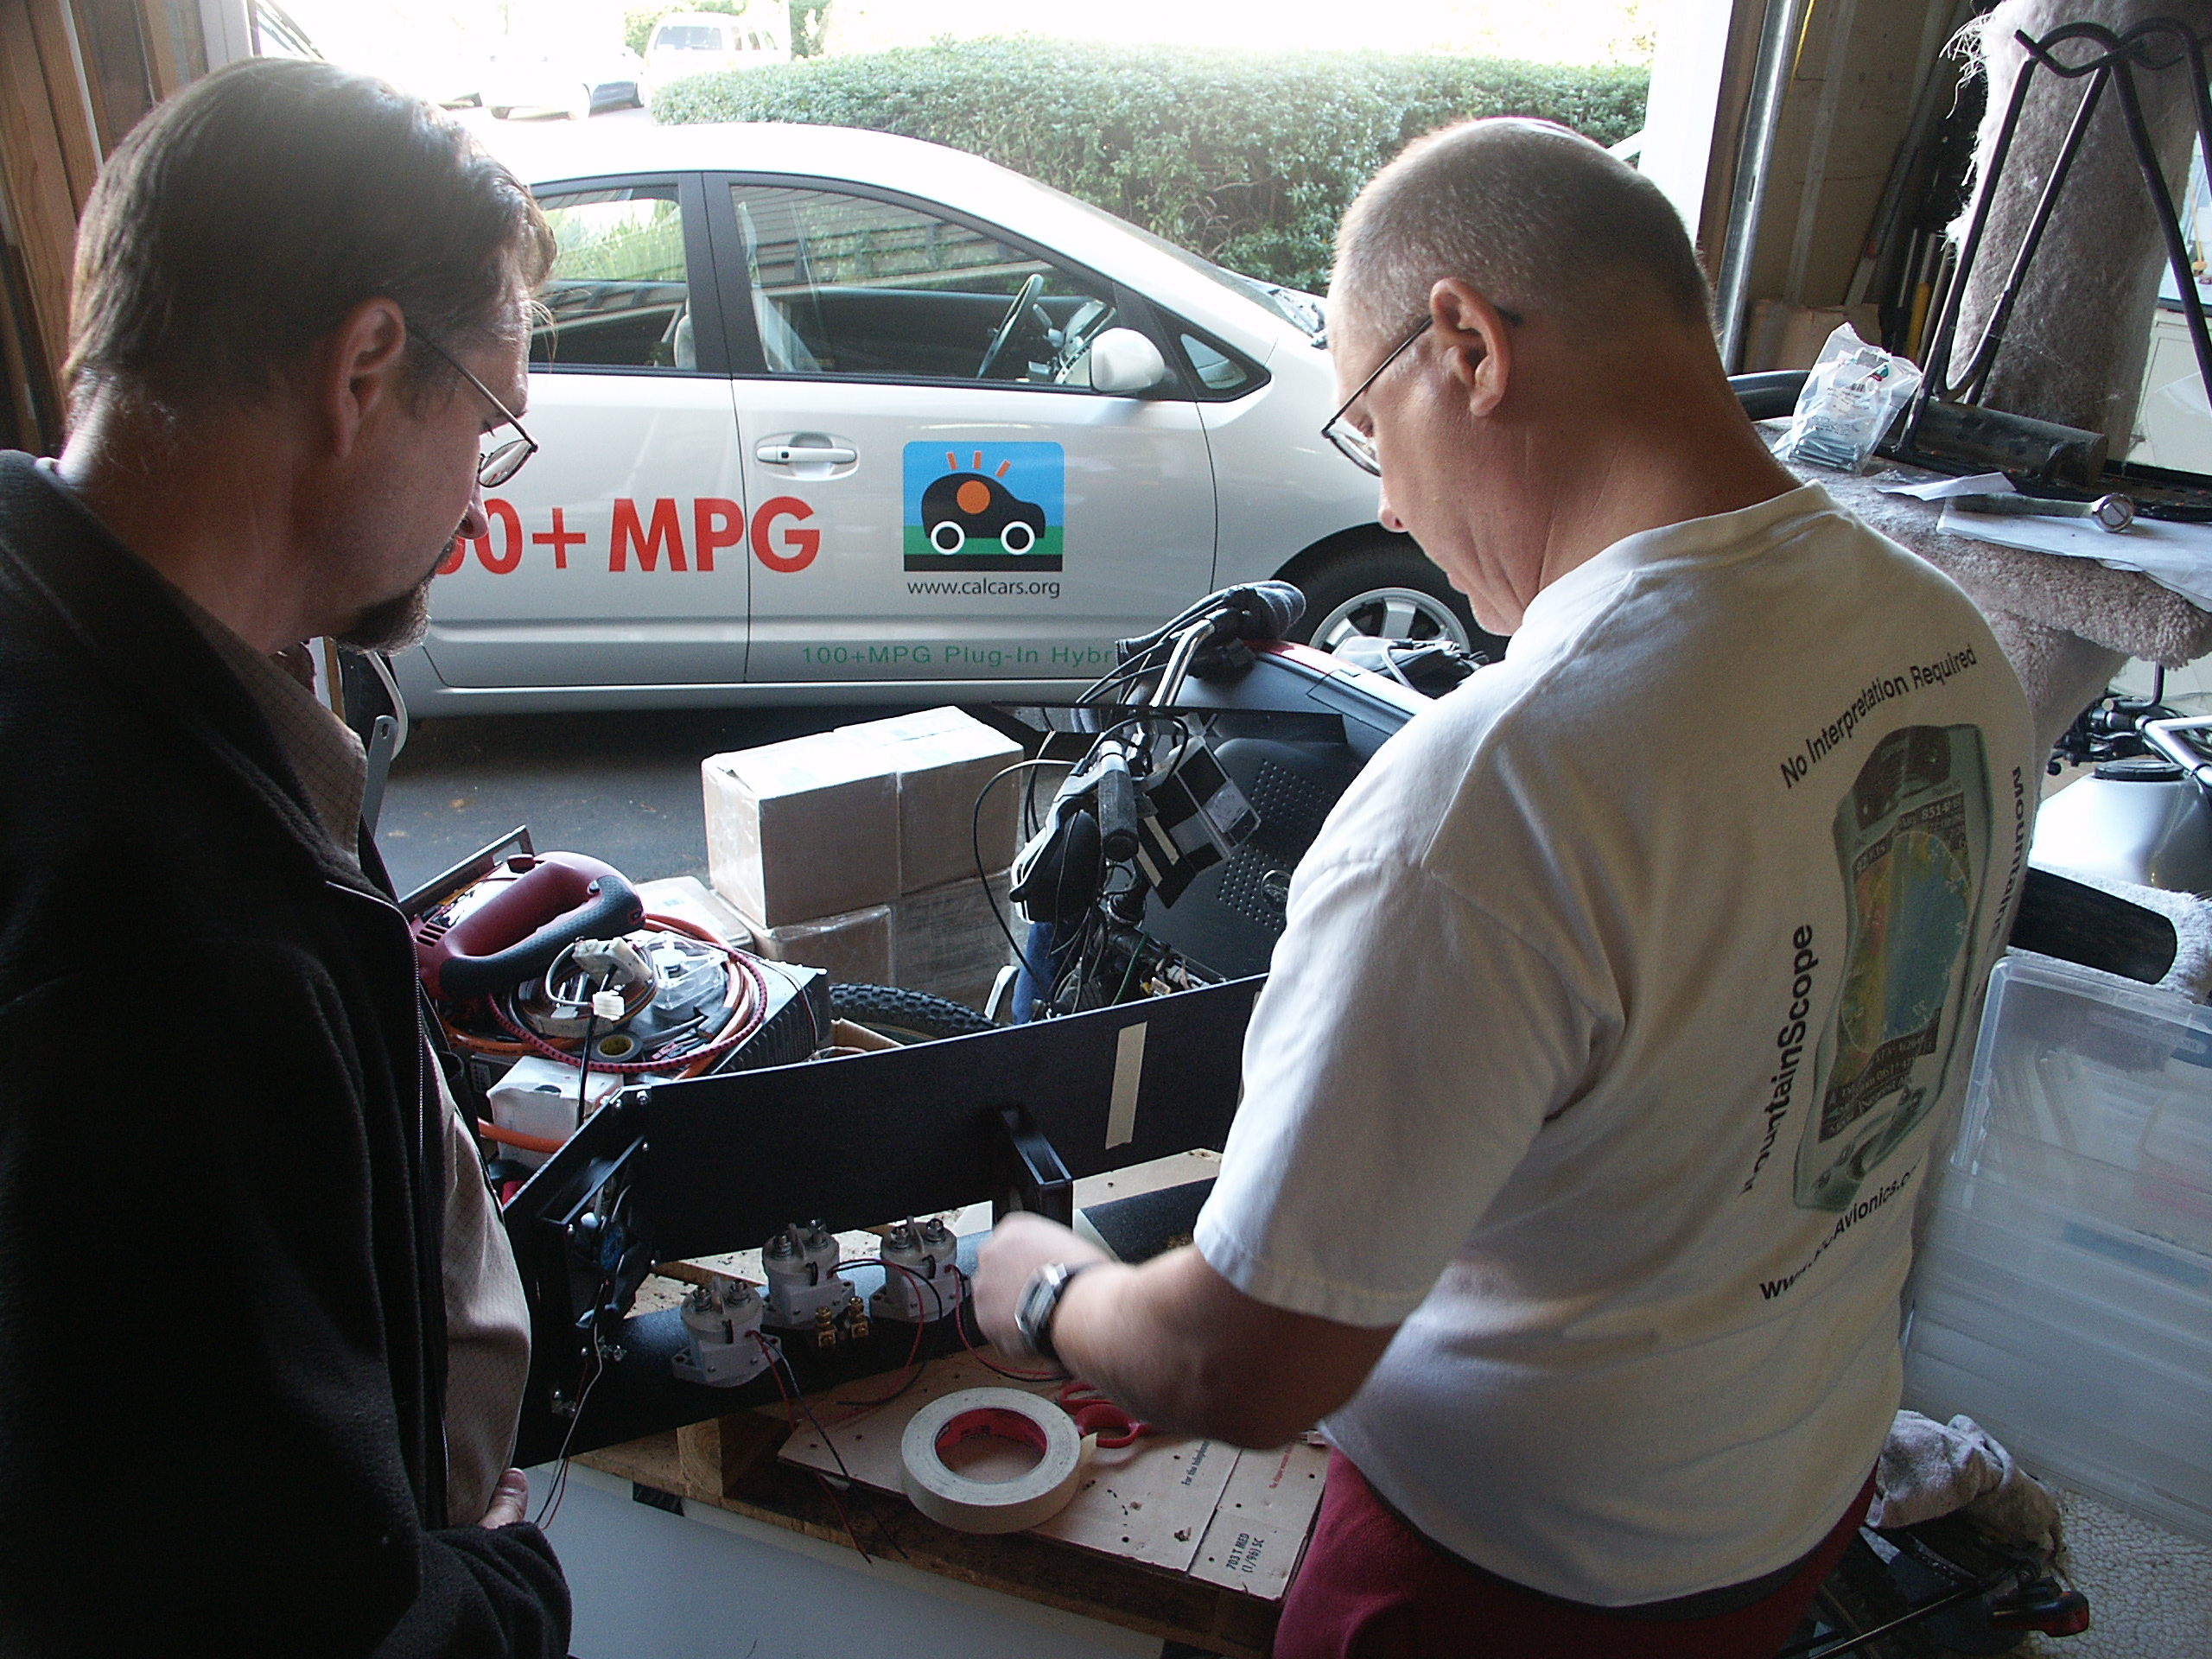
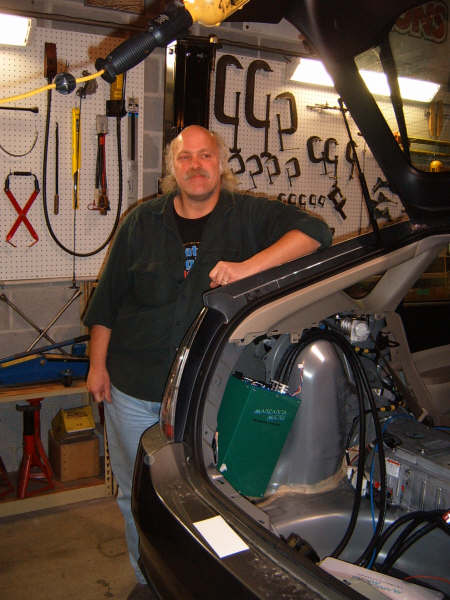
2.63 MB | Photo from Ron of the PriusPlus conversion of Sven's Prius from Nov 2006. Team Photo around Rons Prius. | 1 |
| 03:07, 25 November 2006 | P10372.JPG (file) |  |
2.31 MB | Photo from Ron of the PriusPlus conversion of Sven's Prius from Nov 2006. Team Photo around Rons Prius. | 1 |
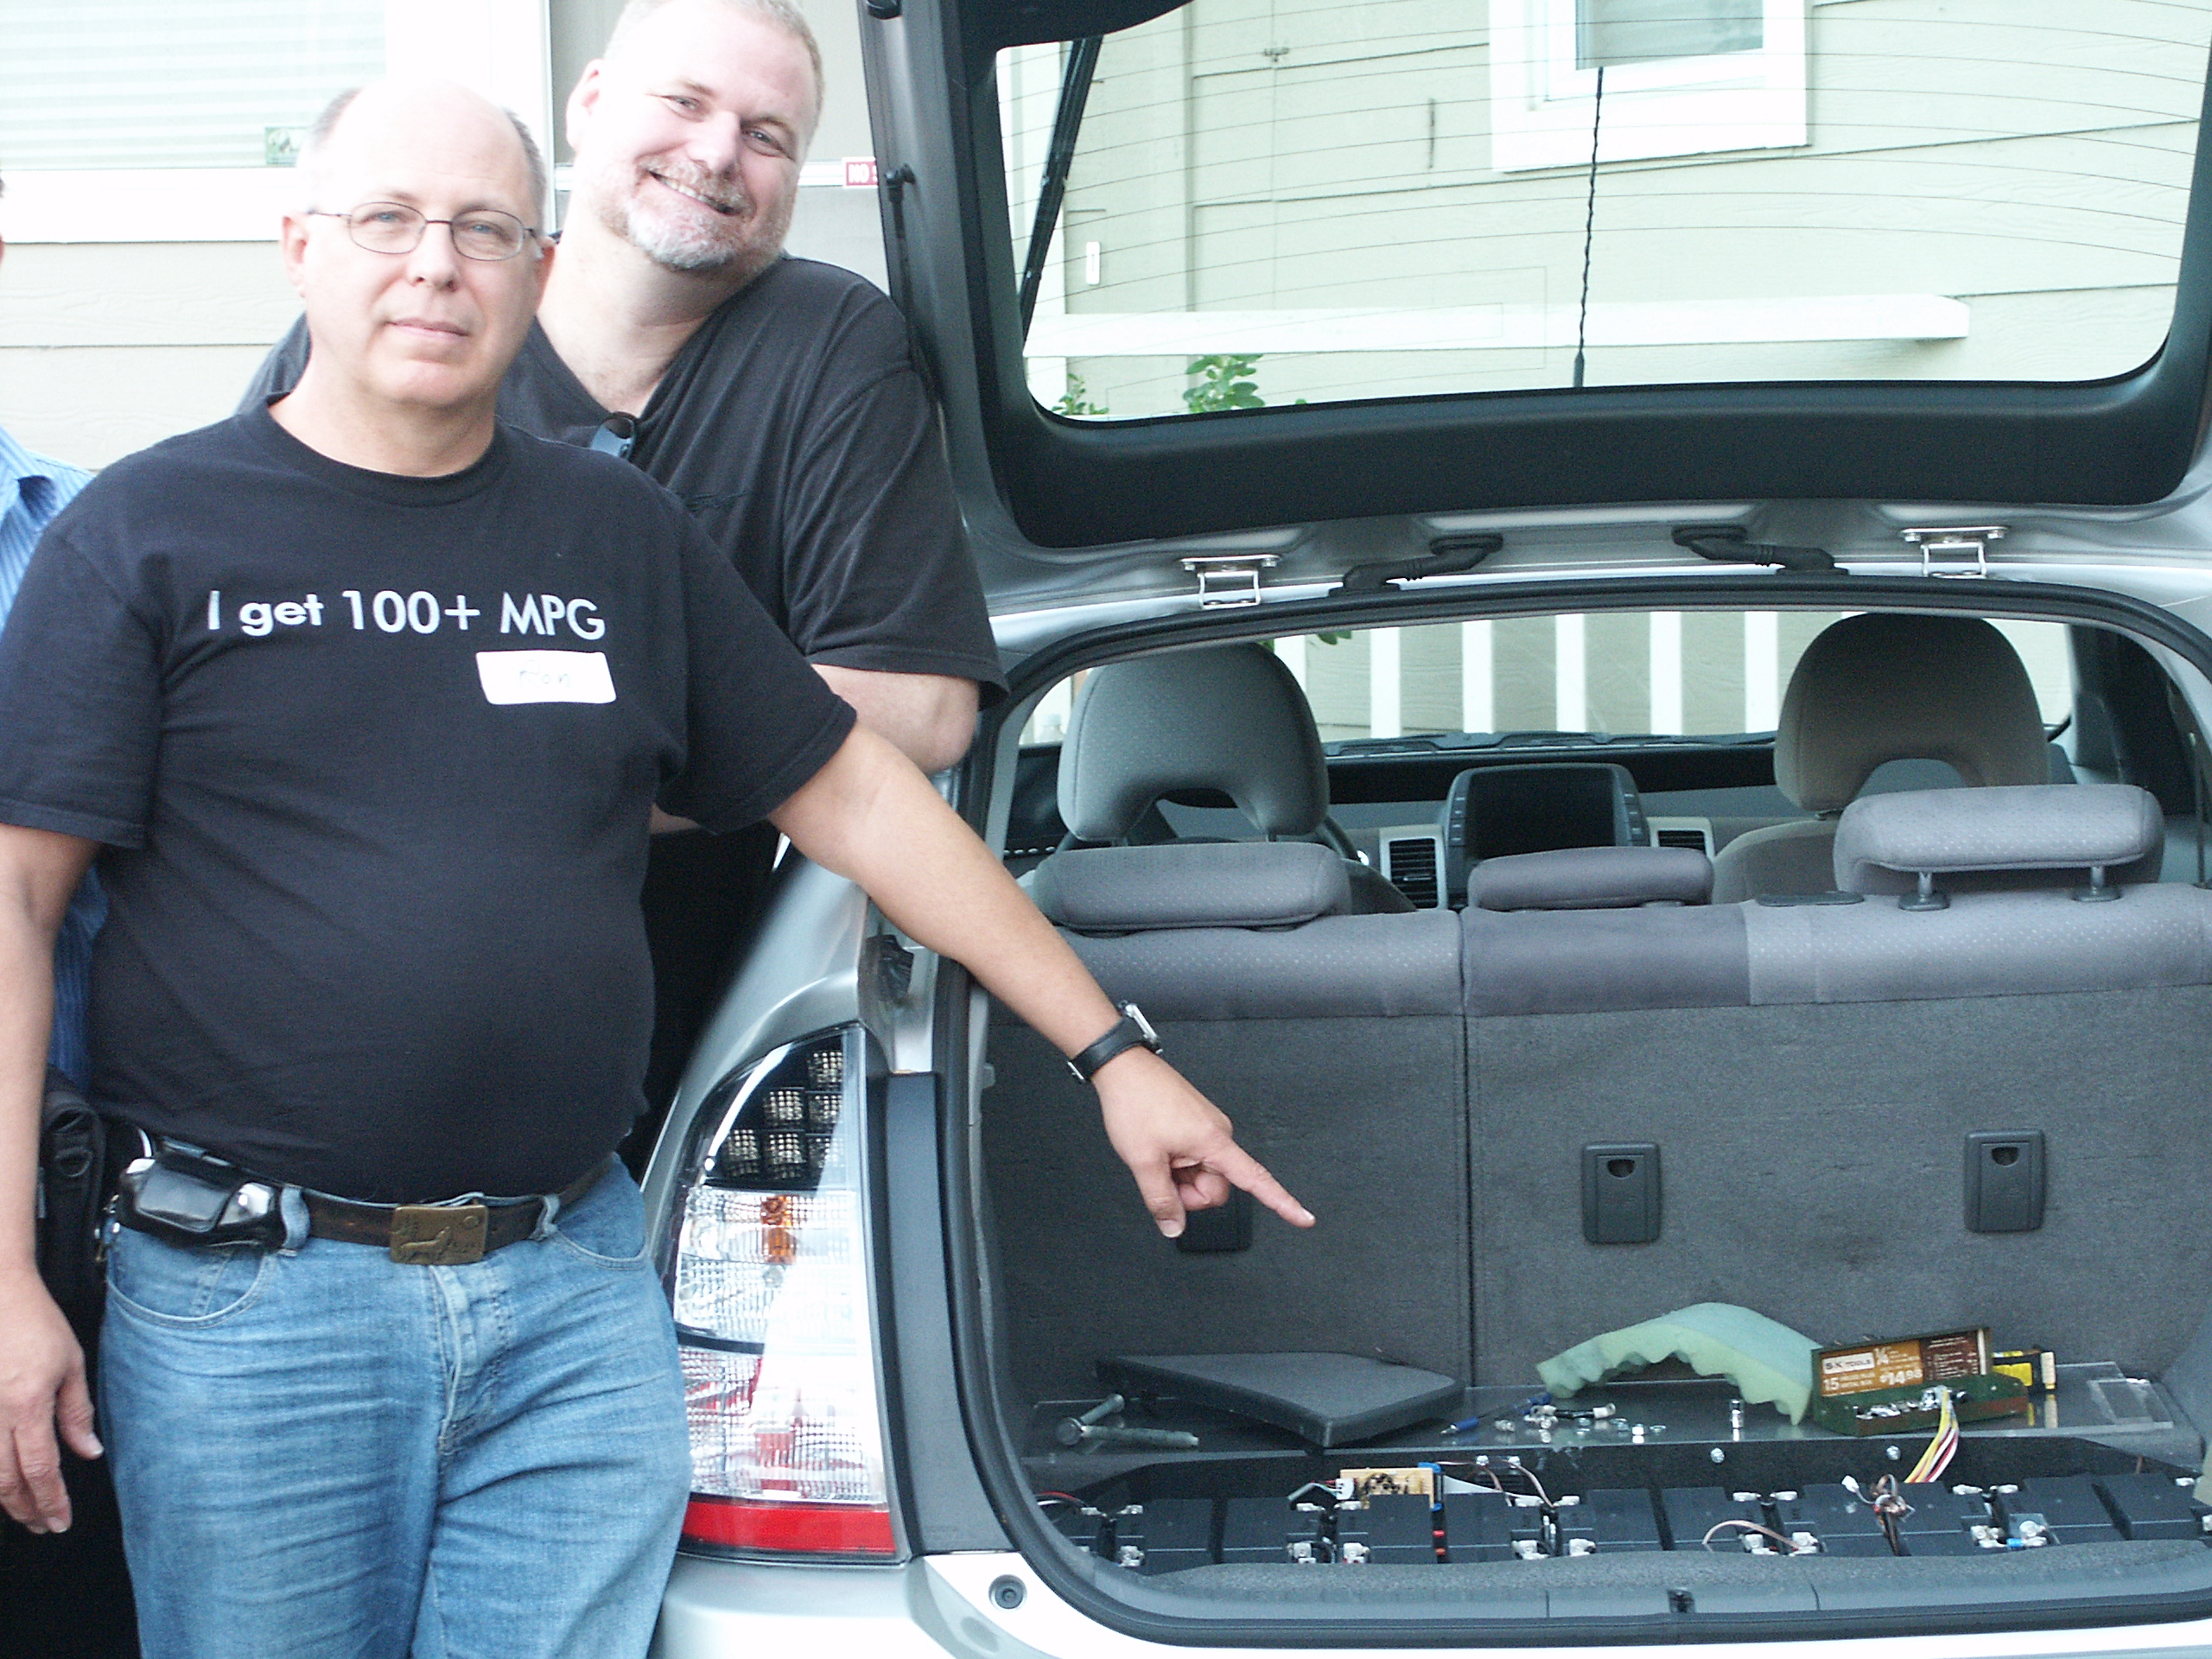
| 03:05, 25 November 2006 | P10370.JPG (file) |  |
2.42 MB | Photo from Ron of the PriusPlus conversion of Sven's Prius from Nov 2006. Team Photo around Rons Prius. | 1 |
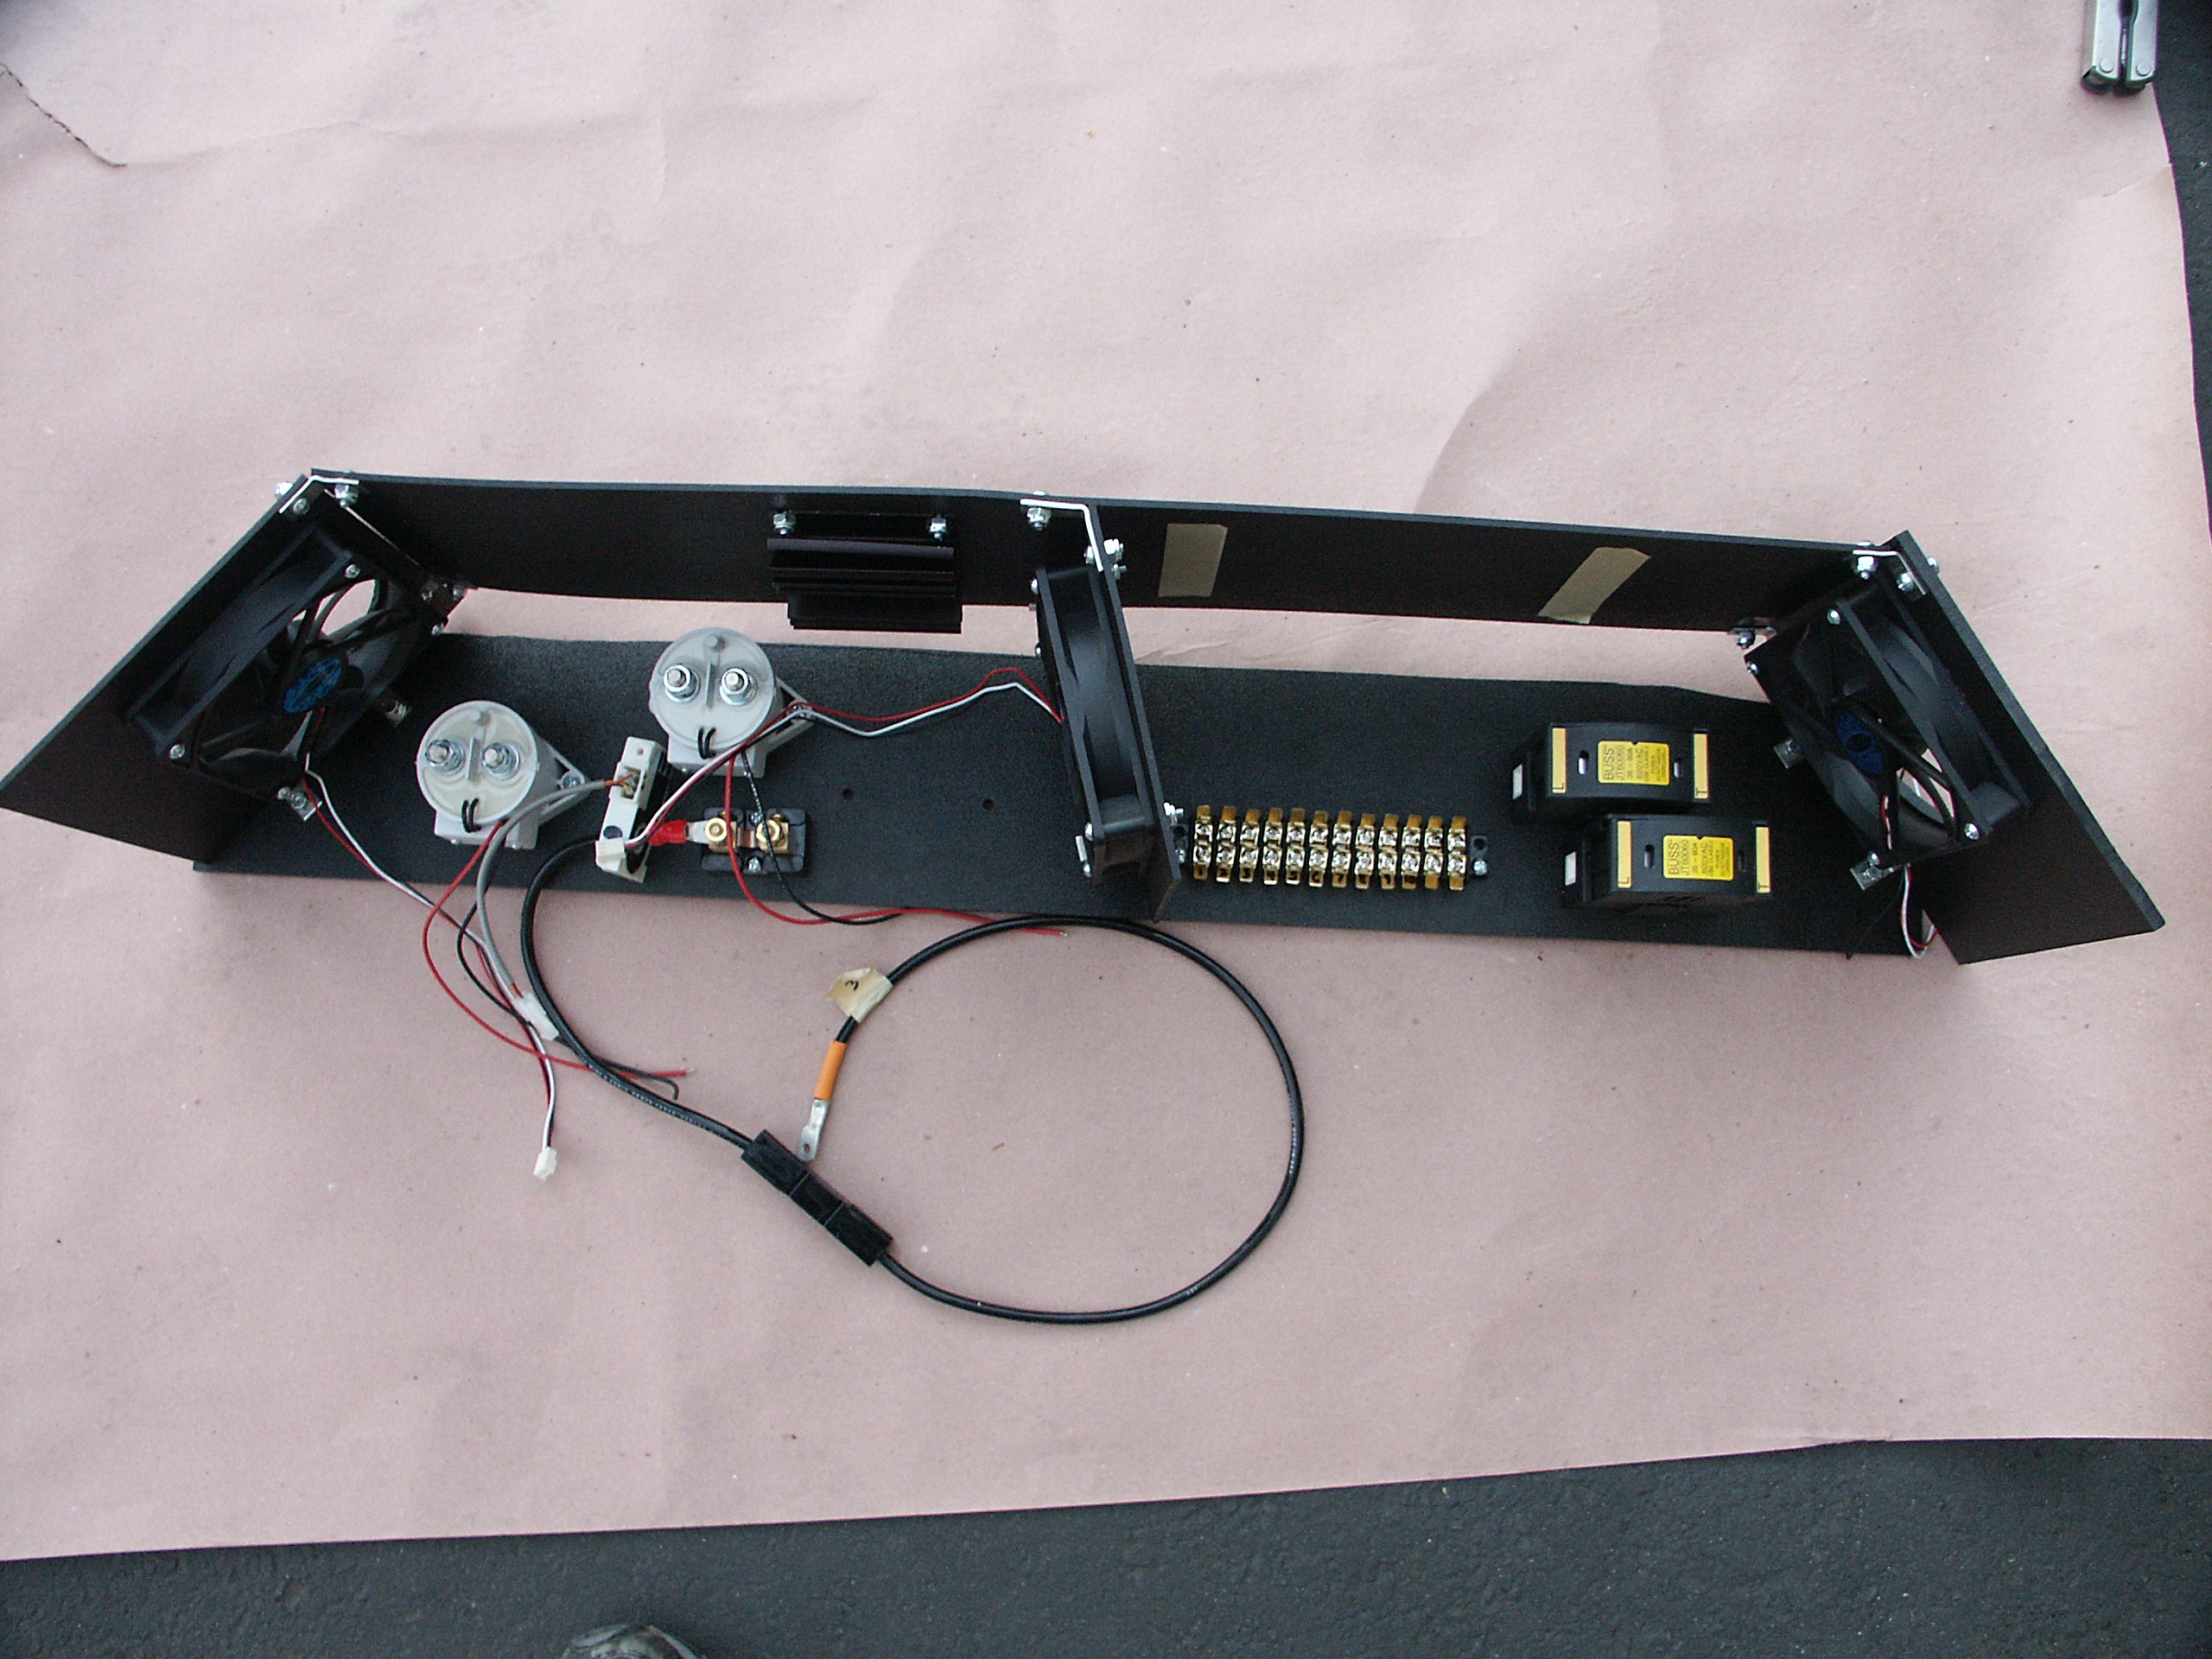
| 03:05, 25 November 2006 | P10384.JPG (file) |  |
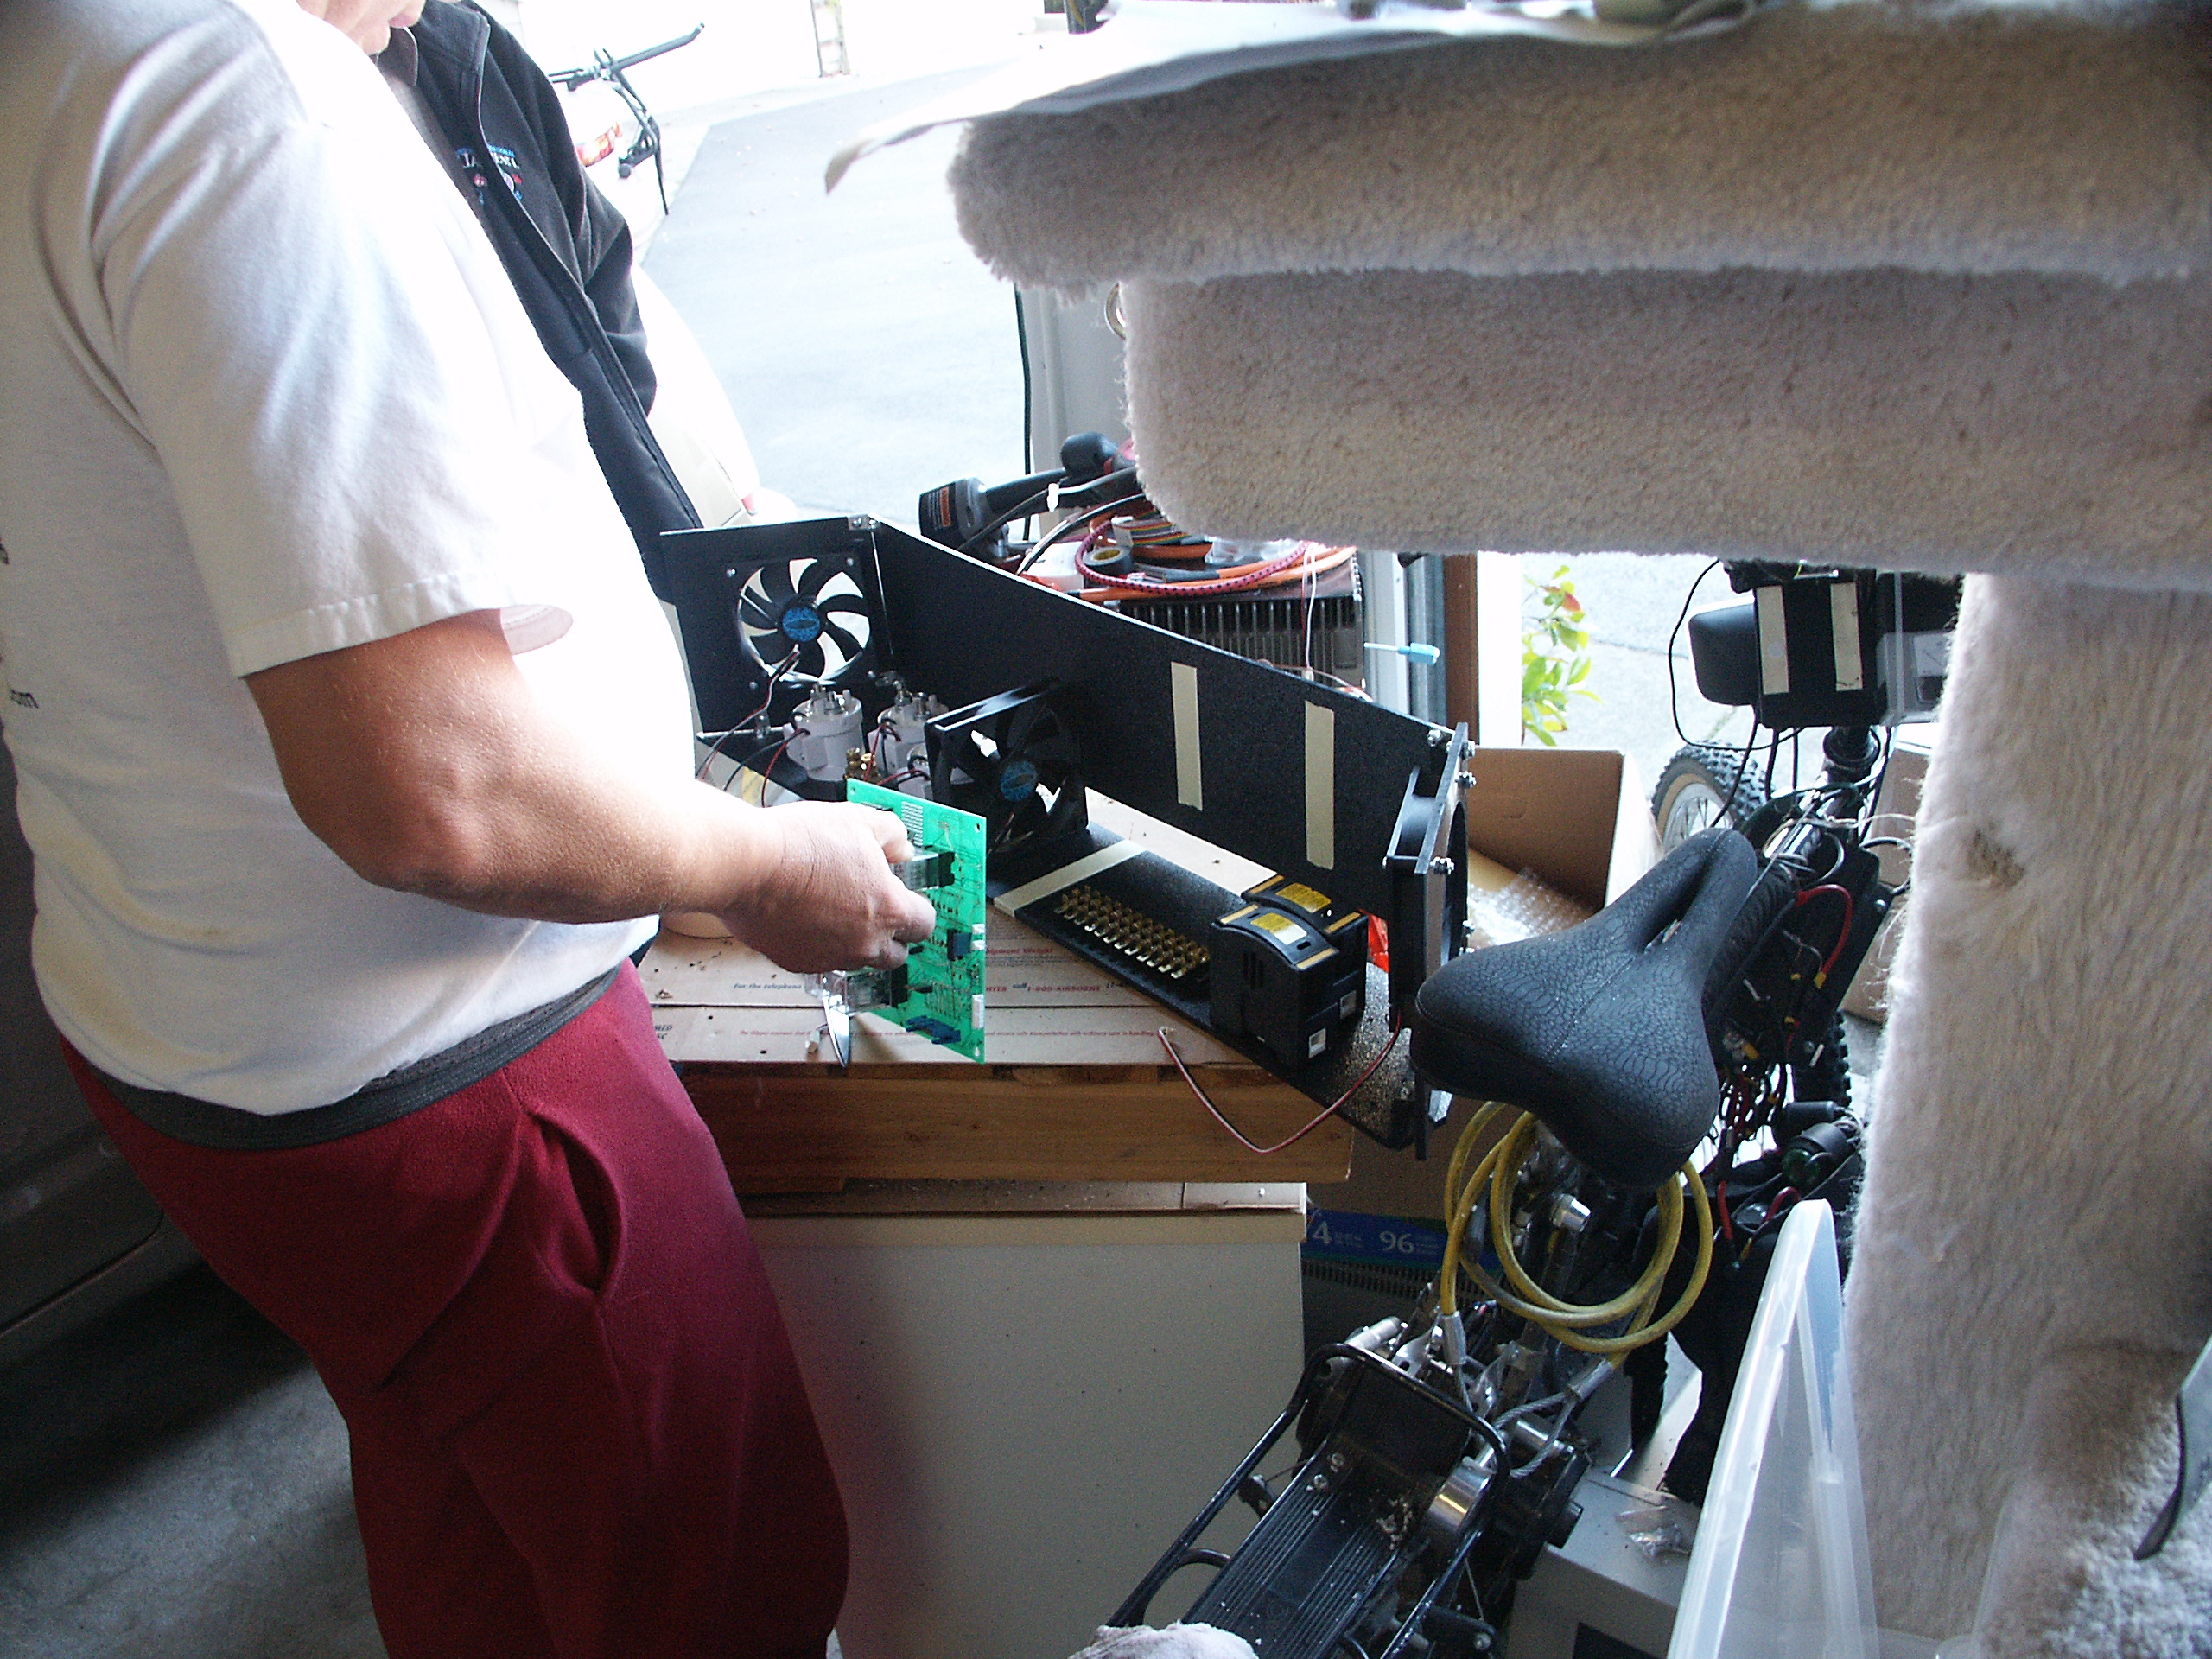
2.39 MB | Photo from Ron of the PriusPlus conversion of Sven's Prius from Nov 2006. Populating Electronics housing. | 1 |
| 03:03, 25 November 2006 | P10383.JPG (file) |  |
2.31 MB | Photo from Ron of the PriusPlus conversion of Sven's Prius from Nov 2006. Populating Electronics housing. | 1 |
| 03:03, 25 November 2006 | P10381.JPG (file) |  |
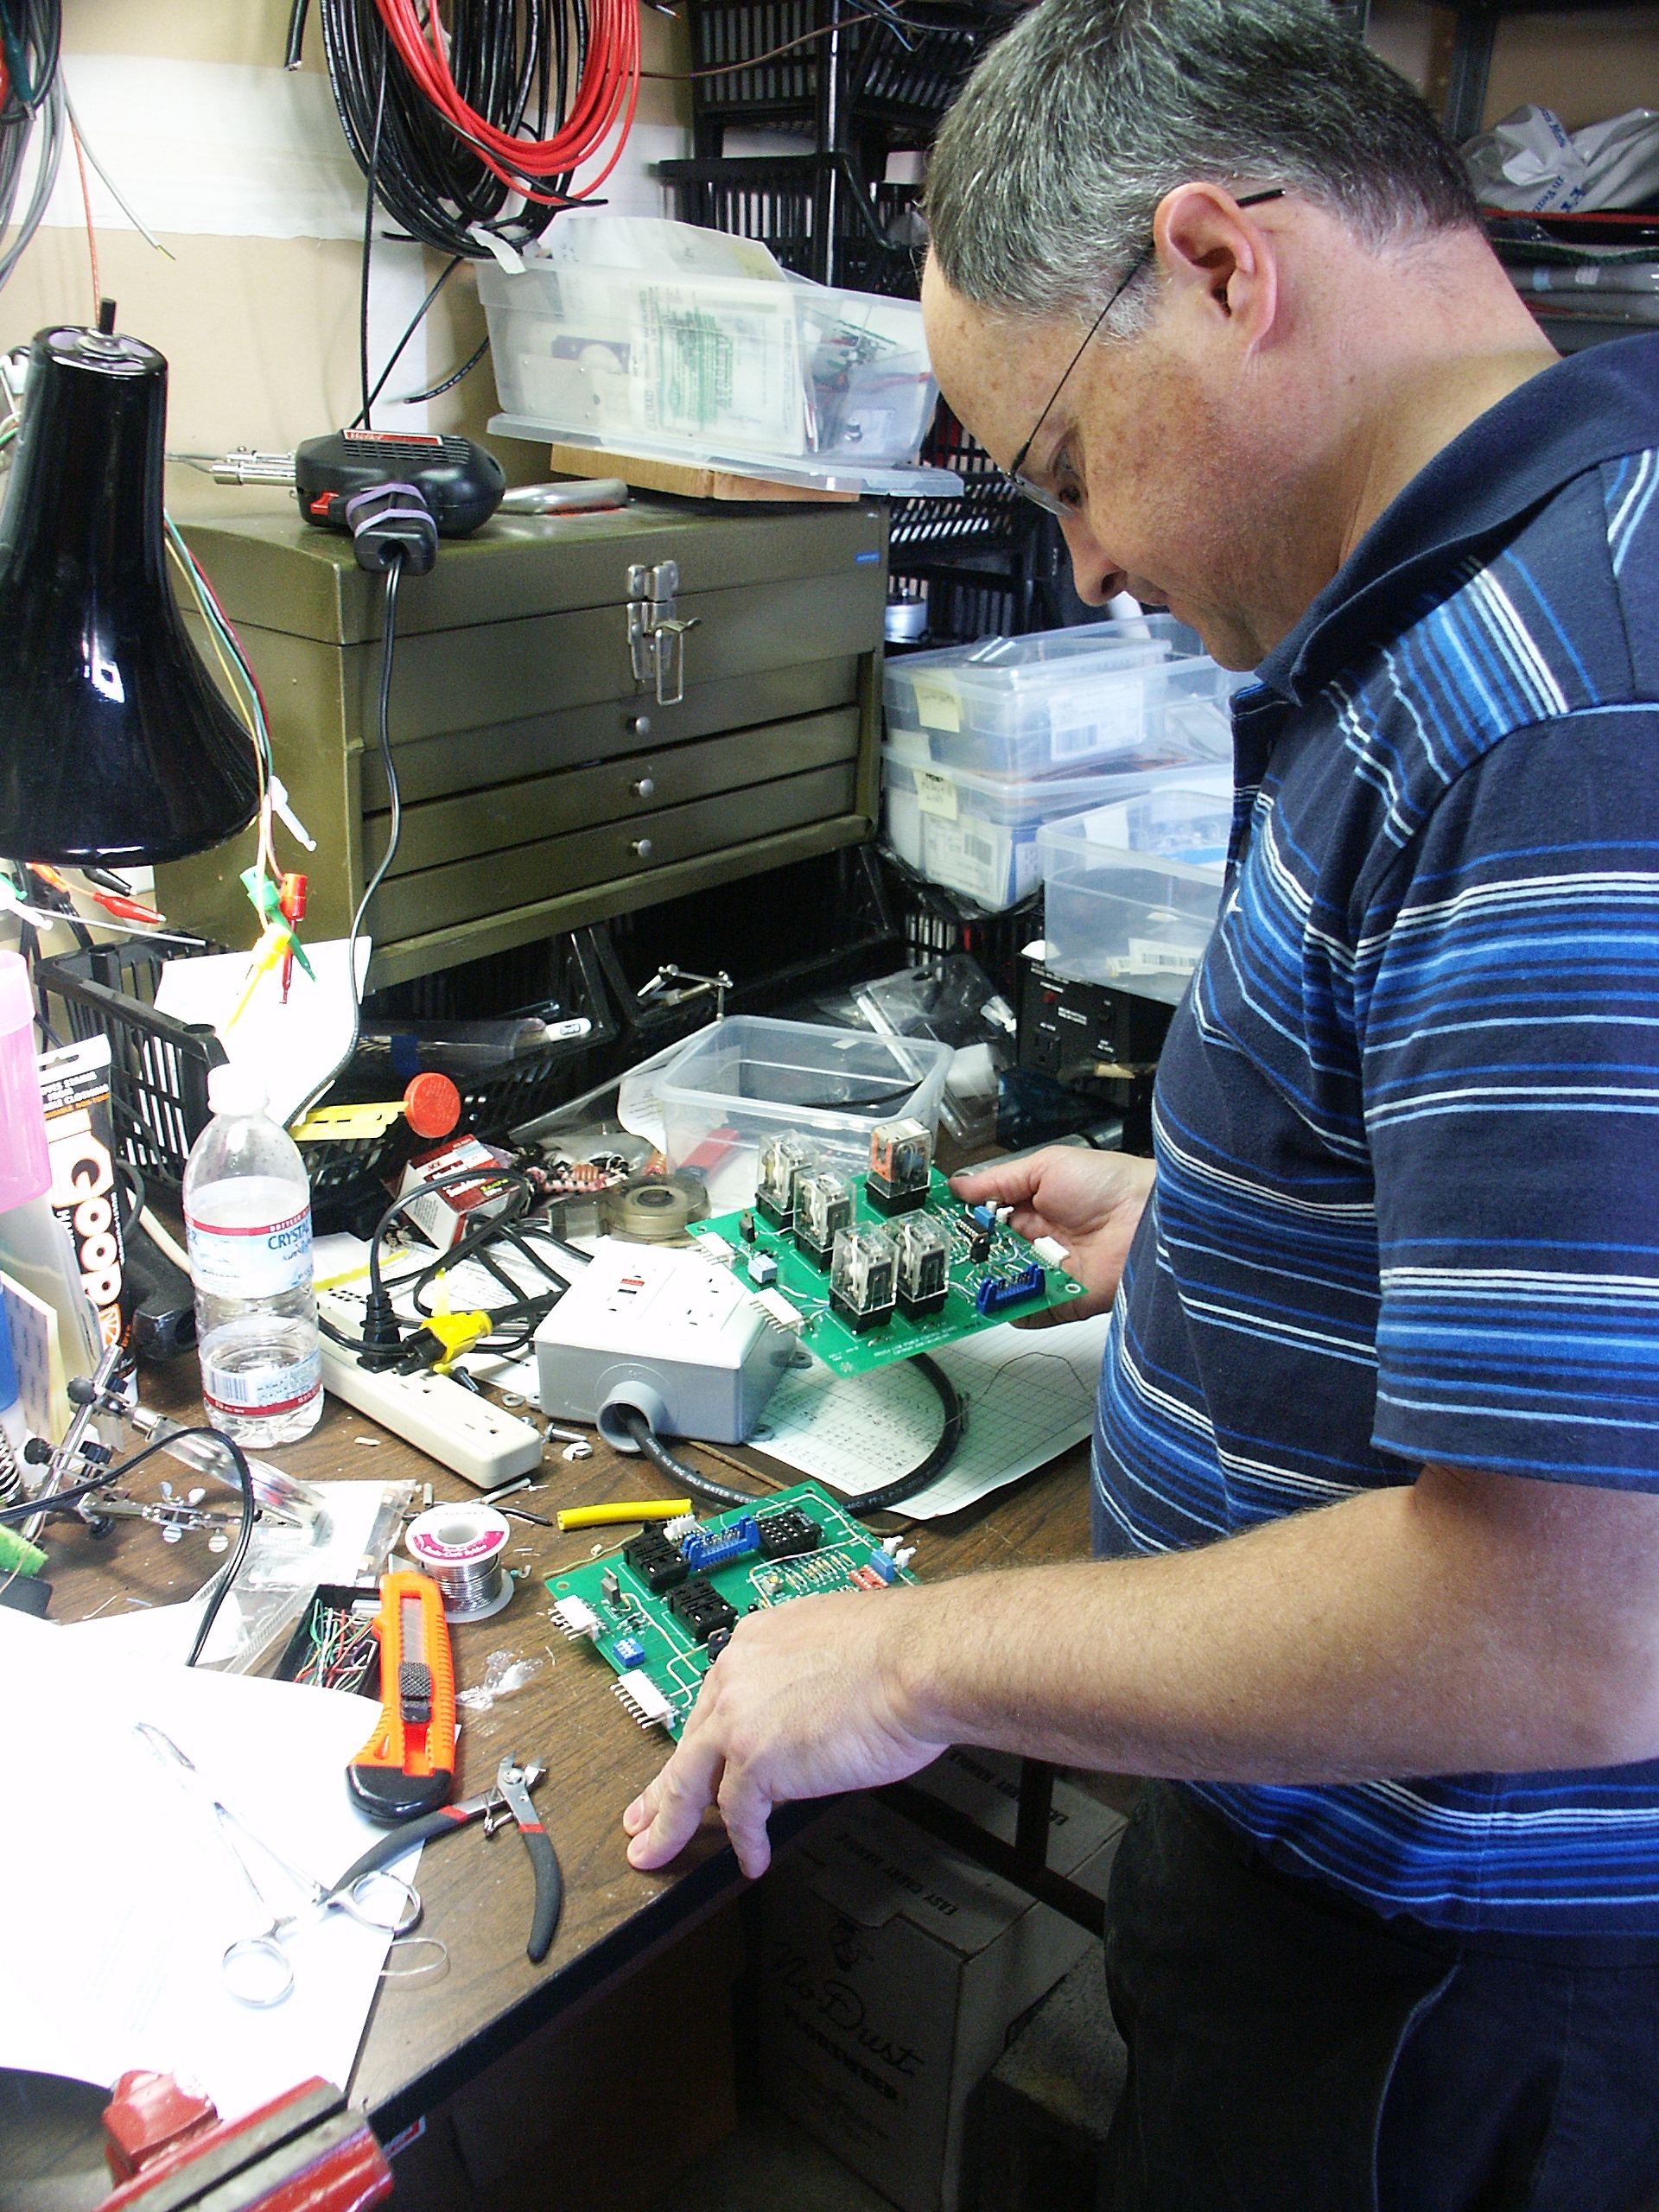
2.55 MB | Photo from Ron of the PriusPlus conversion of Sven's Prius from Nov 2006. Working on Circuit boards. | 1 |
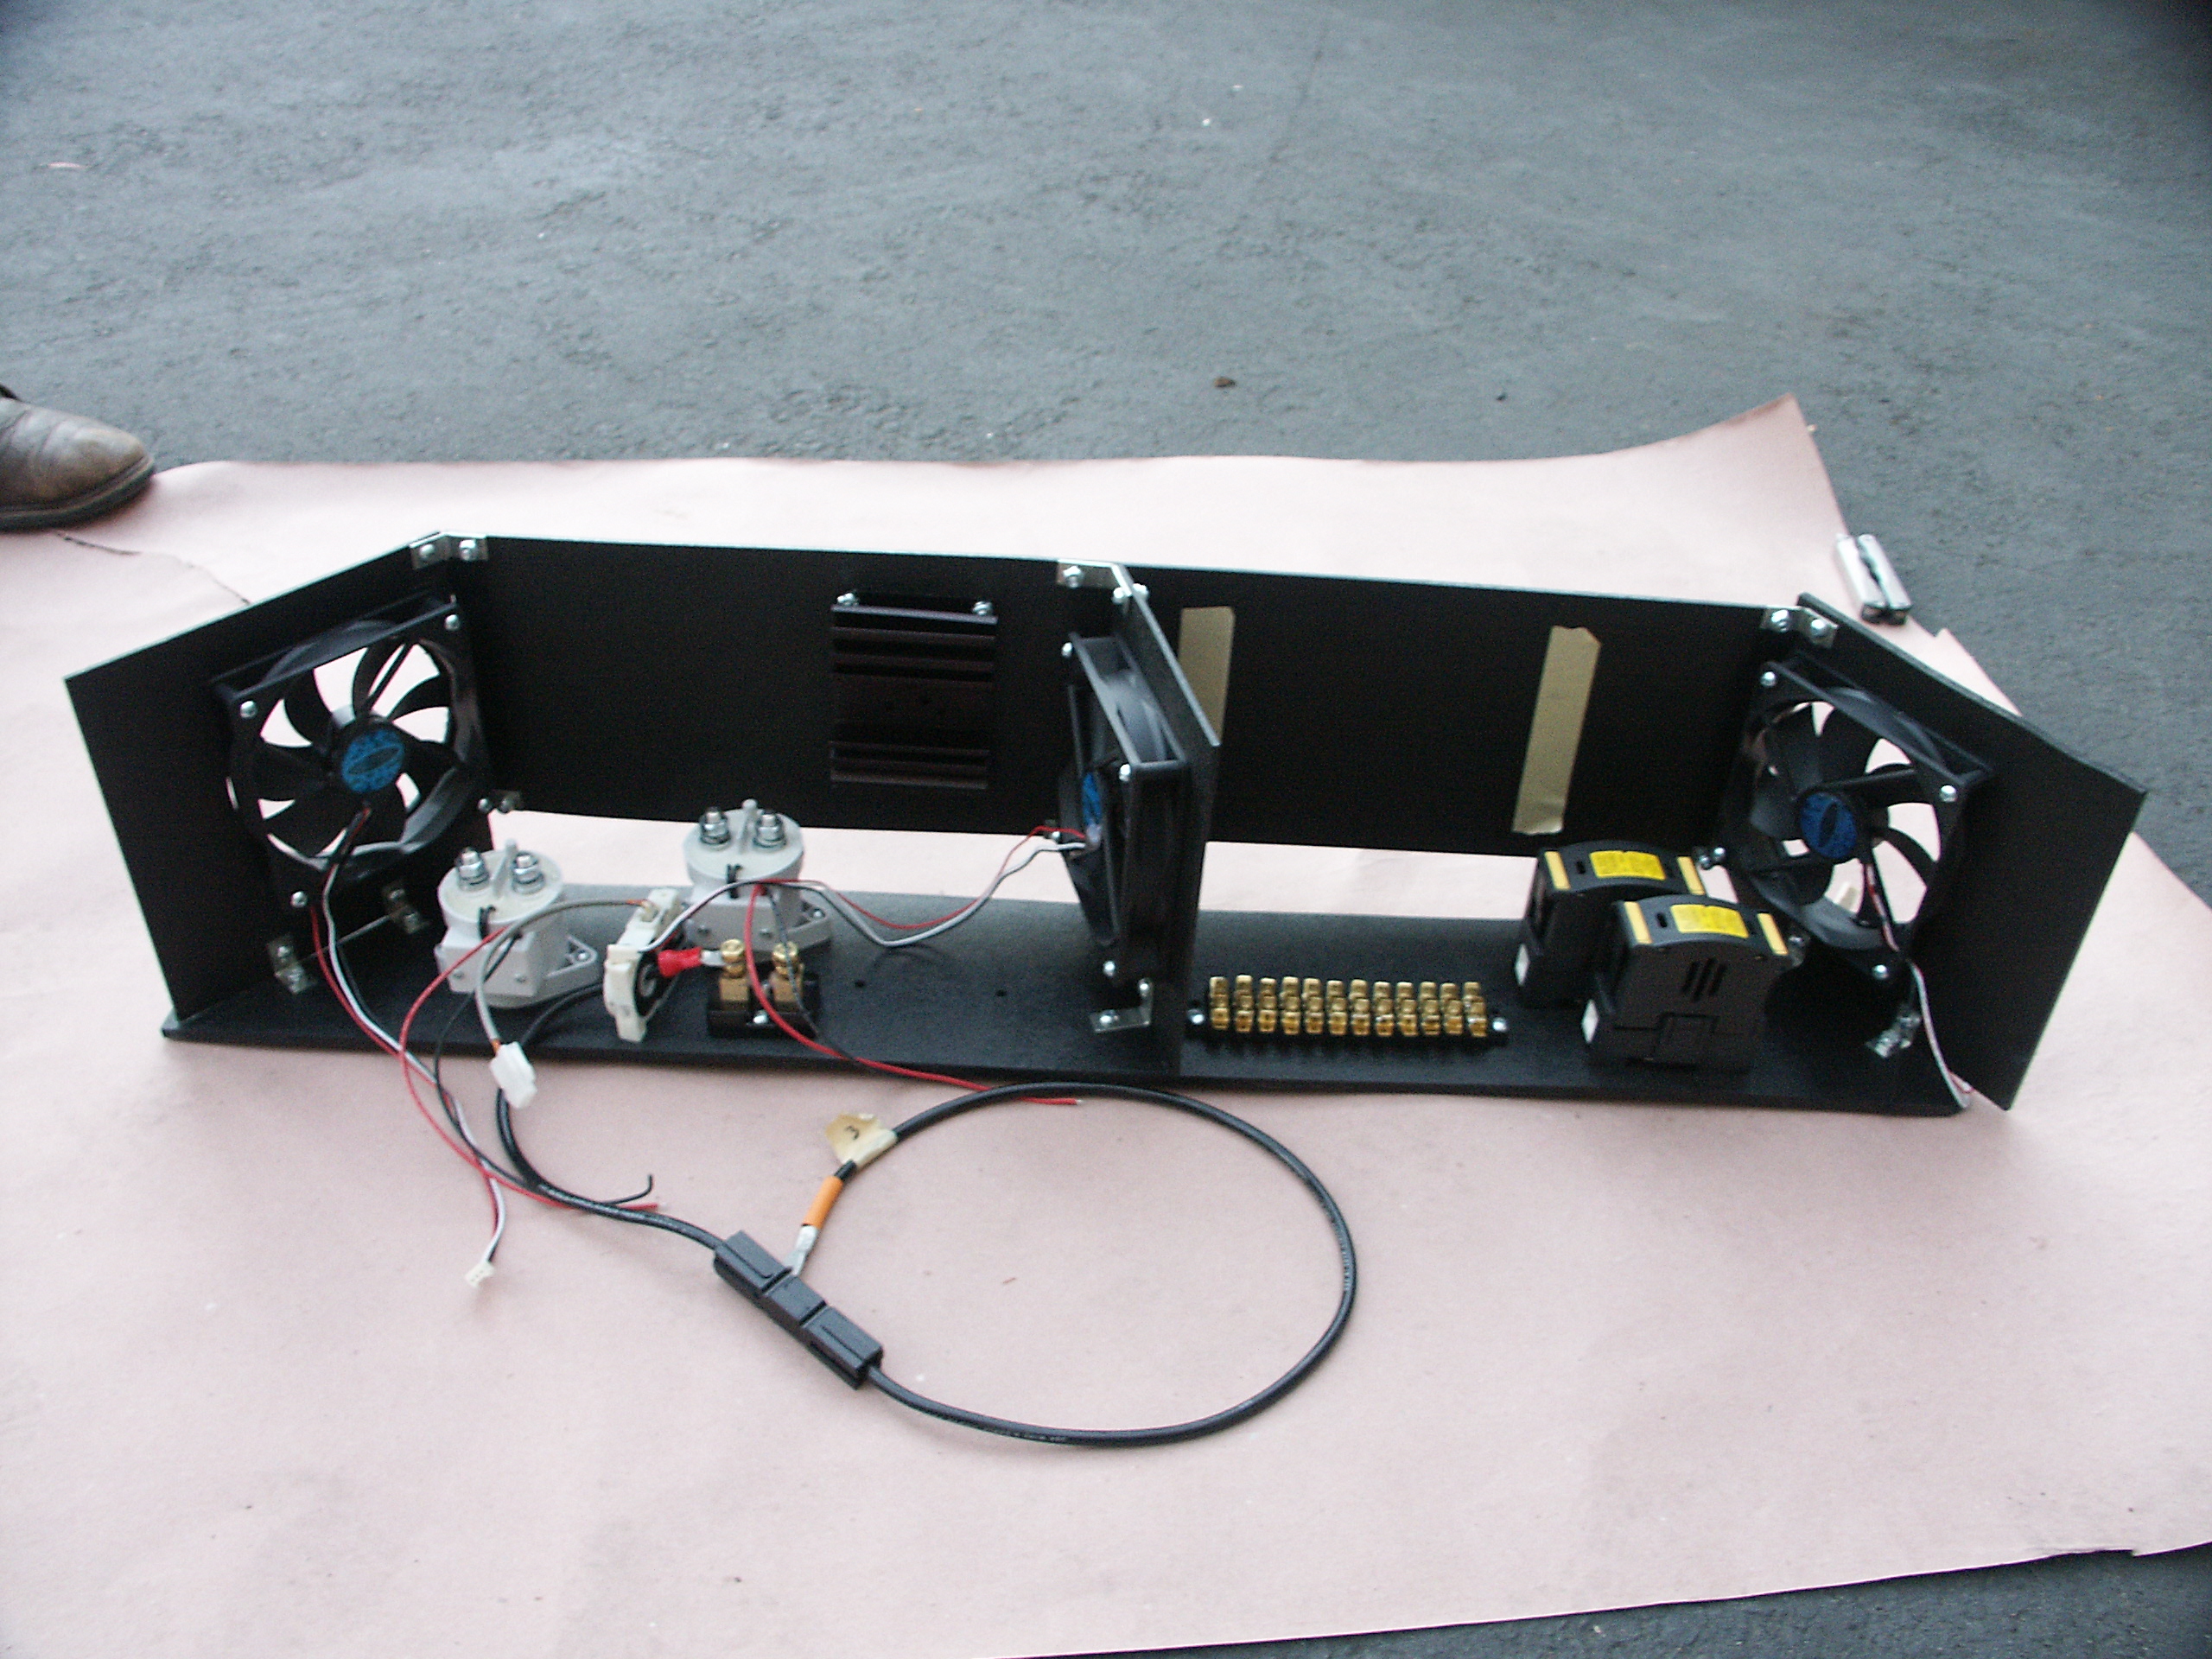
| 03:01, 25 November 2006 | P10376.JPG (file) |  |
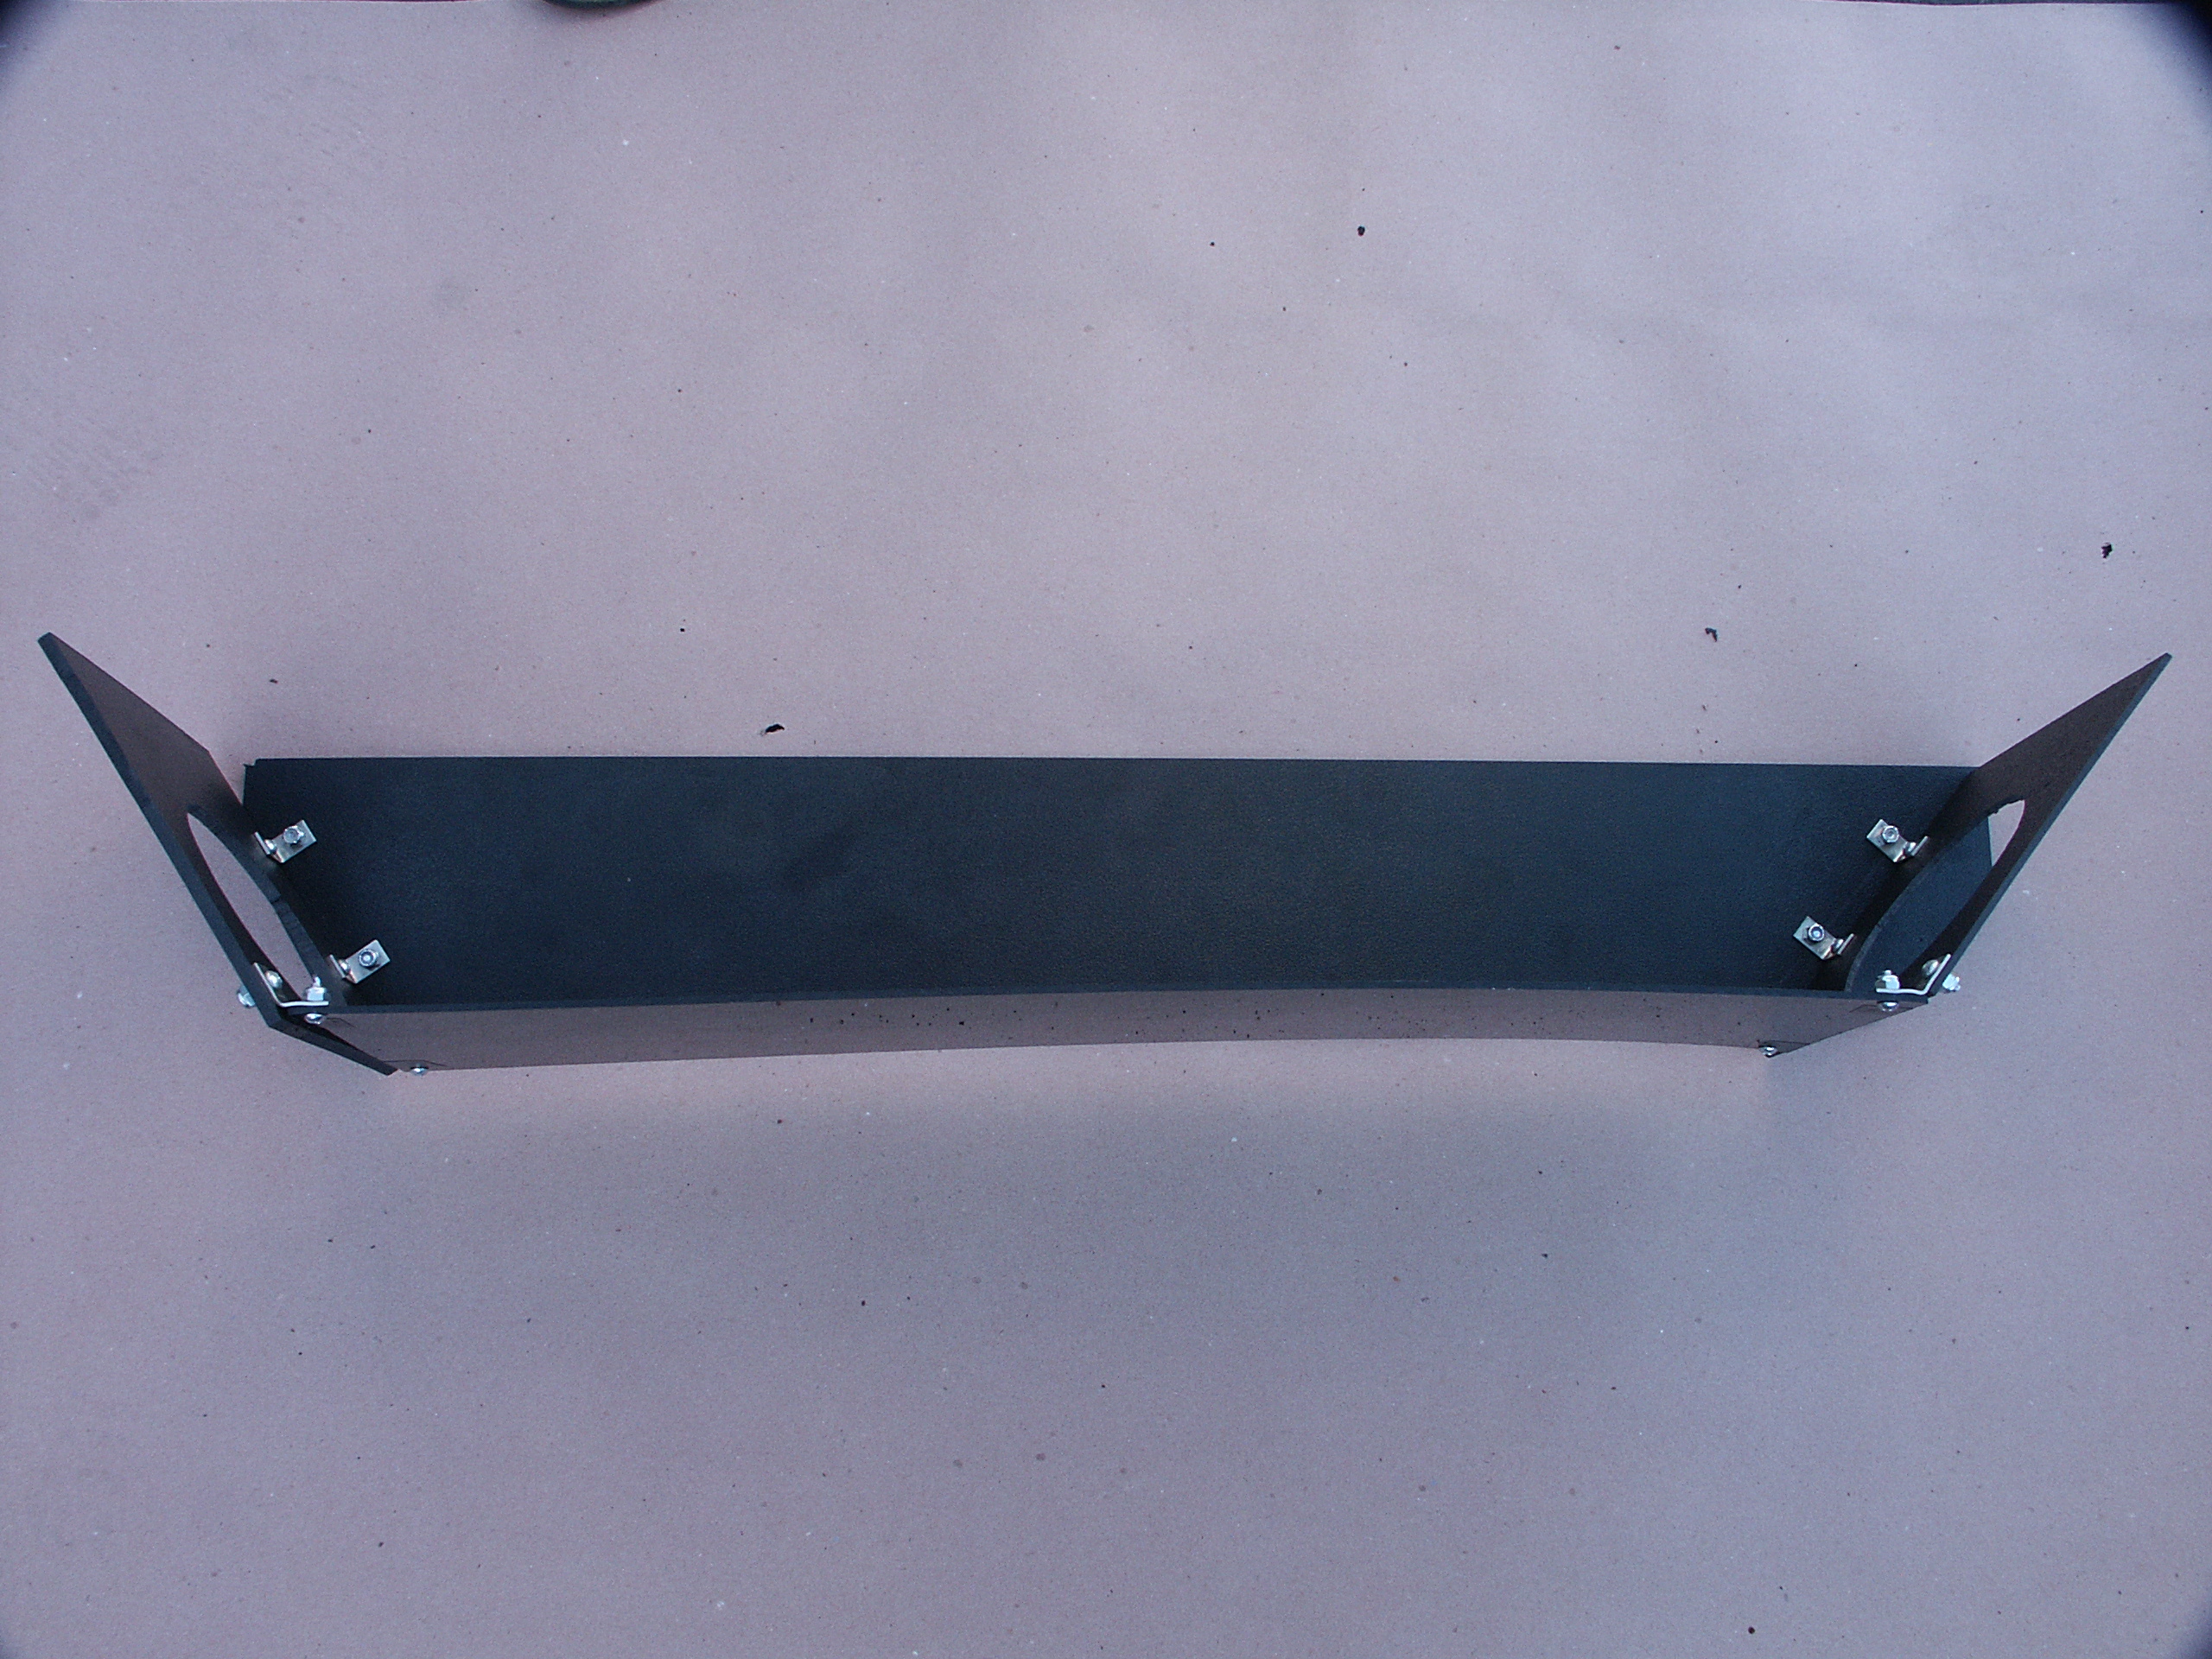
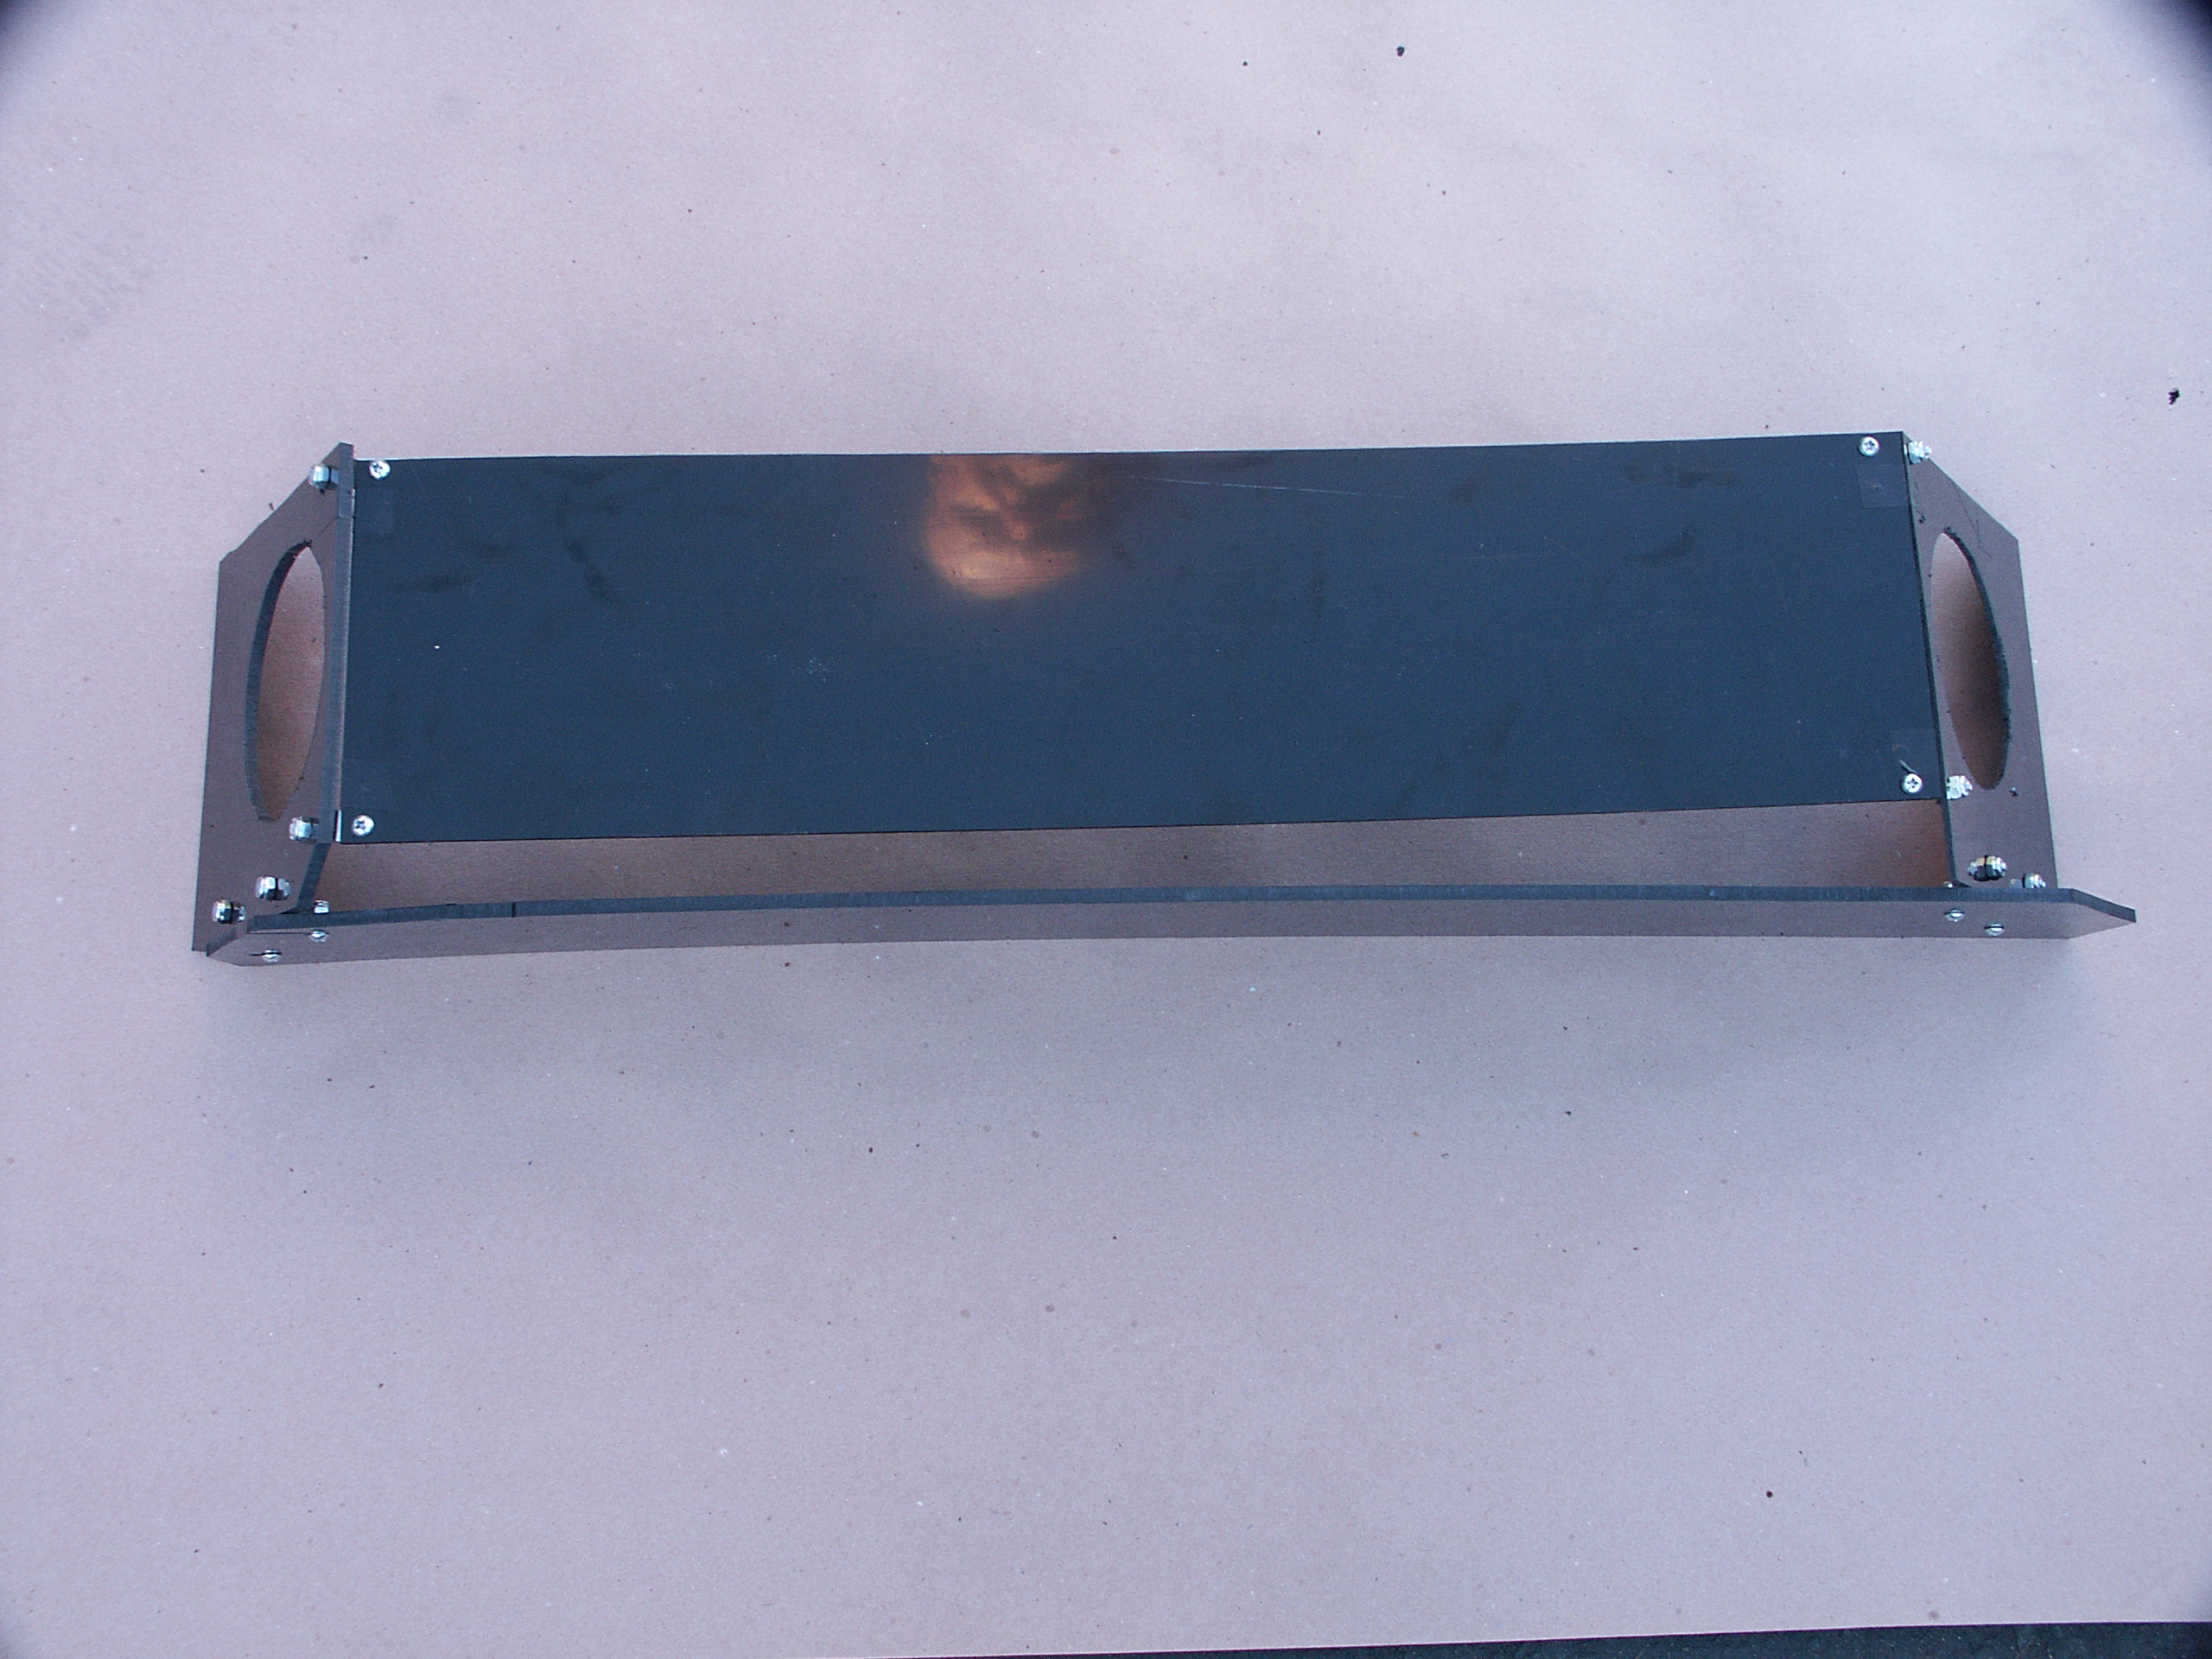
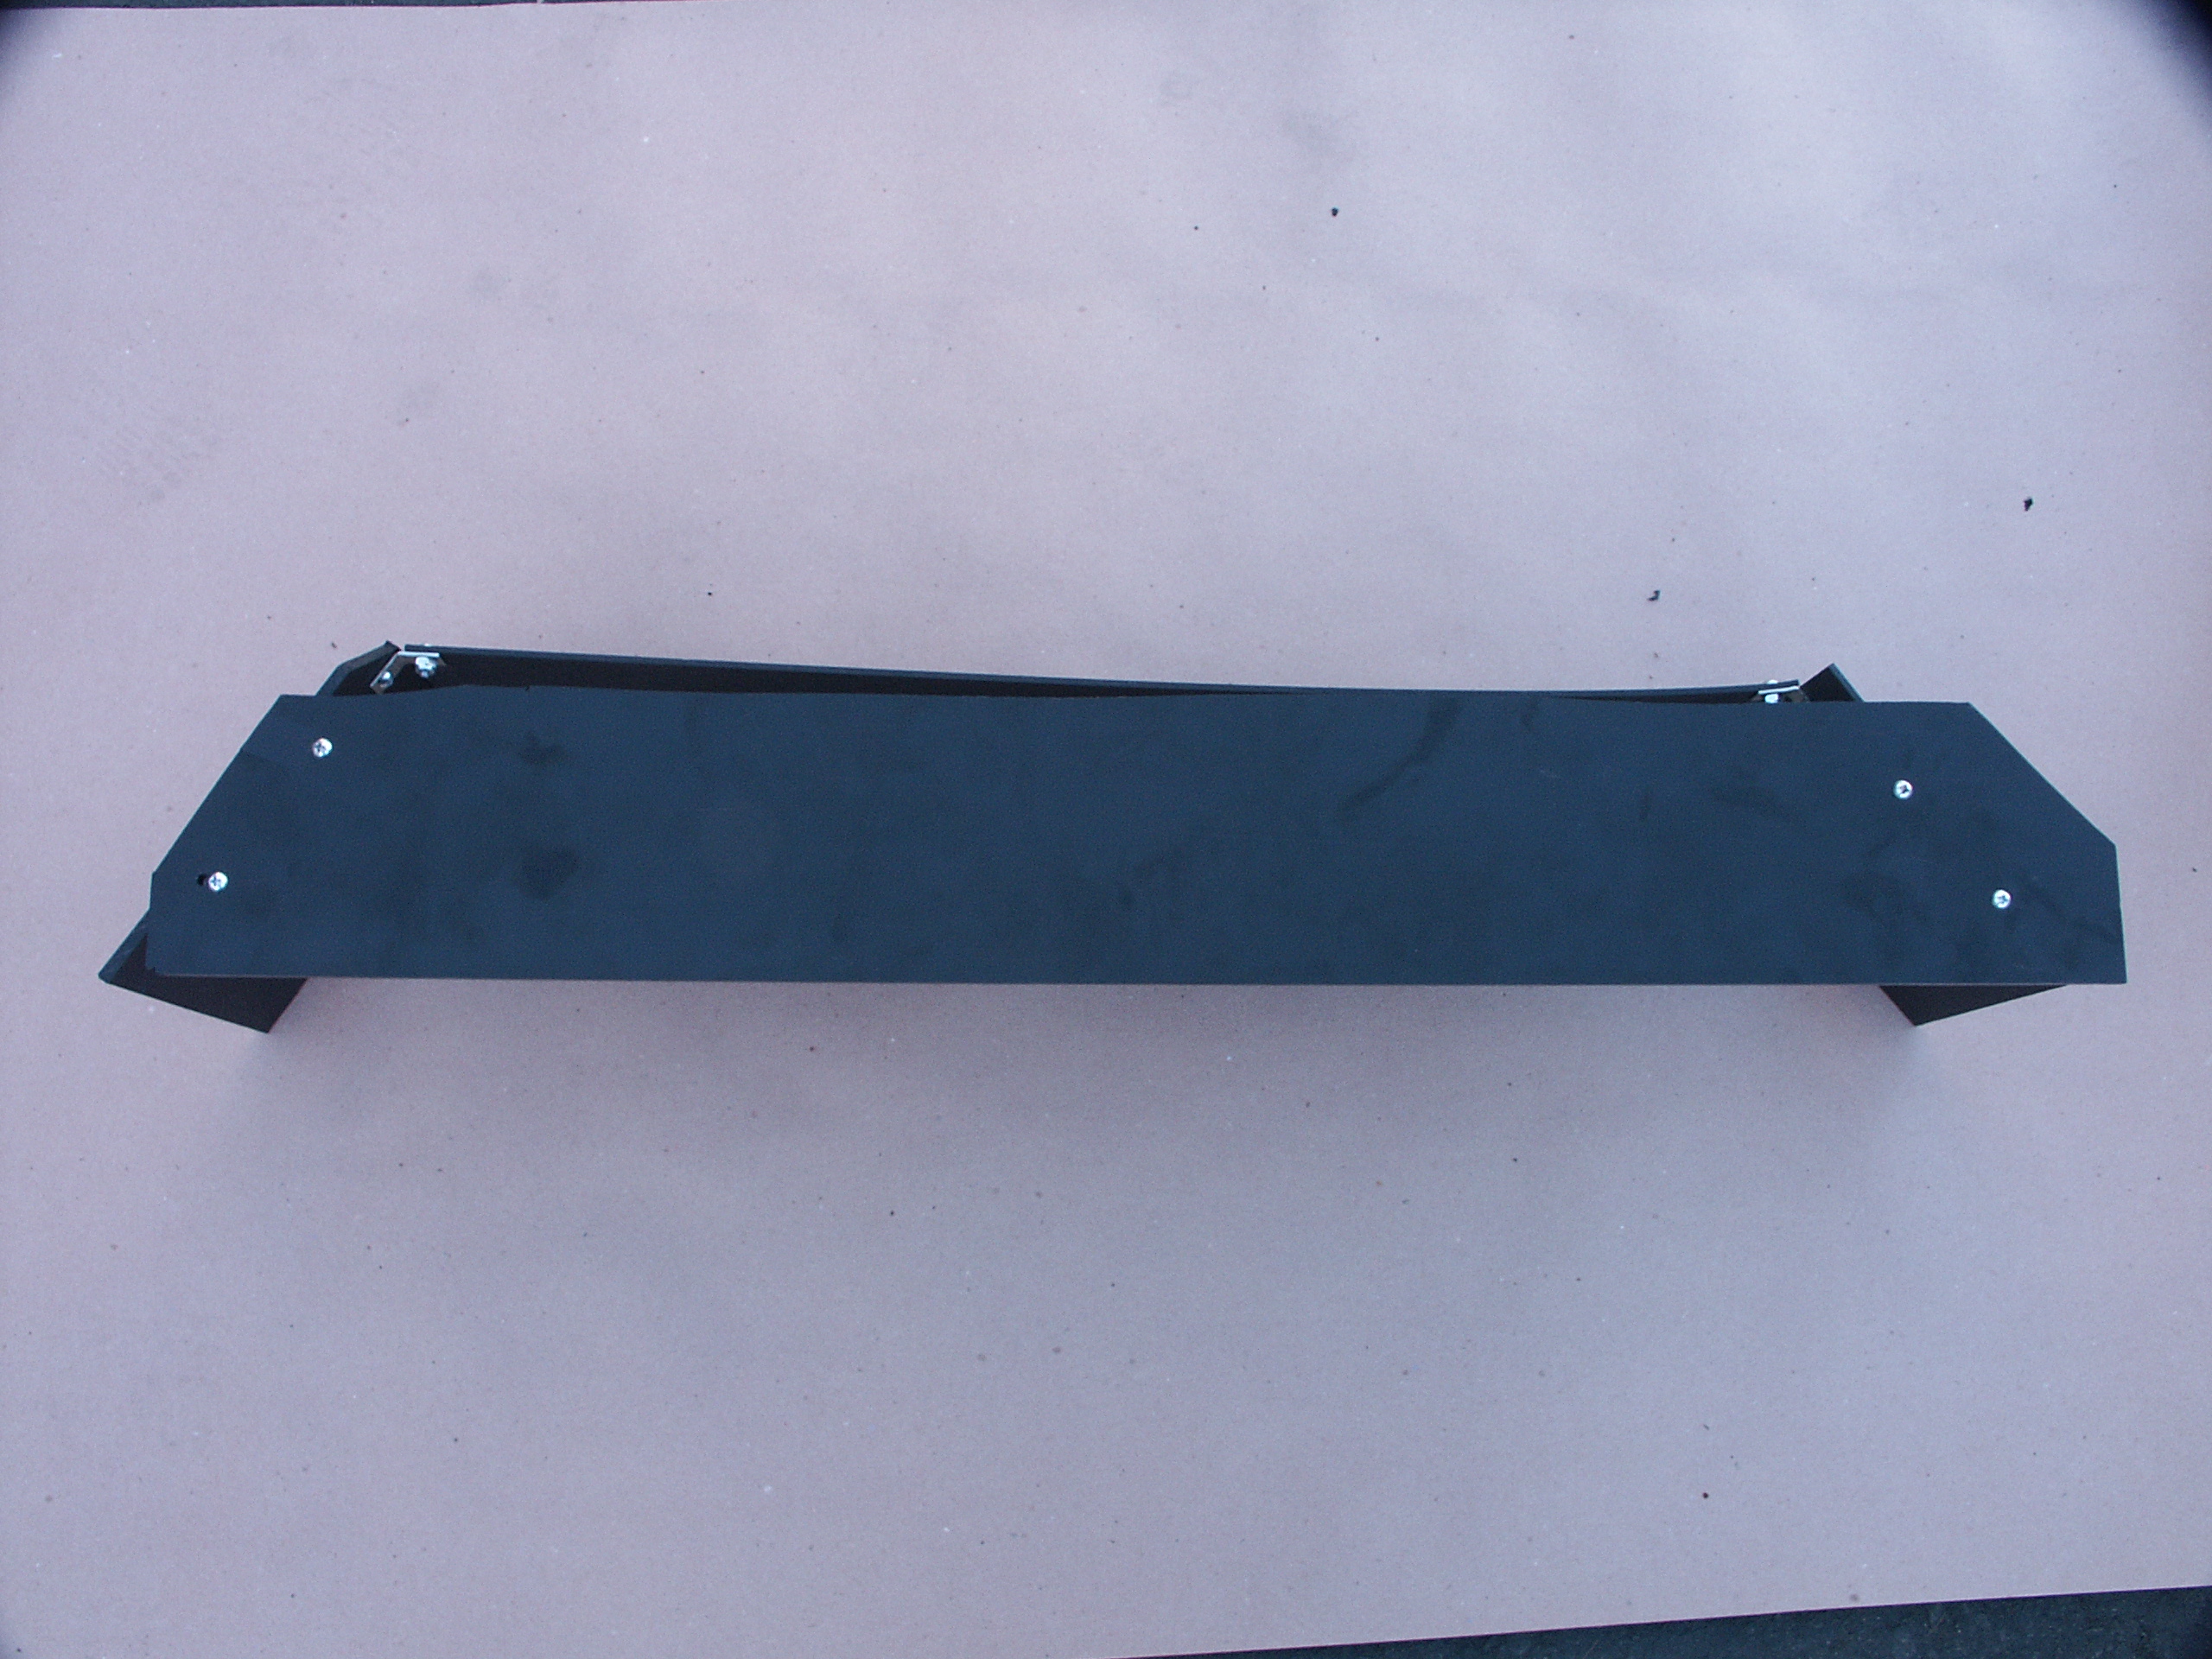
2.01 MB | Photo from Ron of the PriusPlus conversion of Sven's Prius from Nov 2006. Electronics housing (top). | 1 |
| 03:01, 25 November 2006 | P10377.JPG (file) |  |
1.88 MB | Photo from Ron of the PriusPlus conversion of Sven's Prius from Nov 2006. Electronics housing (back). | 1 |
| 03:00, 25 November 2006 | P10379.JPG (file) |  |
1.74 MB | Photo from Ron of the PriusPlus conversion of Sven's Prius from Nov 2006. Electronics housing (bottom). | 1 |
| 02:59, 25 November 2006 | P10380.JPG (file) |  |
2.11 MB | Photo from Ron of the PriusPlus conversion of Sven's Prius from Nov 2006. Electronics housing (front). | 1 |
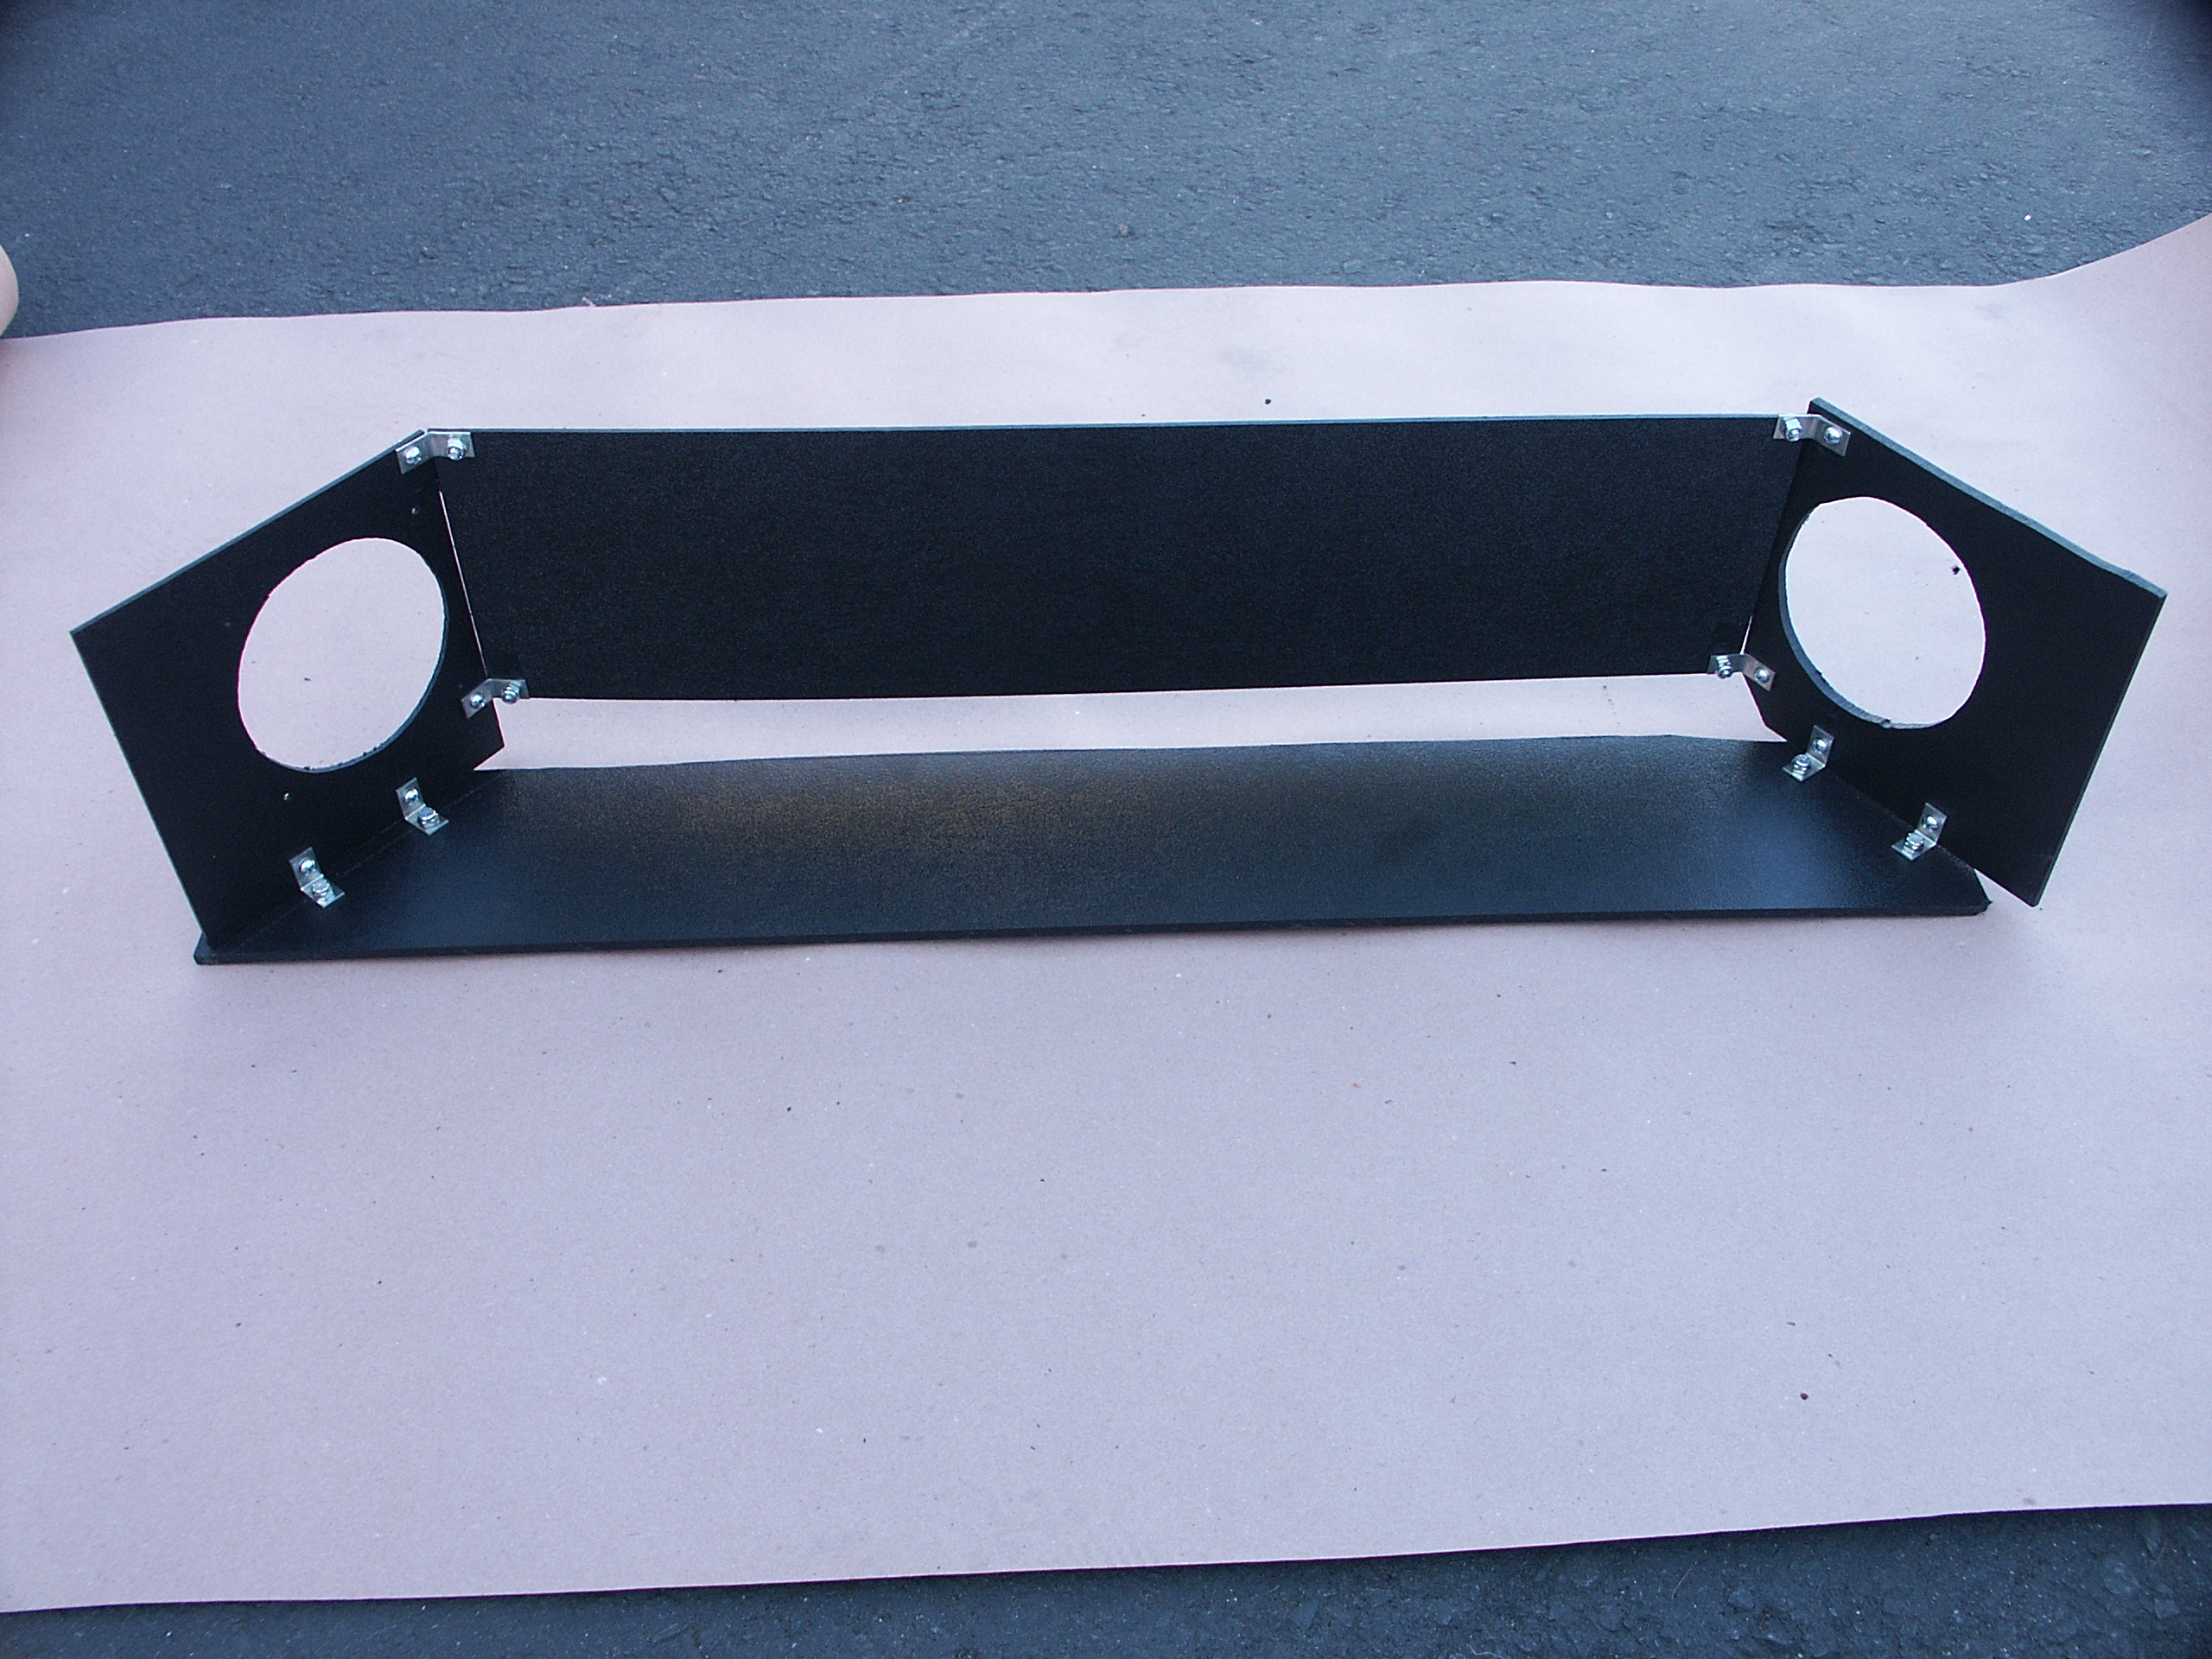
| 02:45, 25 November 2006 | P10387.JPG (file) |  |
2.07 MB | Photo from Ron of the PriusPlus conversion of Sven's Prius from Nov 2006. Electronics housing semi-populated. | 1 |
| 02:45, 25 November 2006 | P10386.JPG (file) |  |
1.96 MB | Photo from Ron of the PriusPlus conversion of Sven's Prius from Nov 2006. Electronics housing semi-populated. | 1 |
| 02:43, 25 November 2006 | P10385.JPG (file) |  |
2.11 MB | Photo from Ron of the PriusPlus conversion of Sven's Prius from Nov 2006. Electronics housing semi-populated. | 1 |
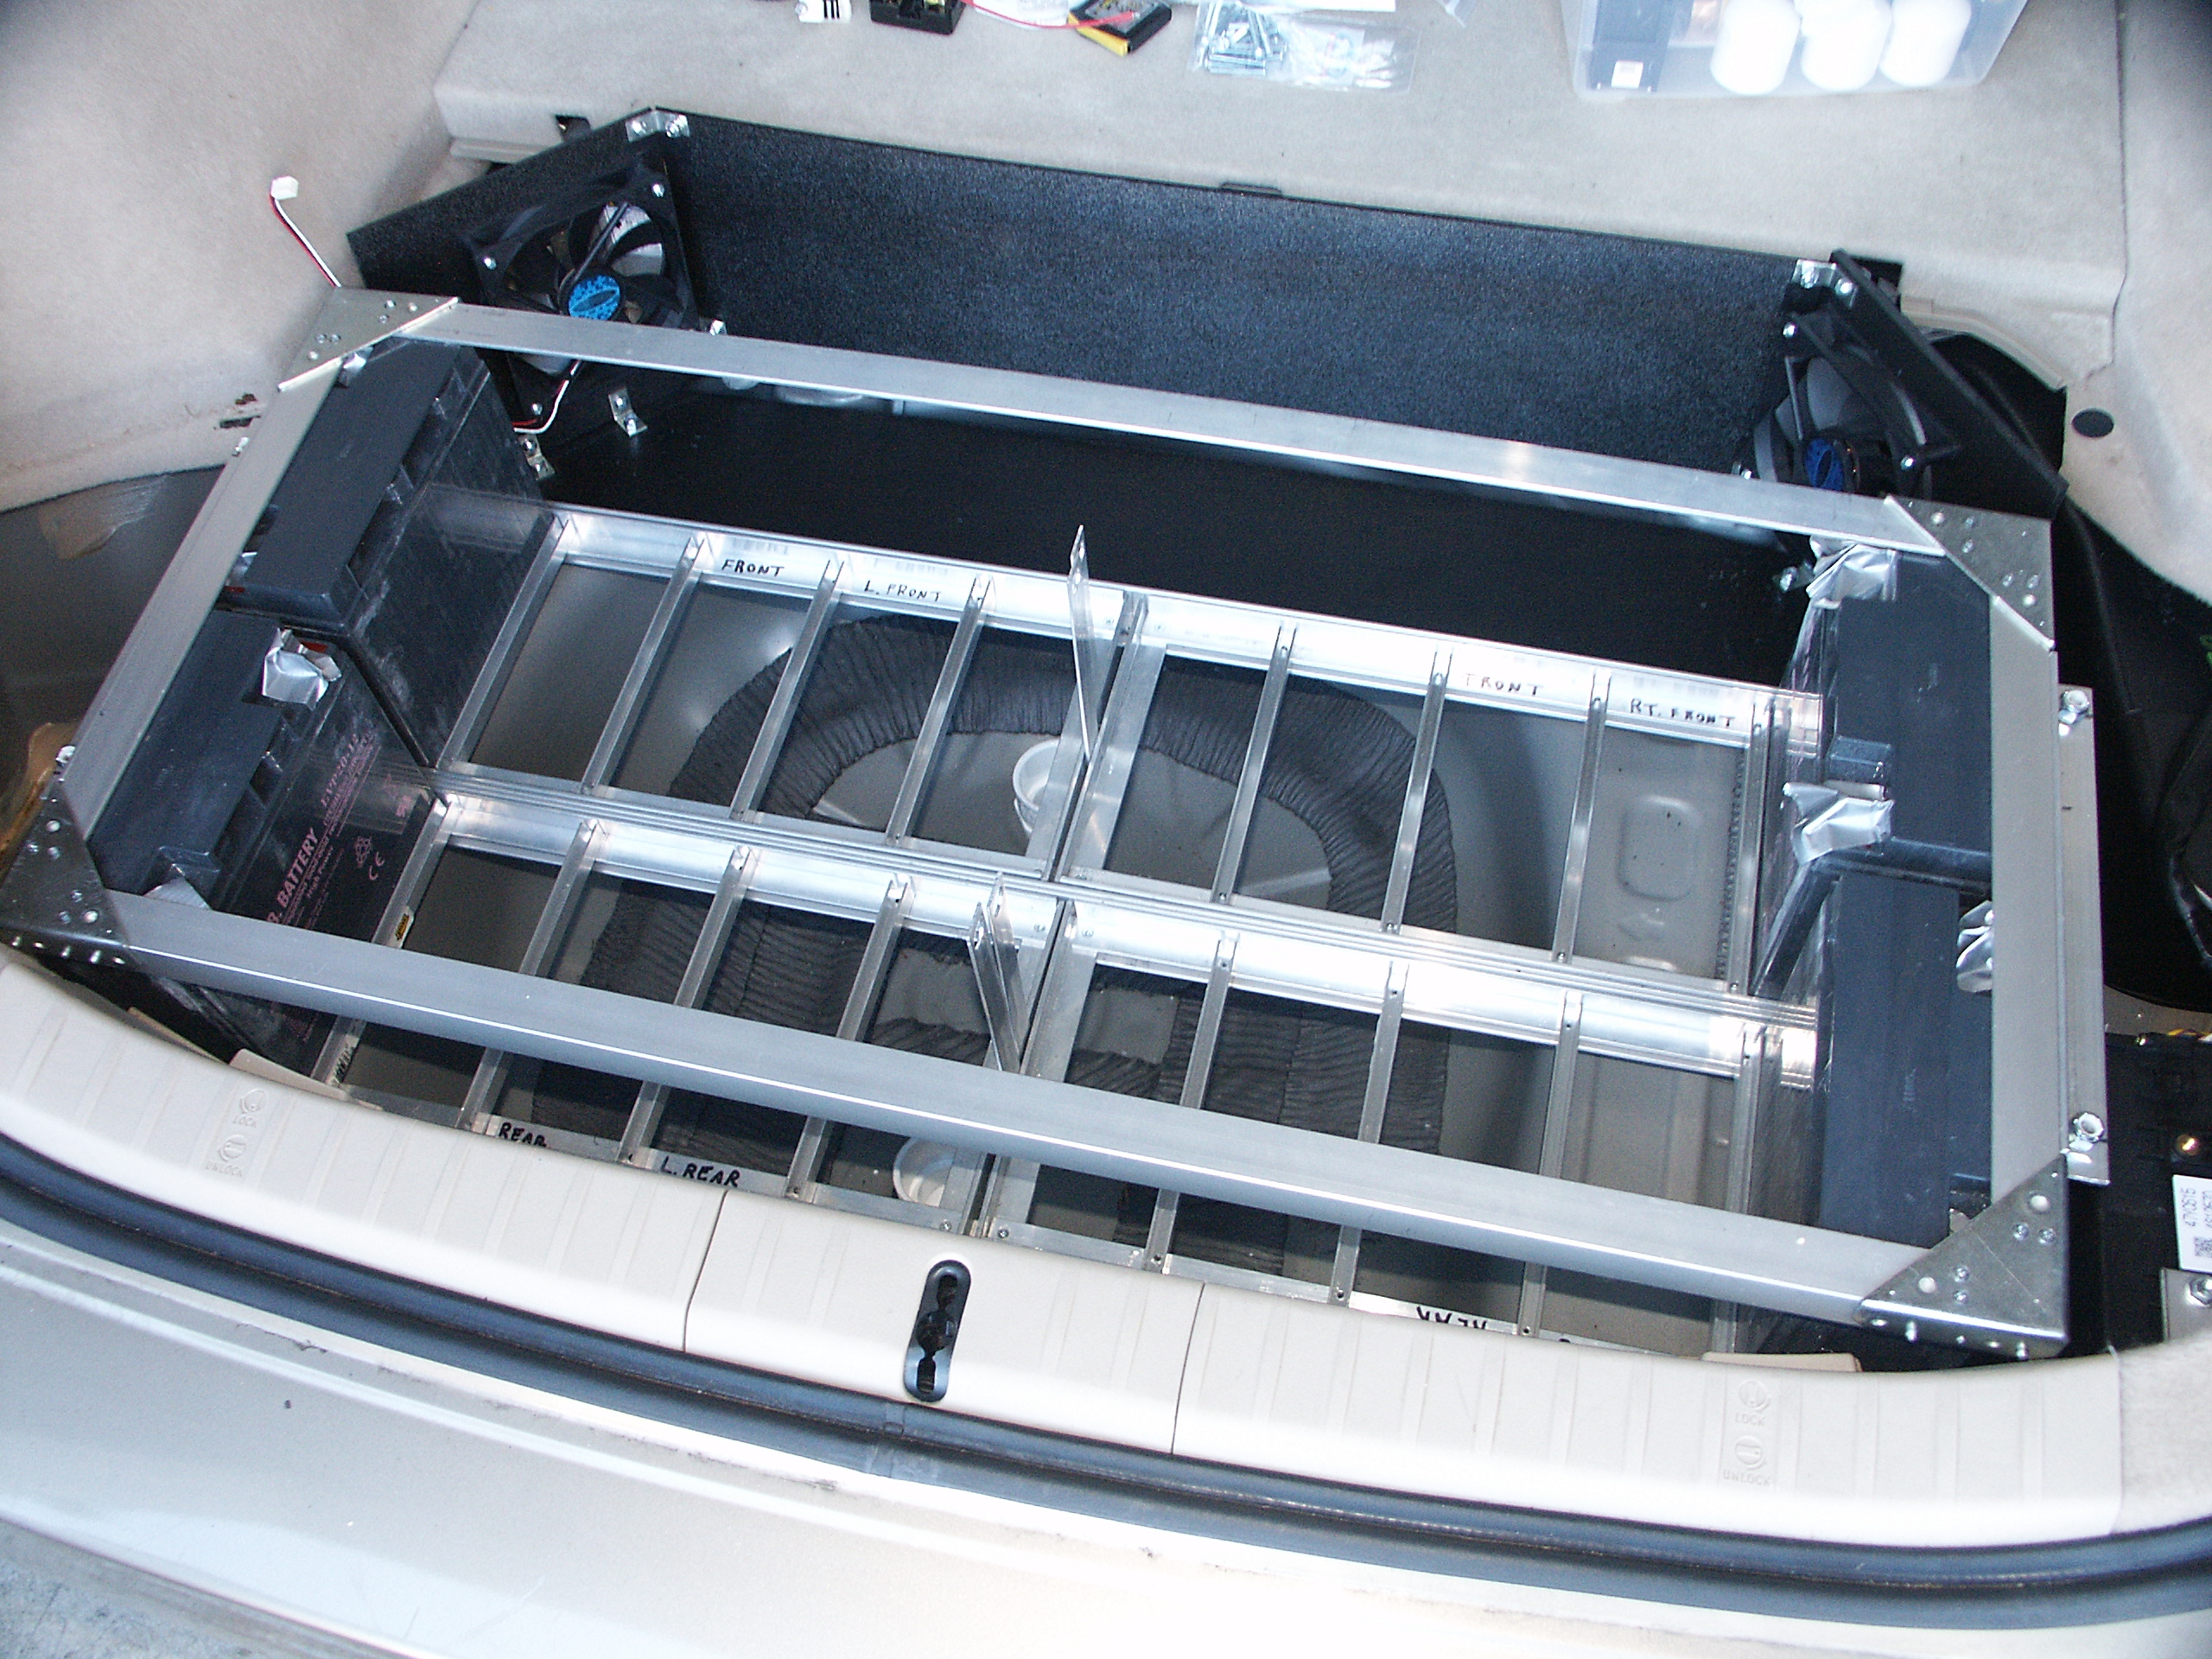
| 02:43, 25 November 2006 | P10389.JPG (file) |  |
2.31 MB | Photo from Ron of the PriusPlus conversion of Sven's Prius from Nov 2006. Electronics housing semi-populated and battery box fitting mockup. | 1 |
| 02:41, 25 November 2006 | P10382.JPG (file) |  |
2.28 MB | Photo from Ron of the PriusPlus conversion of Sven's Prius from Nov 2006. Electronics housing and battery box fitting mockup. | 1 |
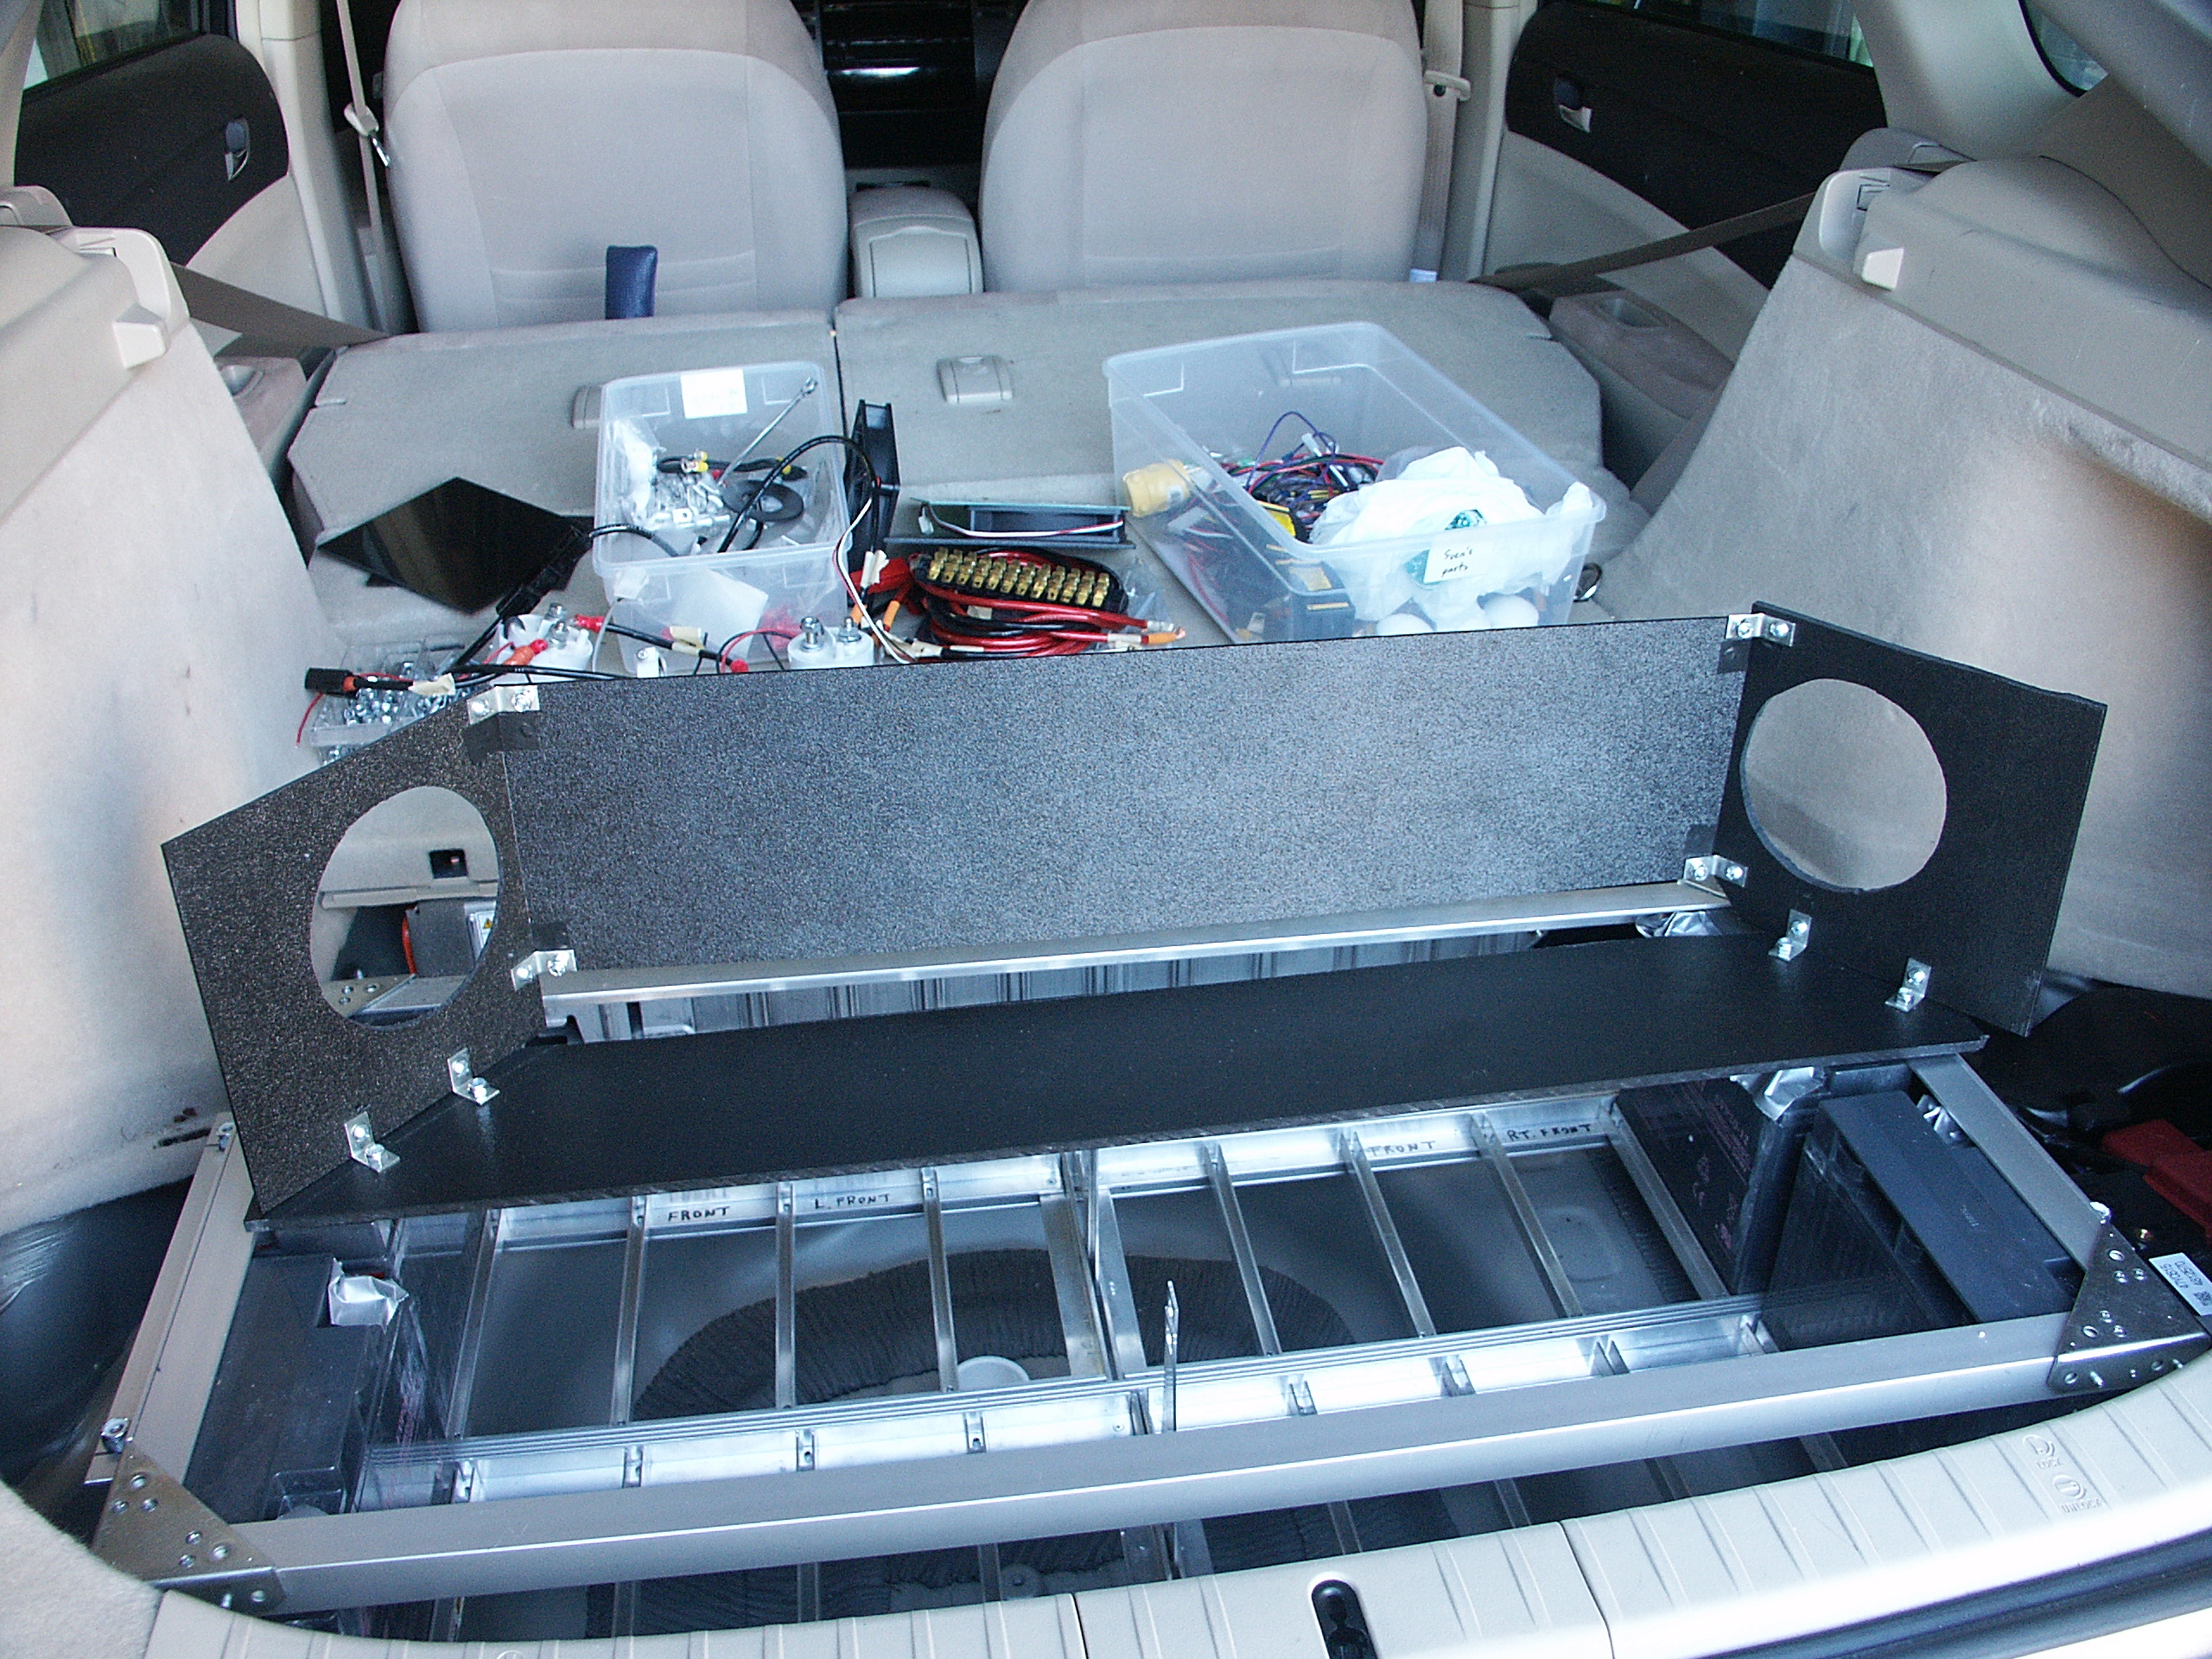
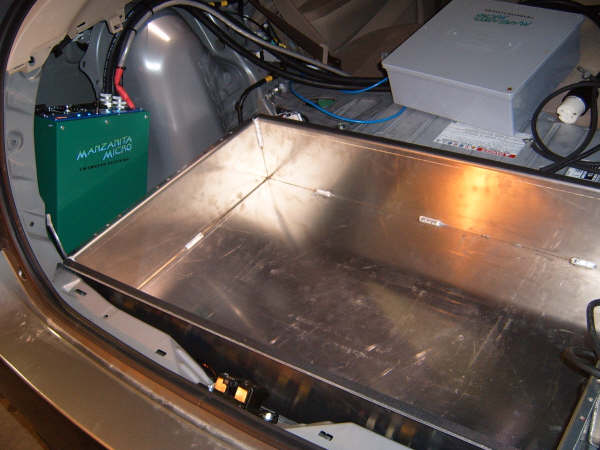
| 02:41, 25 November 2006 | P10374.JPG (file) |  |
2.68 MB | Photo from Ron of the PriusPlus conversion of Sven's Prius from Nov 2006. Electronics housing and misc parts on top of new battery box, ready for installation. | 1 |
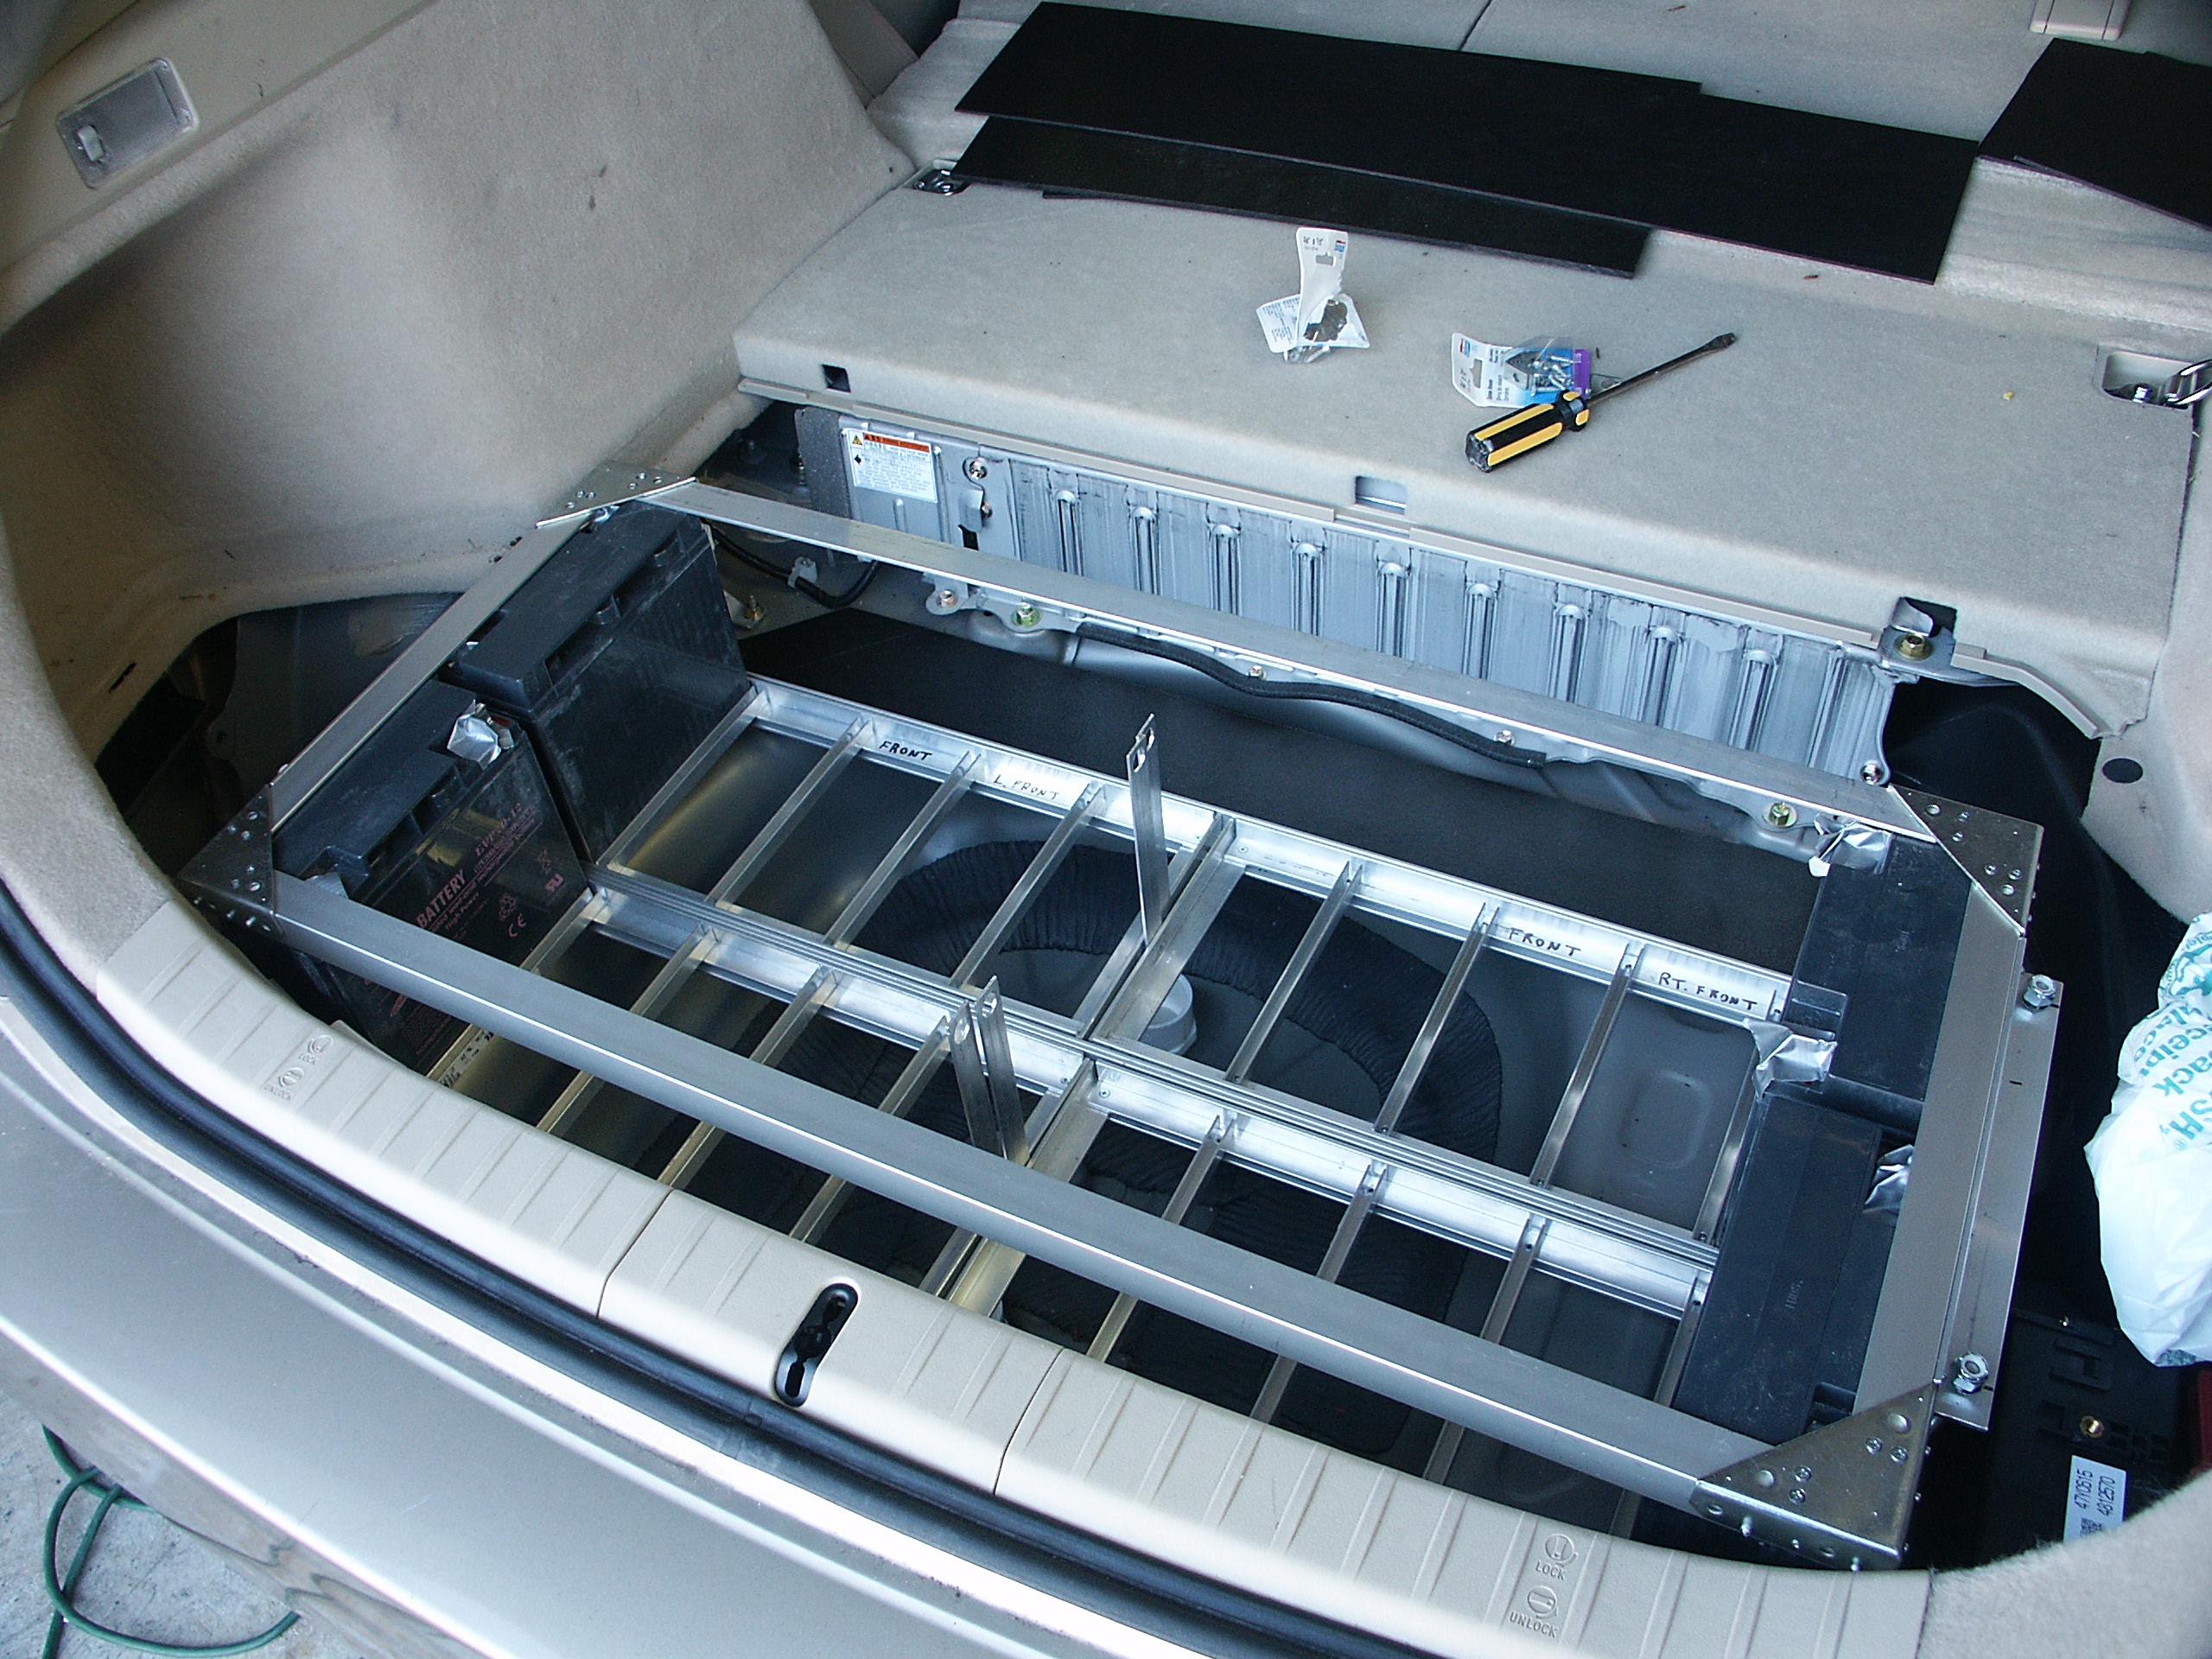
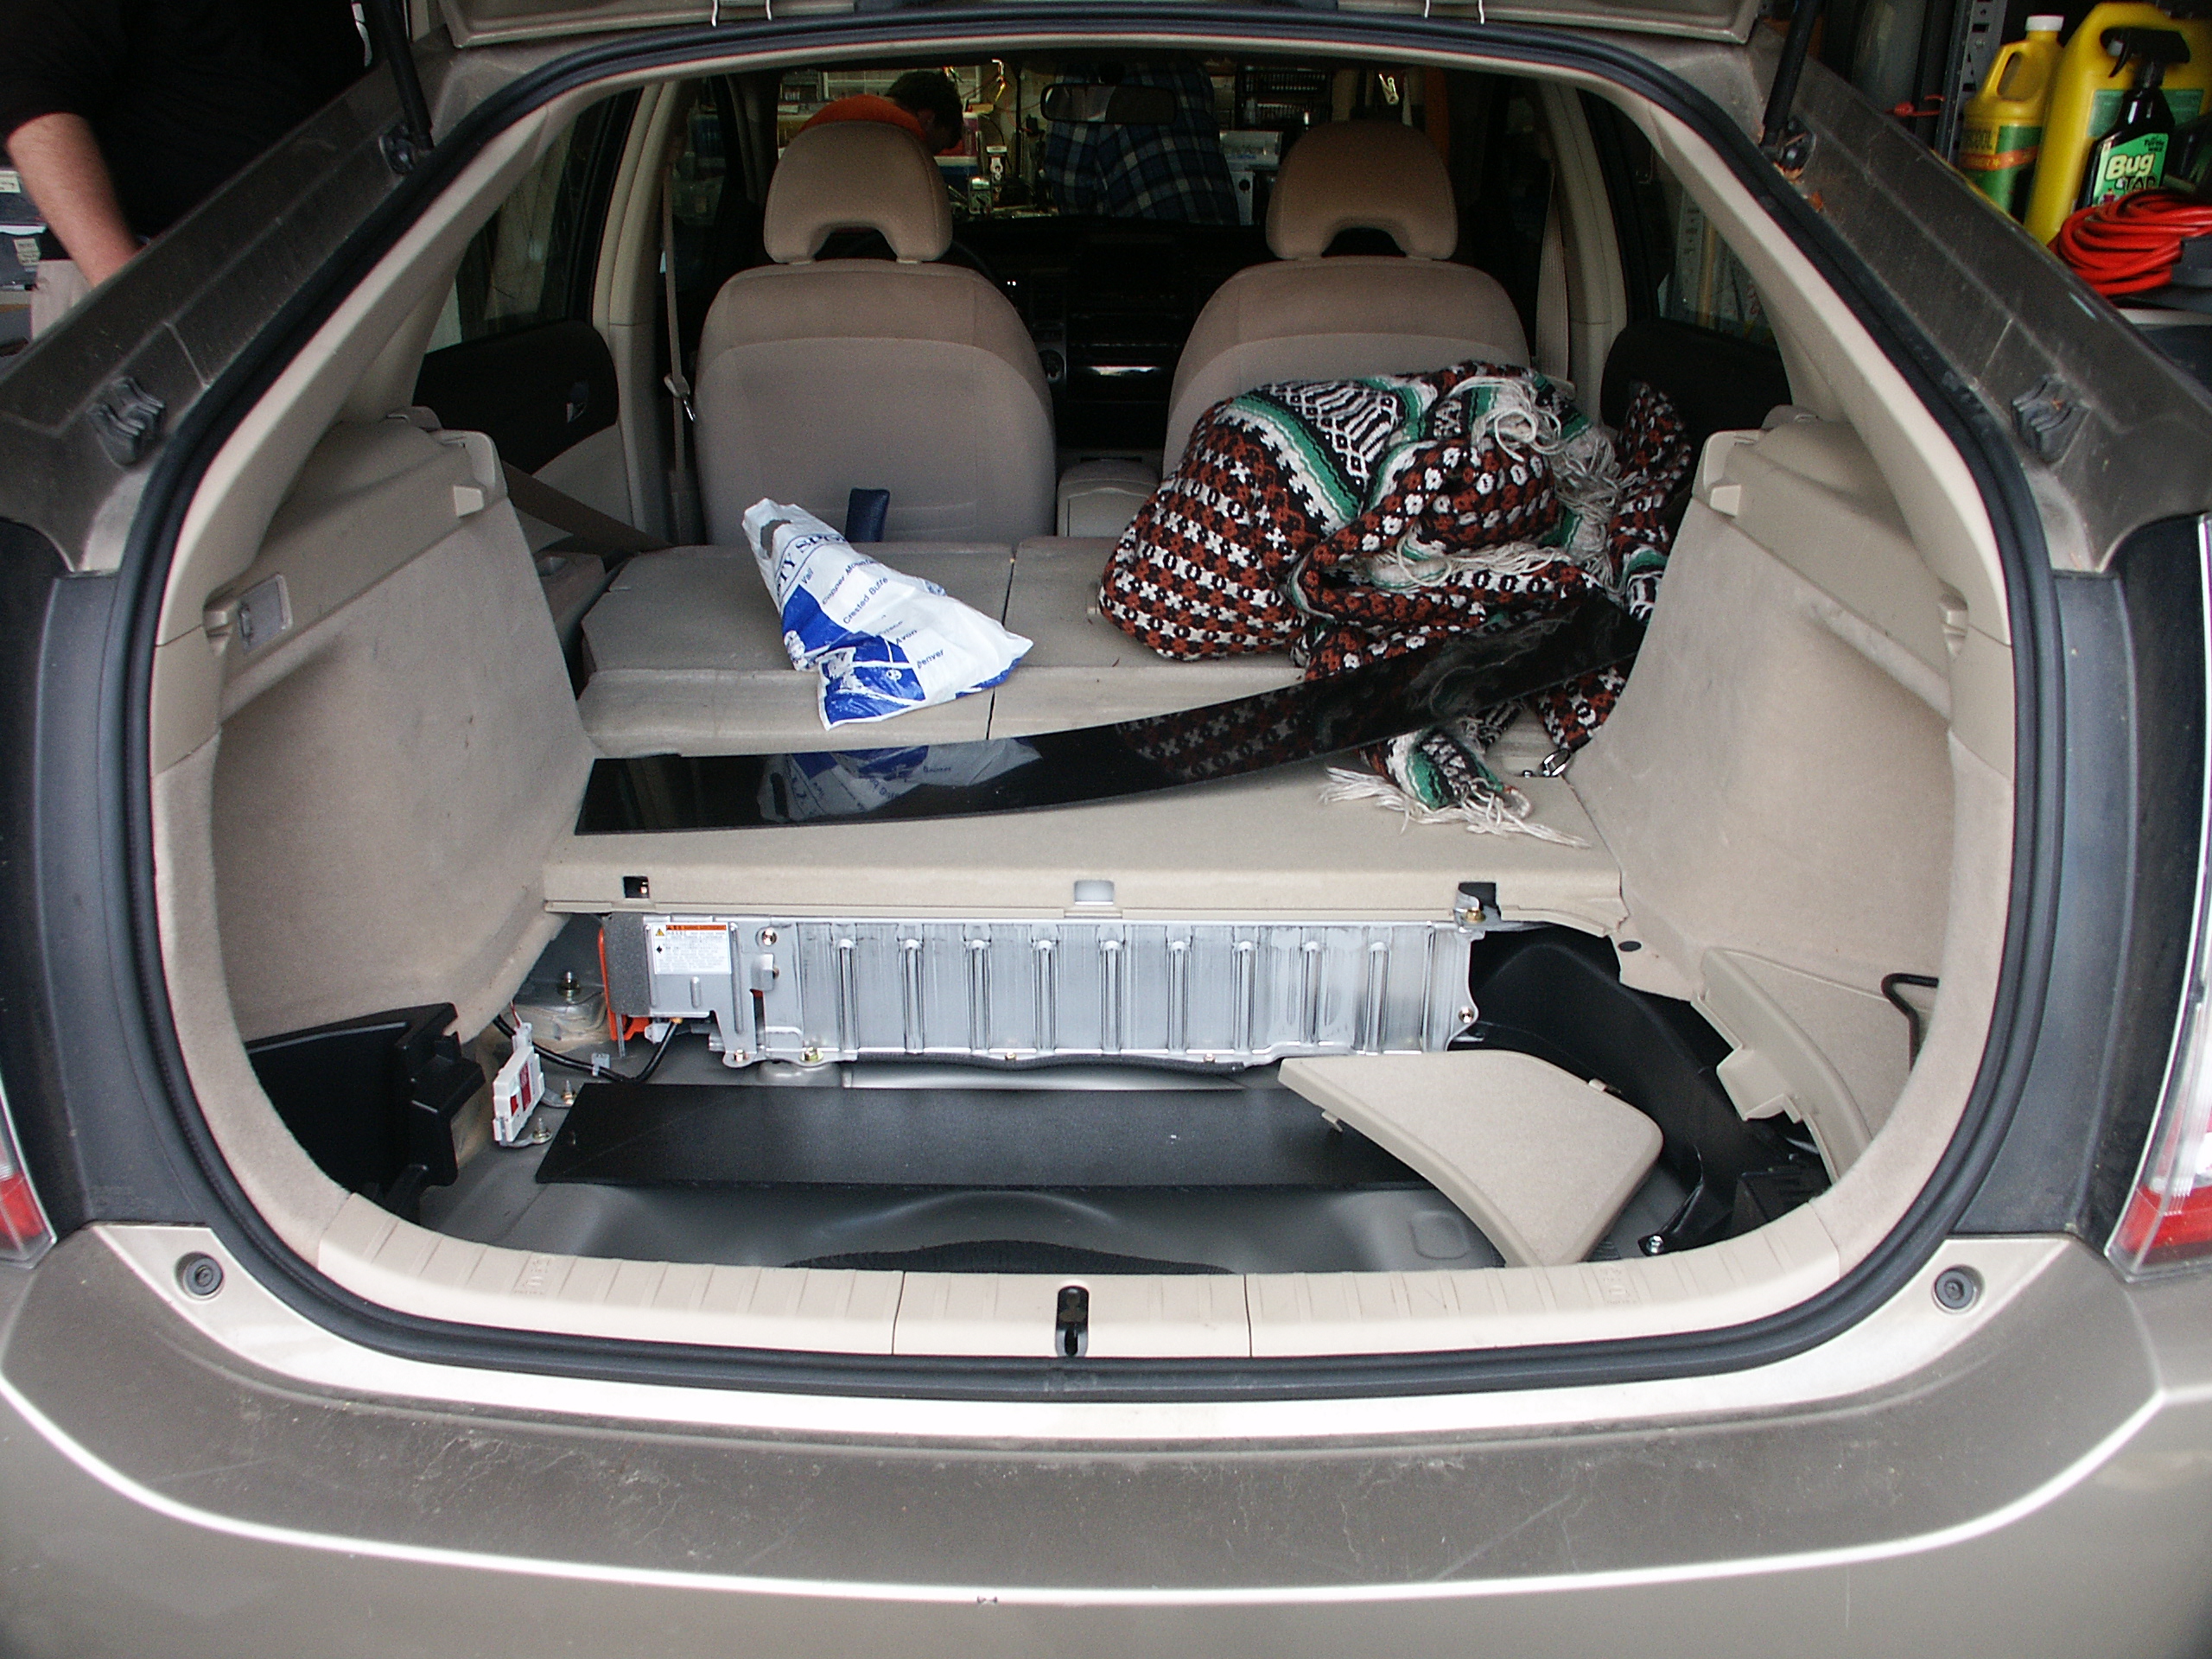
| 02:39, 25 November 2006 | P10373.JPG (file) |  |
2.36 MB | Photo from Ron of the PriusPlus conversion of Sven's Prius from Nov 2006. The empty new battery box. | 1 |
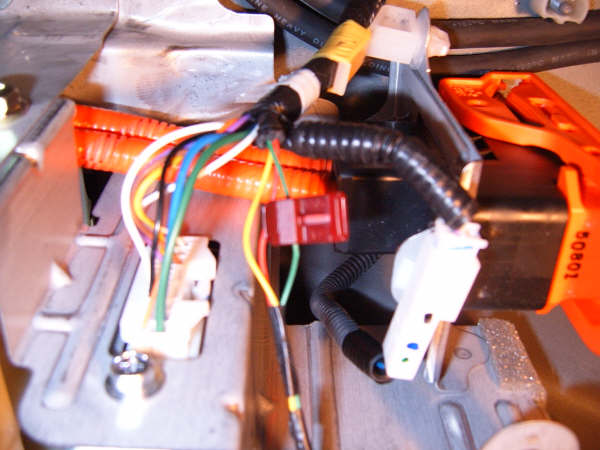
| 02:38, 25 November 2006 | P10365.JPG (file) |  |
2.23 MB | Photo from Ron of the PriusPlus conversion of Sven's Prius from Nov 2006. Mockup of the wiring and circuit board housing. | 1 |
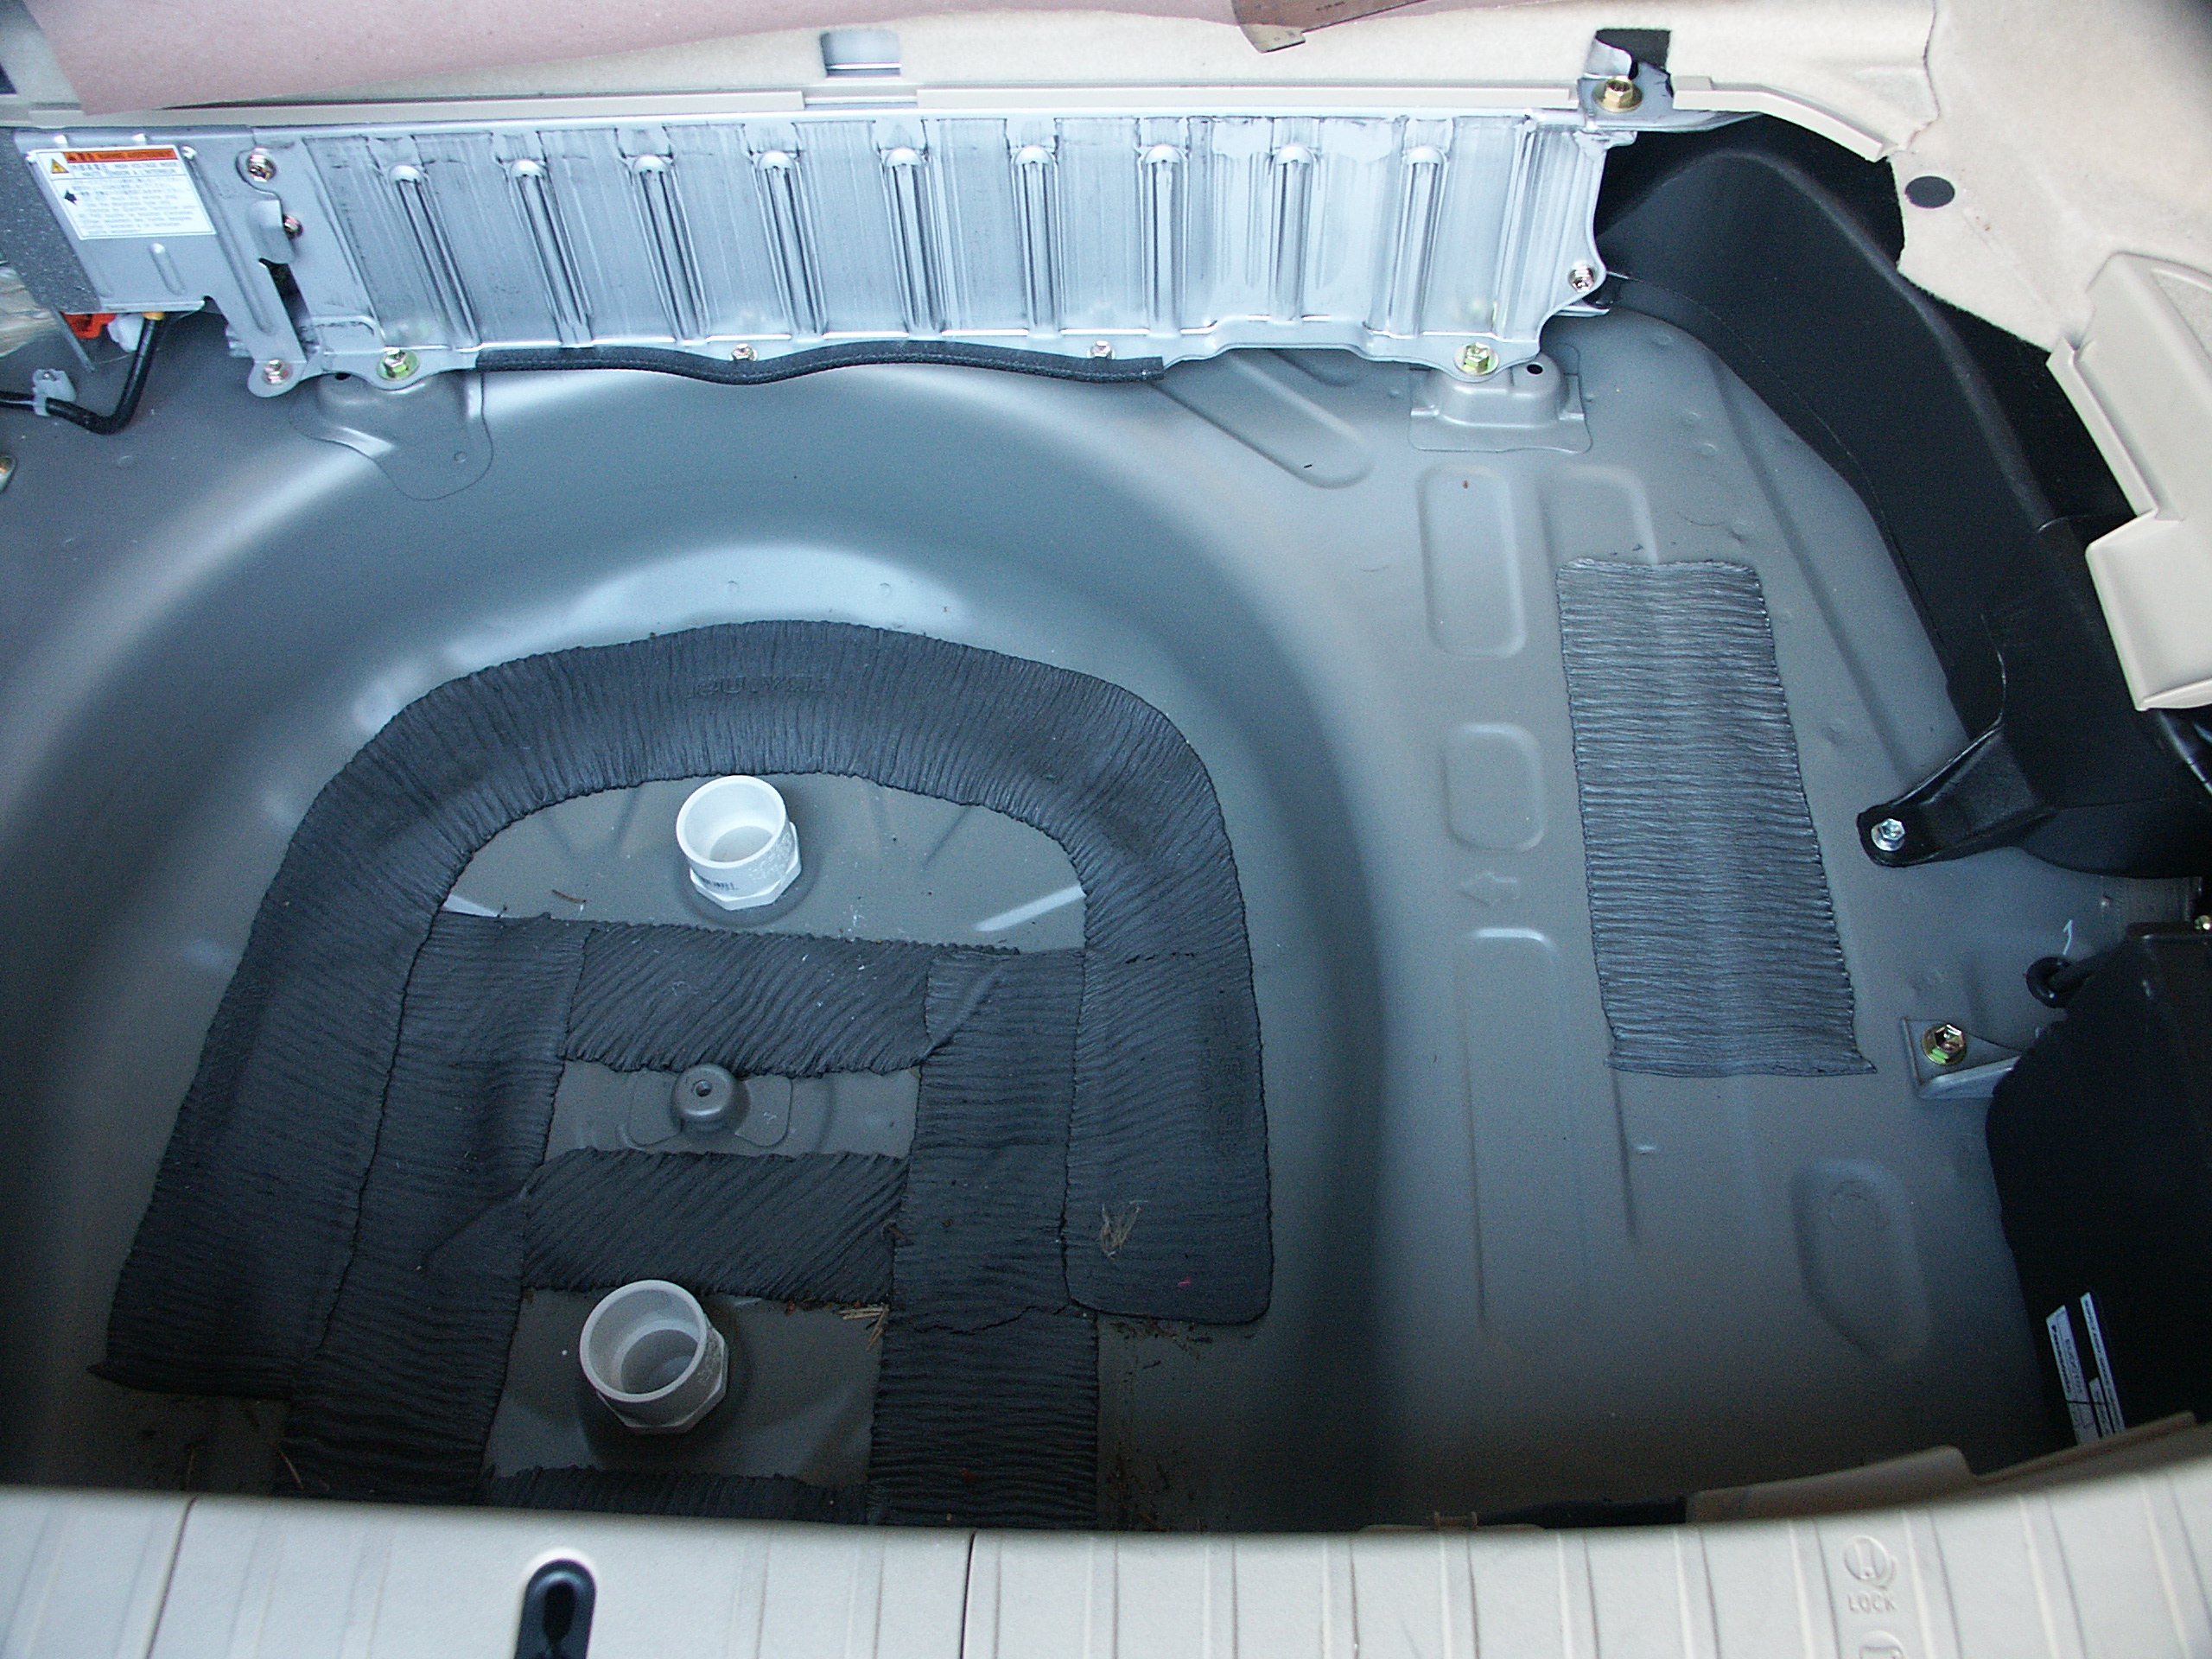
| 02:37, 25 November 2006 | P10364.JPG (file) |  |
2.41 MB | Photo from Ron of the PriusPlus conversion of Sven's Prius from Nov 2006. Pair of PVC air vents installed in spare tire well. | 1 |
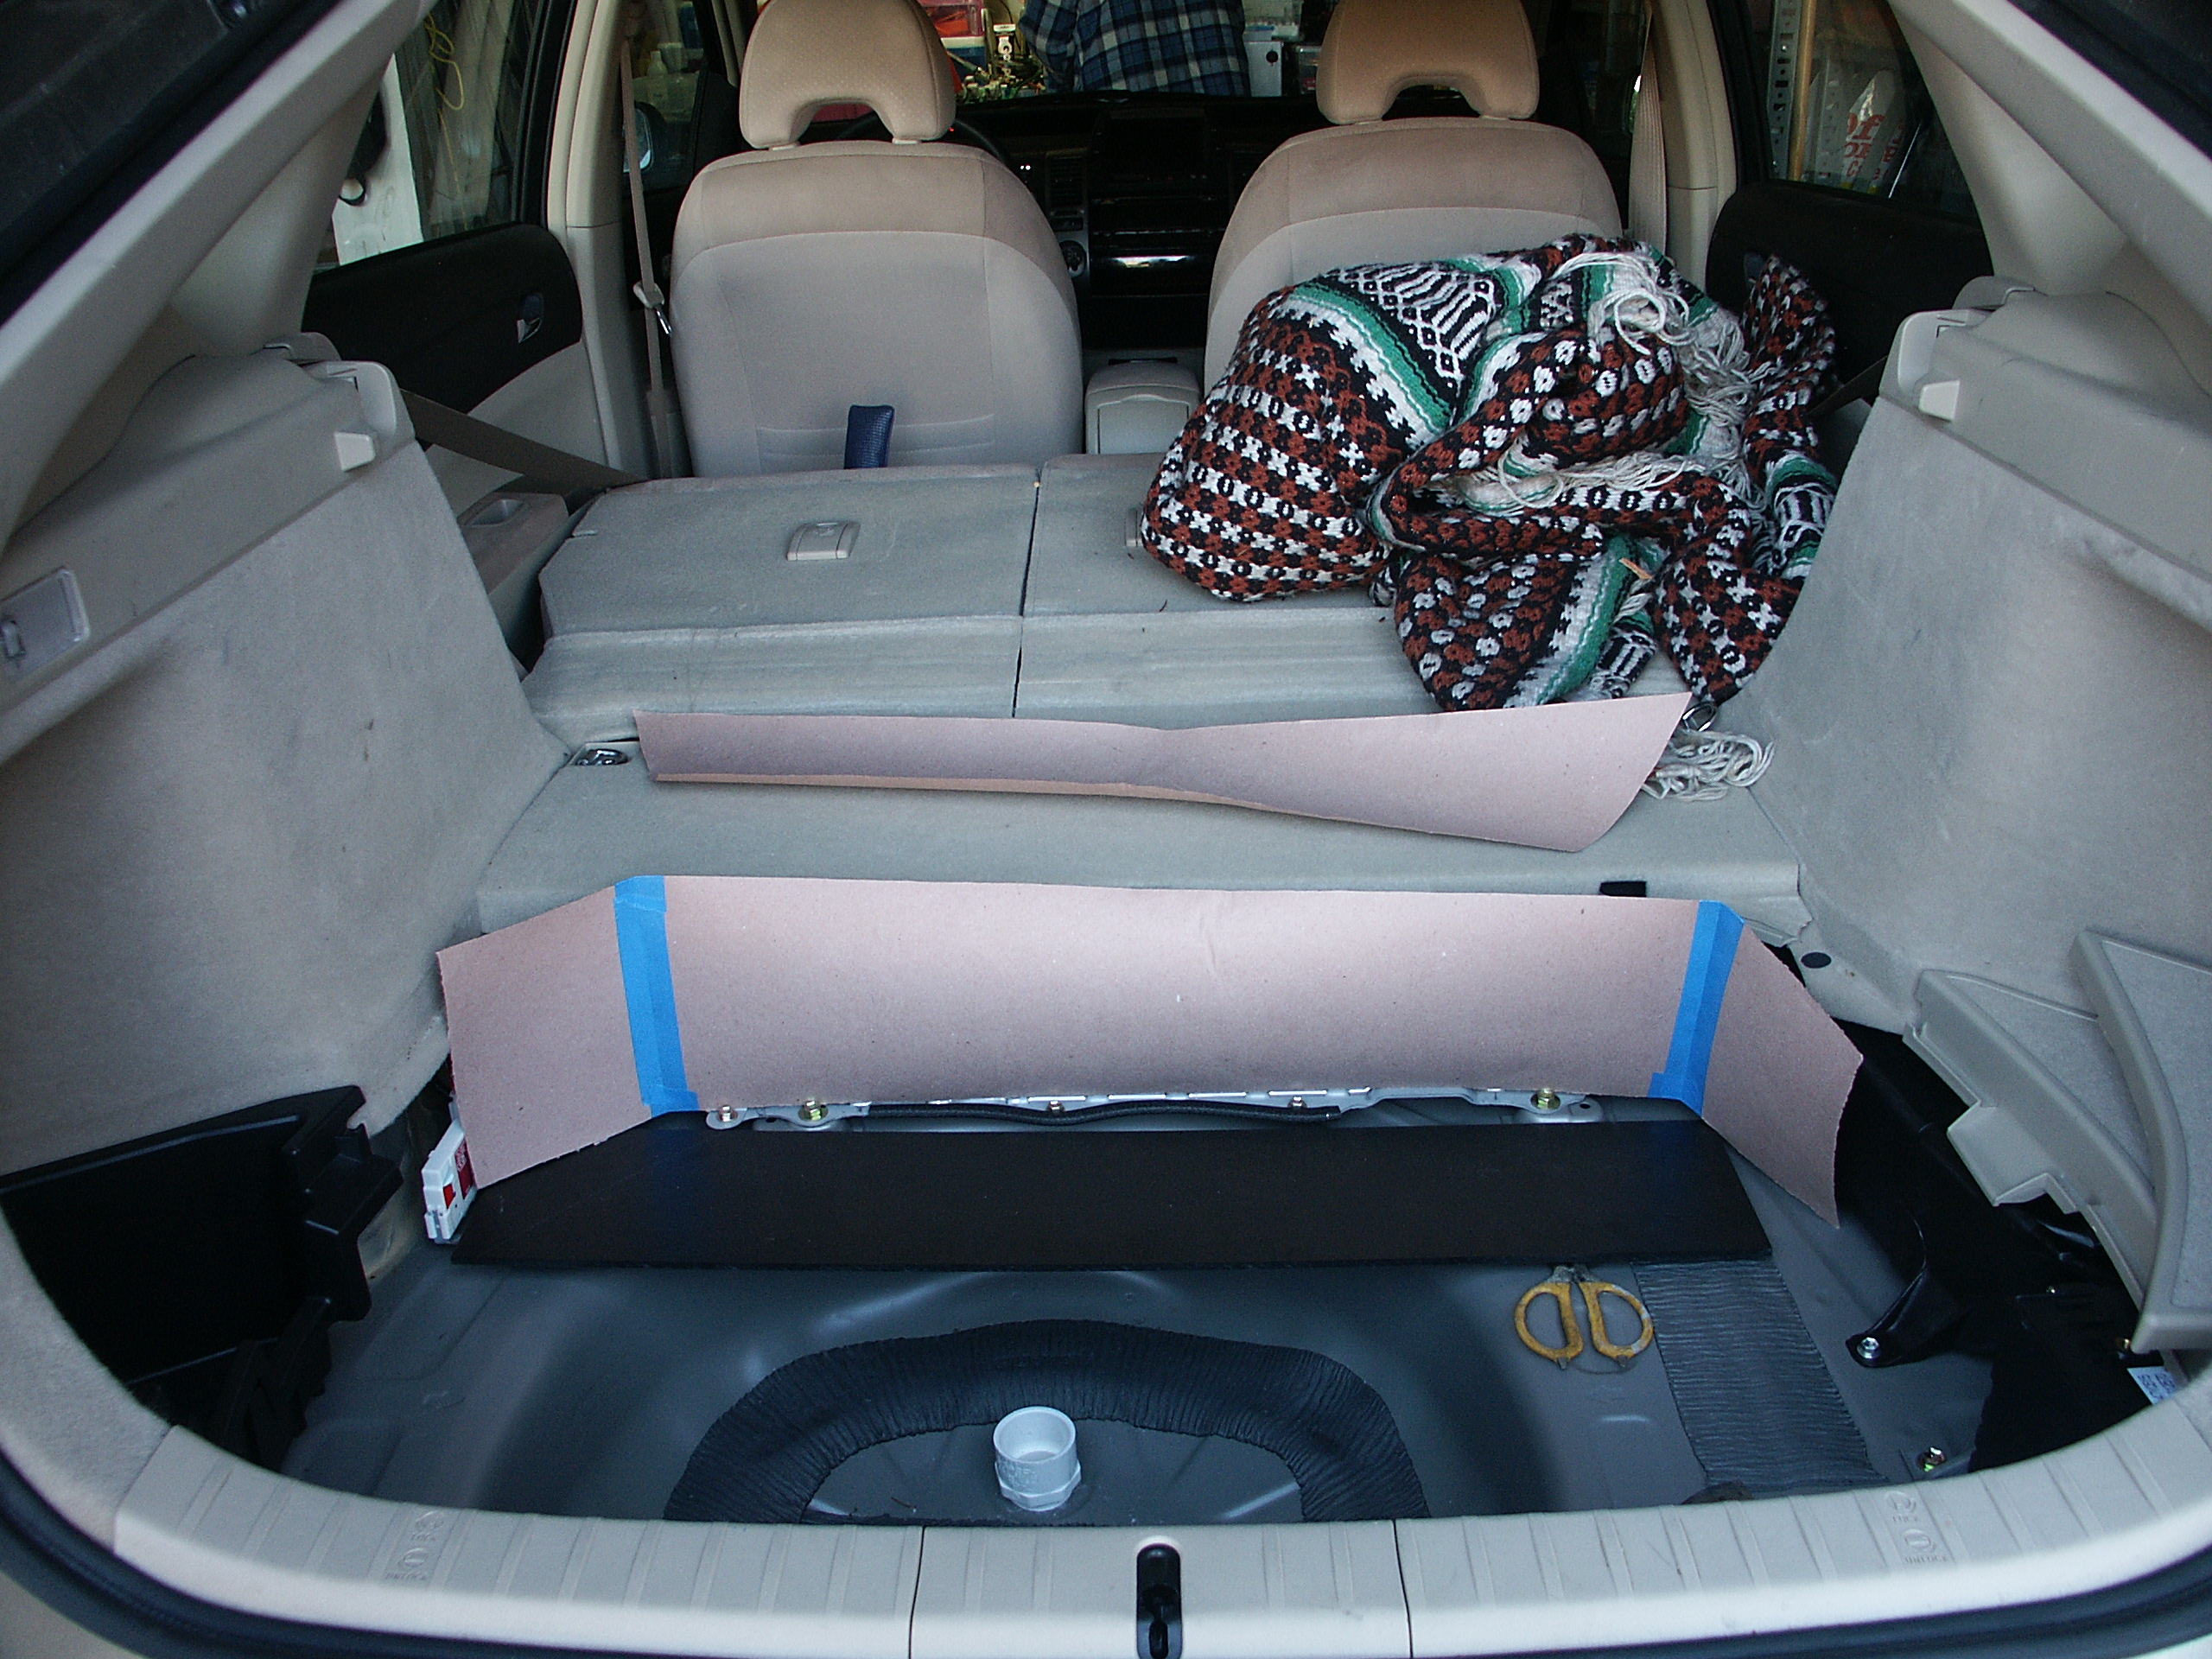
| 02:37, 25 November 2006 | P10363.JPG (file) |  |
2.2 MB | Photo from Ron of the PriusPlus conversion of Sven's Prius from Nov 2006. The unmodified trunk area. | 1 |
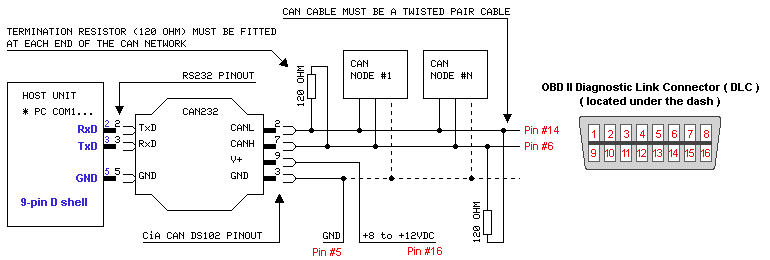
| 23:25, 22 November 2006 | CAN232-Wiring.gif (file) |  |
7 KB | How to wire the the CAN232. | 1 |
| 23:20, 22 November 2006 | CAN232.pdf (file) | 61 KB | Instructions for the use of a CAN232 converter which may be part of a Prius PHEV User Interfaces | 1 | |
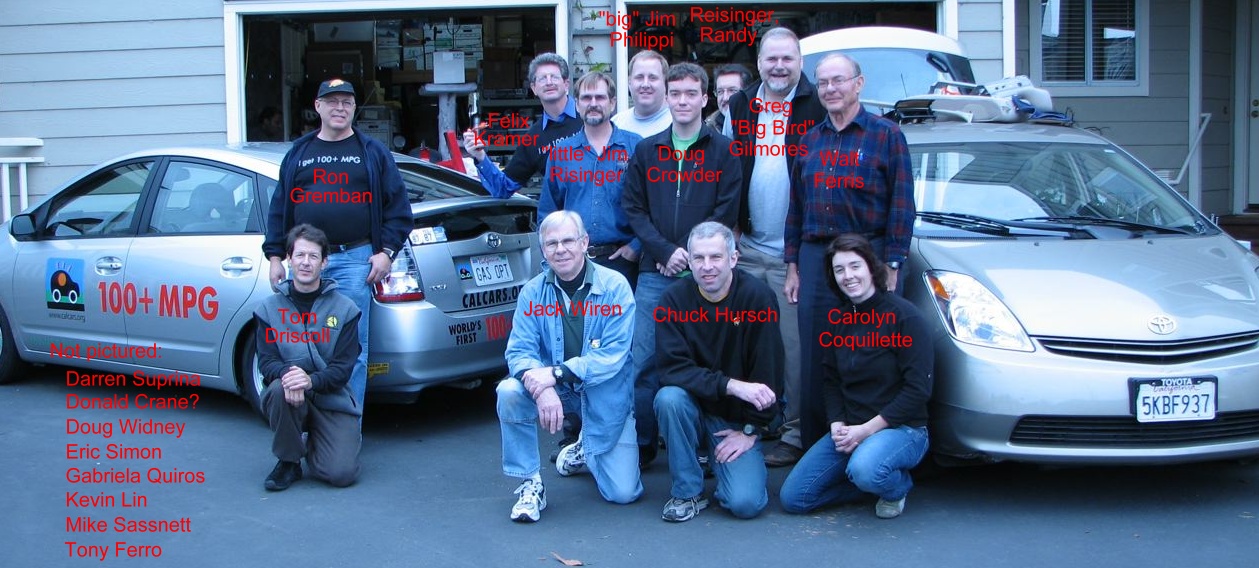
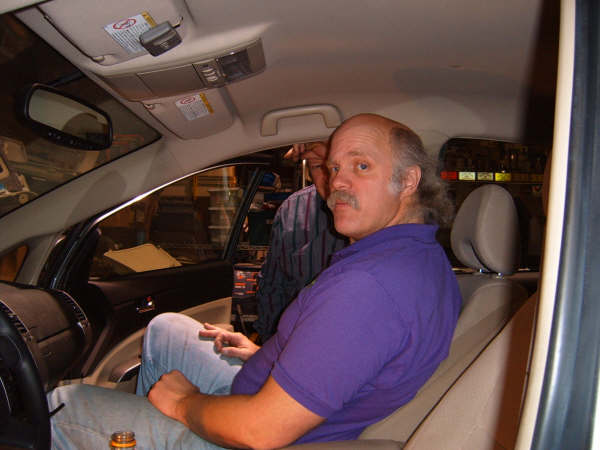
| 07:24, 17 November 2006 | SvensConversionTeamPhotoWNames 061112.jpg (file) |  |
293 KB | Team Photo from the PriusPlus conversion of Svens Prius from Sep 2006. | 1 |
| 08:55, 15 November 2006 | Day 4 Image 7.JPG (file) |  |
31 KB | Images of the PiPrius conversion of Todd Dore's GrayPerl. Another view of the charger when it’s on. | 1 |
| 08:55, 15 November 2006 | Day 4 Image 6.JPG (file) |  |
51 KB | Images of the PiPrius conversion of Todd Dore's GrayPerl. The inside of the relay box. Notice the contactors. This controls the AC charging and the DC-DC function. It also has a safety so the DC-DC switches off when the car is charg | 1 |
| 08:55, 15 November 2006 | Day 4 Image 5.JPG (file) |  |
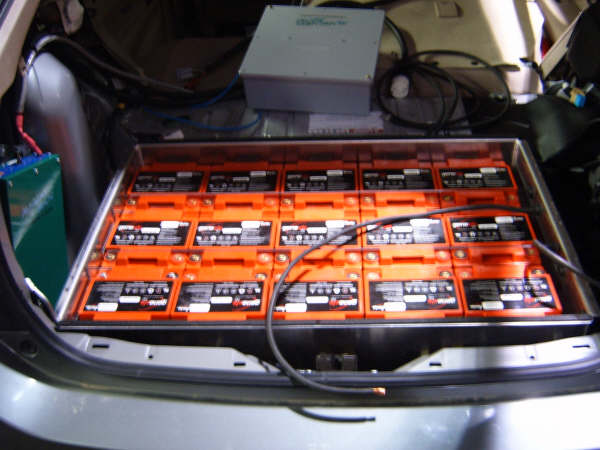
45 KB | Images of the PiPrius conversion of Todd Dore's GrayPerl. The batteries have now been installed! | 1 |
| 08:55, 15 November 2006 | Day 4 Image 2.jpg (file) |  |
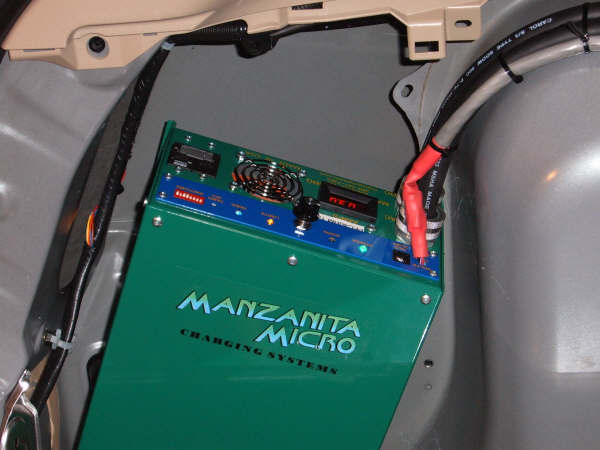
47 KB | Images of the PiPrius conversion of Todd Dore's GrayPerl. Rich standing by his charger. The charger is bolted into a cavity on the driver’s side. It also acts as a DC-DC converter for the PHEV system. | 1 |
| 08:55, 15 November 2006 | Day 4 Image 3.jpg (file) |  |
13 KB | Images of the PiPrius conversion of Todd Dore's GrayPerl. The CAN-View is on top of the NAV and underneath the driver’s seat. | 1 |
| 08:55, 15 November 2006 | Day 4 Image 4.JPG (file) |  |
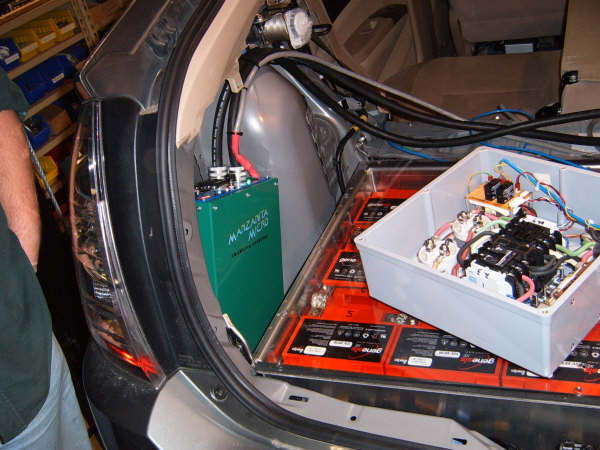
37 KB | Images of the PiPrius conversion of Todd Dore's GrayPerl. The battery box, charger, and relay box (with contactors) are shown here. All are part of the kit. | 1 |
| 05:29, 14 November 2006 | Day 3 Image 11.jpg (file) |  |
44 KB | Images of the PiPrius conversion of Todd Dore's GrayPerl. tapping into the NAV system 12V wire to install the CAN-View. | 1 |
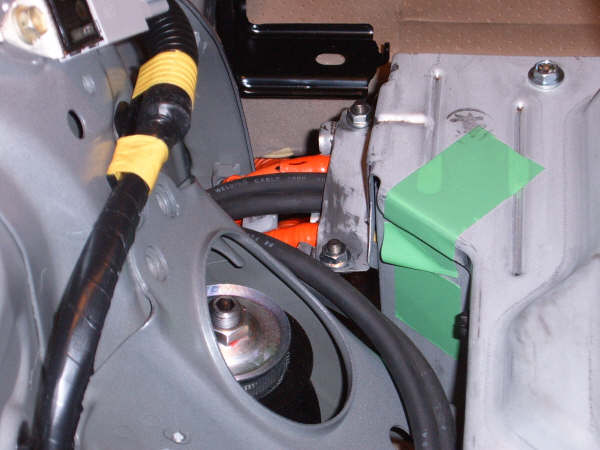
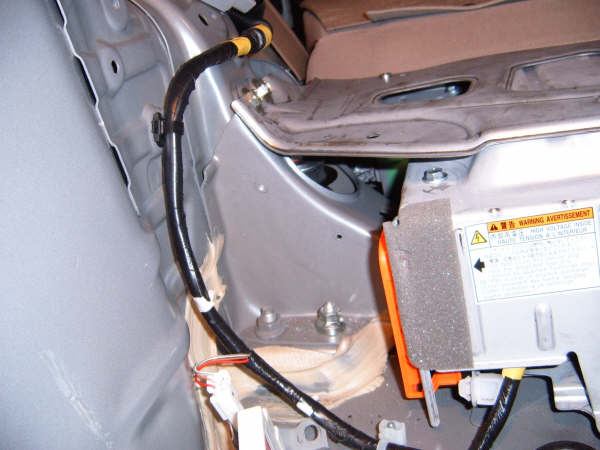
| 05:29, 14 November 2006 | Day 3 Image 10.jpg (file) |  |
41 KB | Images of the PiPrius conversion of Todd Dore's GrayPerl. Inside the PHEV HV box where the main contactors are and cables. The black-coated cables represent our installation. | 1 |
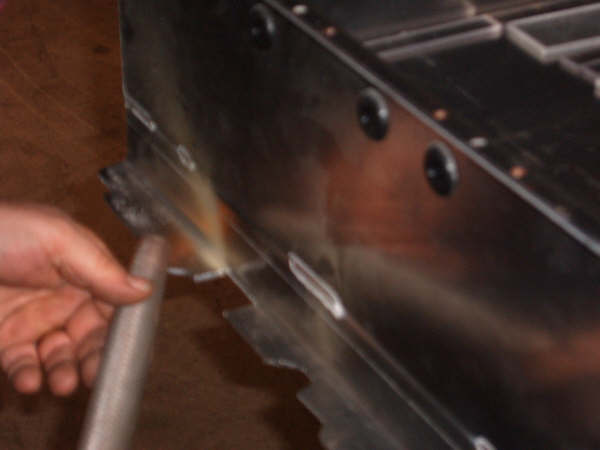
| 05:29, 14 November 2006 | Day 3 Image 9.jpg (file) |  |
50 KB | Images of the PiPrius conversion of Todd Dore's GrayPerl. John working on the sharp edges of the HV cover. | 1 |
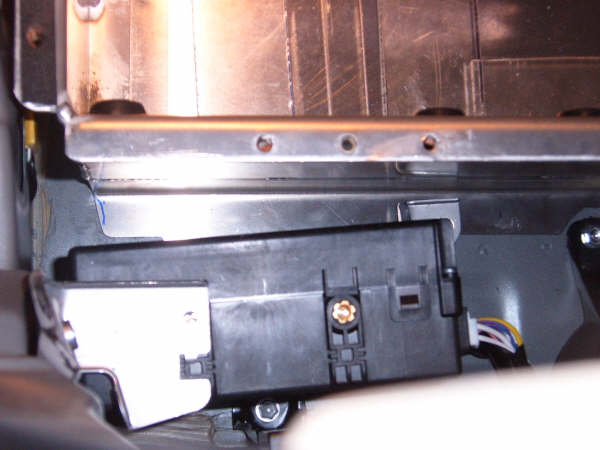
| 05:29, 14 November 2006 | Day 3 Image 8.jpg (file) |  |
33 KB | Images of the PiPrius conversion of Todd Dore's GrayPerl. The Rudman kit – cables come off of the HV battery. A couple of installation points inside. | 1 |
| 05:29, 14 November 2006 | Day 3 Image 7.jpg (file) |  |
37 KB | Images of the PiPrius conversion of Todd Dore's GrayPerl. The orange cables are the most positive and most negative of the Prius HV system. | 1 |
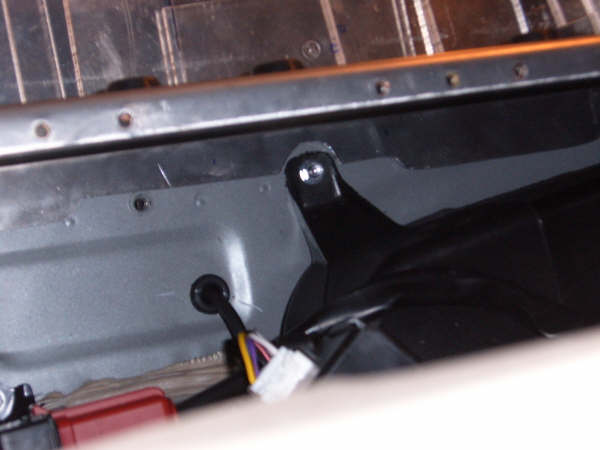
| 05:29, 14 November 2006 | Day 3 Image 6.jpg (file) |  |
31 KB | Images of the PiPrius conversion of Todd Dore's GrayPerl. Removing the protective cover of the Prius HV battery box. Underneath are the main contactors. | 1 |
| 05:29, 14 November 2006 | Day 3 Image 5.jpg (file) |  |
34 KB | Images of the PiPrius conversion of Todd Dore's GrayPerl. Rich Rudman doesn’t want to be bothered! CAN-View installation. | 1 |
| 05:29, 14 November 2006 | Day 3 Image 4.jpg (file) |  |
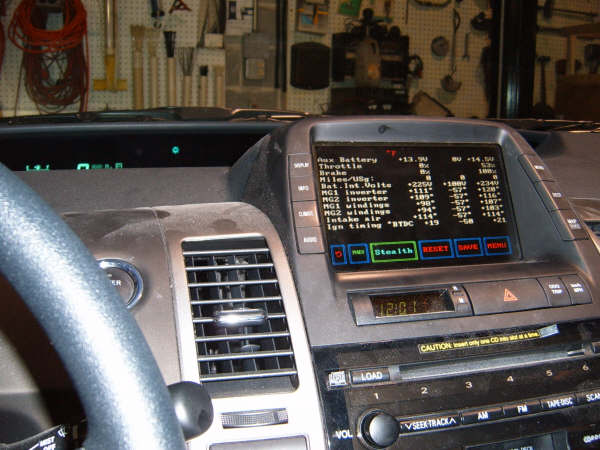
48 KB | Images of the PiPrius conversion of Todd Dore's GrayPerl. The CAN-View installed. It is a very simple installation process (more images to follow). Main read out screen and change of PHEV controls are all done on the Prius display screen. | 1 |
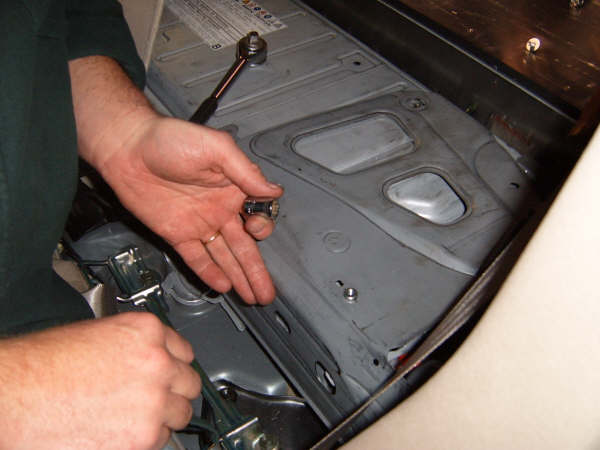
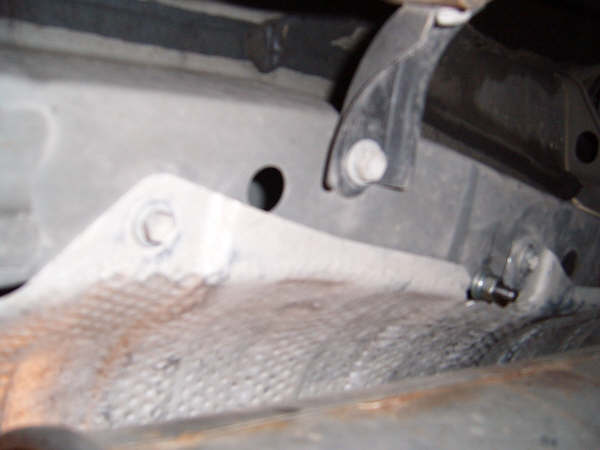
| 05:28, 14 November 2006 | Day 3 Image 3.jpg (file) |  |
22 KB | Images of the PiPrius conversion of Todd Dore's GrayPerl. The heat shield installed. Notice the battery box bolt. | 1 |
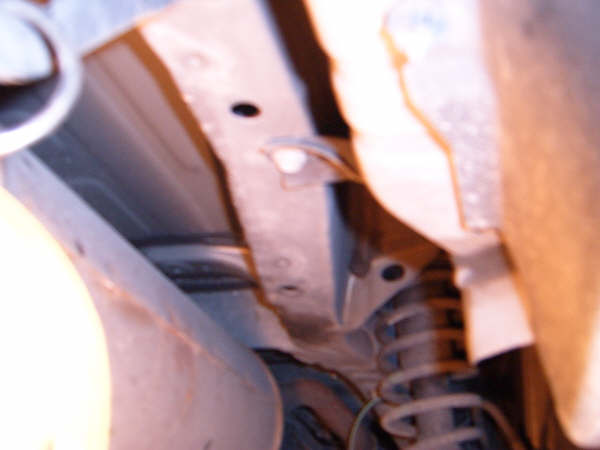
| 05:28, 14 November 2006 | Day 3 Image 2.jpg (file) |  |
24 KB | Images of the PiPrius conversion of Todd Dore's GrayPerl. The heat shield removed and the battery bolt holes exposed. | 1 |
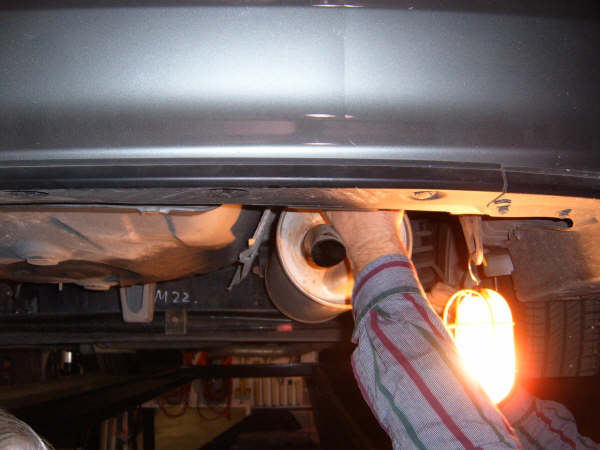
| 05:28, 14 November 2006 | Day 3 Image 1.jpg (file) |  |
33 KB | Images of the PiPrius conversion of Todd Dore's GrayPerl. bolting the battery box by the muffler. | 1 |
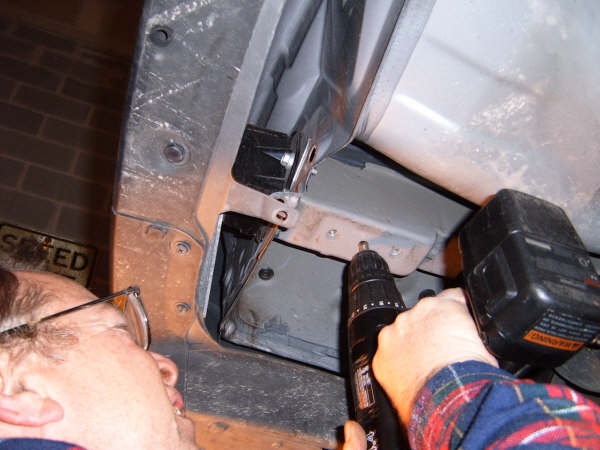
| 04:07, 14 November 2006 | Day 1 Image 20.jpg (file) |  |
38 KB | Images of the PiPrius conversion of Todd Dore's GrayPerl. Drilling the hole for the box. | 1 |
| 04:07, 14 November 2006 | Day 1 Image 19.jpg (file) |  |
37 KB | Images of the PiPrius conversion of Todd Dore's GrayPerl. The center hole is where the bolt hole is drilled for the back left of the box (driver’s side). | 1 |
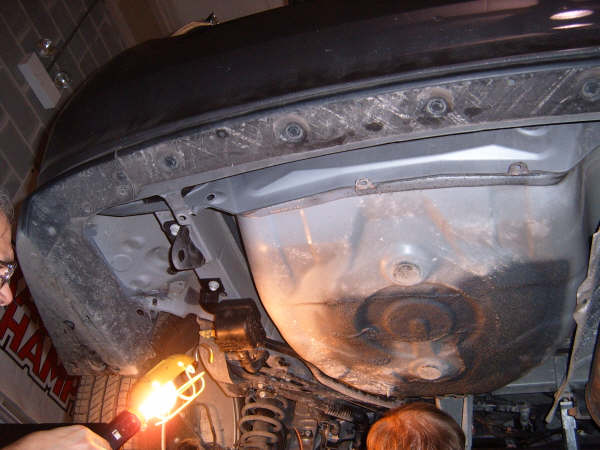
| 04:07, 14 November 2006 | Day 1 Image 18.jpg (file) |  |
43 KB | Images of the PiPrius conversion of Todd Dore's GrayPerl. John smiling underneath the car. The muffler and the heat shield are visible. The muffler has to be pushed aside and the heat shield taken off to drill the bolt holes on the right side ( | 1 |
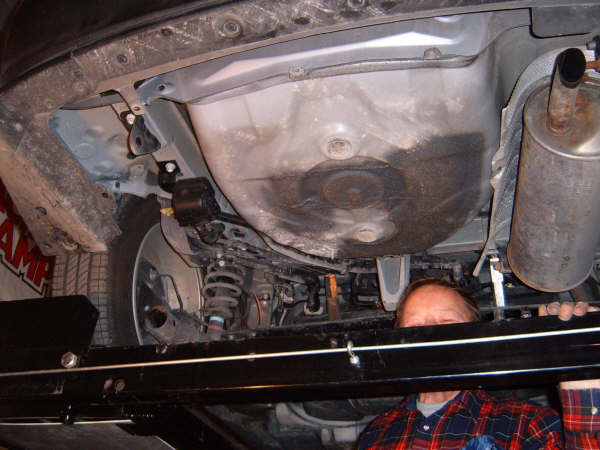
| 04:07, 14 November 2006 | Day 1 Image 17.jpg (file) |  |
40 KB | Images of the PiPrius conversion of Todd Dore's GrayPerl. The Prius is hoisted up and we’re looking at the area that we have to drill a bolt hole. | 1 |
| 04:07, 14 November 2006 | Day 1 Image 16.jpg (file) |  |
36 KB | Images of the PiPrius conversion of Todd Dore's GrayPerl. The left section of the cover for the Prius HV battery. Studs have been sheared off for the PHEV kit battery box. | 1 |
| 04:07, 14 November 2006 | Day 1 Image 15.jpg (file) |  |
20 KB | Images of the PiPrius conversion of Todd Dore's GrayPerl. Filing away the sharp edges for the portions cut out of the flange for the battery box. Everything must be as flush as possible with the floor of the Prius. Note the box fits over the em | 1 |
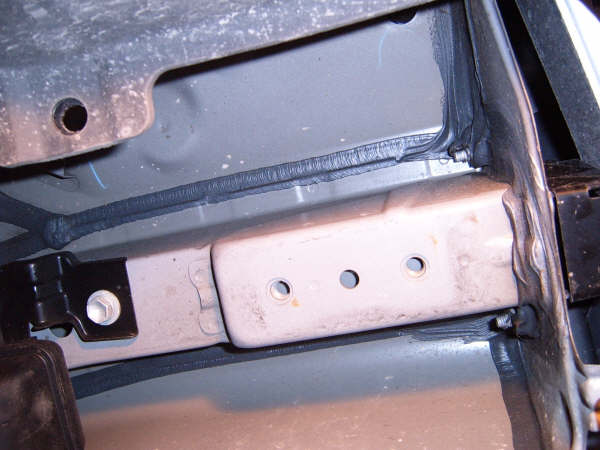
| 04:07, 14 November 2006 | Day 1 Image 14.jpg (file) |  |
32 KB | Images of the PiPrius conversion of Todd Dore's GrayPerl. The back right side of the battery box with the flange – that’s where a bolt hole will have to go. Note the black plastic box that we are looking down on – this is next to the 12V b | 1 |
| 04:07, 14 November 2006 | Day 1 Image 13.jpg (file) |  |
25 KB | Images of the PiPrius conversion of Todd Dore's GrayPerl. Sizing up the battery box with the flange that John just cut. | 1 |