|
General Disclaimer: (HV) (DC) injury or death hazard, use at your own risk, may void warranty. |
PriusPlus-RawData
| Click show for a short list of the current PHEV conversion and kit options for the Toyota Prius. |
|---|
|
For Prius conversion details see the Prius PHEV article and comparisons table.
|
|
--={ Project Overview
}={ 2007 Maker Faire
}={ Theory
}={ Instructions
}={ Parts List
}={ RawData
}={ Latest News
}=--
|
|---|
|
--={ Historic }={ Battery }={ Schematics }={ PseudoCode }={ Photos }=-- |
 Team Photo from the PriusPlus conversion of Sven's Prius from Nov 2006. This is the home of the PRIUS+ PHEV DIY (Do-it-Yourself) documentation. These pages are currently anonymously editable, which may change in the future. Please feel free to use the Discussion page for general discussion and commentary on the main article. If you would like to add to an existing section use the "edit" link near that topic's heading. Don't forget to use the Summary field to describe your changes. While editing use the "Show Preview" button to make sure your changes look like you expect them to, before you click "Save Page". |
This page houses all raw materials which have been uploaded for various people to work with and incorporate into documentation on the other pages. Add new documents to the list below and organize them if at all possible.
Image files can be easily linked to by placing a ":" after the "[[", otherwise the image will be shown. If you want the image to appear then after the images name add "|thumb" to create a thumbnail for it, use "|200px" to specify a size other than the default, and use "|caption text" to describe the image as the last element before the closing "]]".
Other non-image files such as .pdf, .doc, .xls, .etc can be linked to with the same "[[Image:" type link or with a [[Media:" link. The :Image link will take you to the files page with a description of the file, list of pages on which it's used, and of course a link to the file itself. The Media link will instead take you directly to that file without visiting the files page first. See some examples in the "Intro Editing Help" section below.
Files
Here are the files that are available thus far.
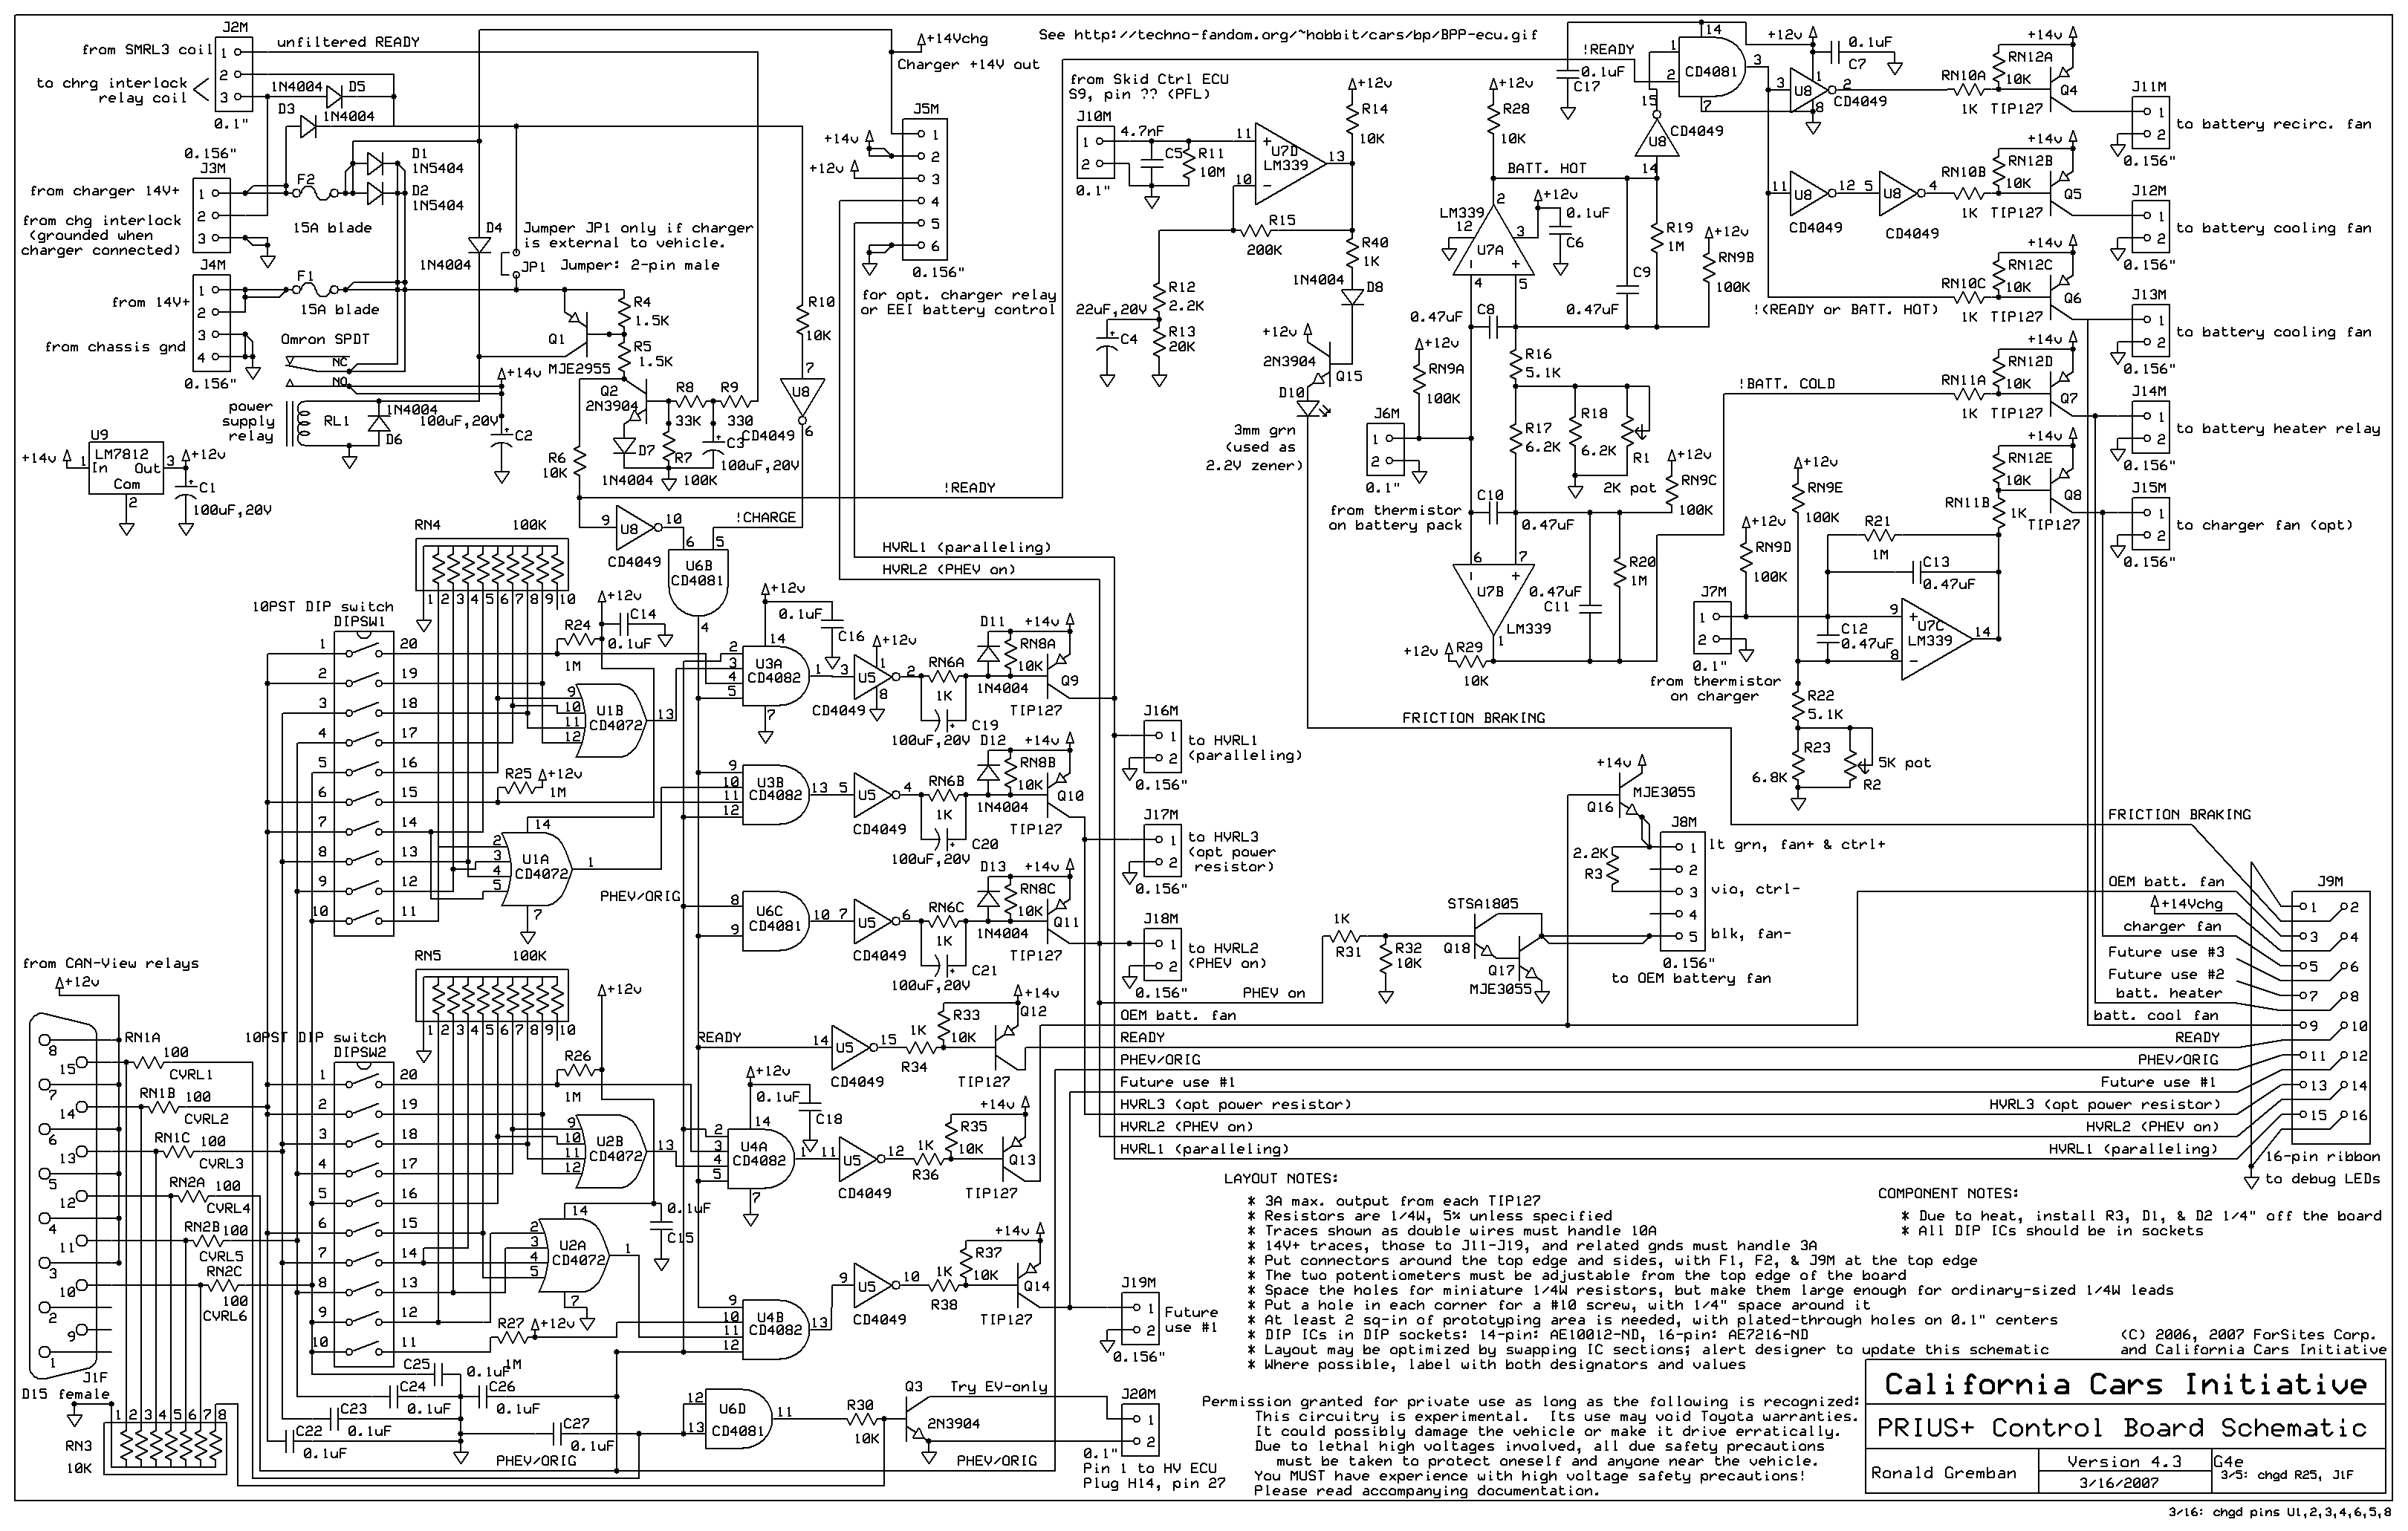
Schematics
- High Power Image:EAA-PHEV-PRIUS-HighPowerSchematic.png

- Control Board Image:EAA-PHEV-PRIUS-ControlBdSchematic.png

- Control Board Image:EAA-PHEV-PRIUS-ControlBdSchematic.zip schematic created in ExpressSCH.
- Control Board Image:EAA-PHEV-PRIUS-ControlBdPartsList.zip exported parts list from schematic in Excel format, also includes LED Board.
- Template:EAA-PHEV-PRIUS-ControlBdPartsList use {{EAA-PHEV-PRIUS-ControlBdPartsList}} to include in a page.
- LED Board Image:EAA-PHEV-PRIUS-LEDBdSchematic.png

- LED Board Image:EAA-PHEV-PRIUS-LEDBdSchematic.zip schematic created in ExpressSCH.
- LED Board Now combined into ControlBdPartsList.zip above.
Photos
You can browse the entire gallery of images here at the eaa-phev site, or visit some other galleries with potentially applicable photos:
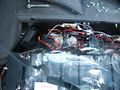
 Photo of OEM NiMH battery with case fully removed during Maker Faire, which is no longer necessary during current conversions. |
 Photo of the PriusBlue HV Tie in at the time of the Maker Faire, routed out of OEM battery case near service plug. |

Rons Images

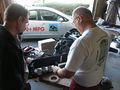
Build Team Photo with labels

Team Photo around Rons Prius.
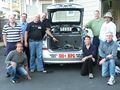
Team Photo around Rons Prius.
Team Photo around Rons Prius.
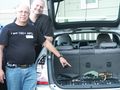
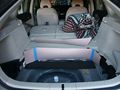
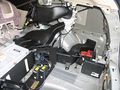
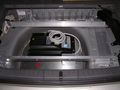
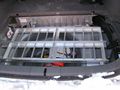
The unmodified trunk area.
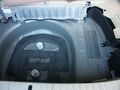
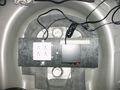
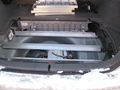
Pair of PVC air vents installed in spare tire well.
Mockup of the Electronics housing for wiring and circuit boards.
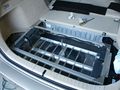
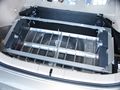
The empty new battery box.
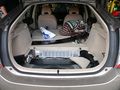
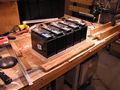
Electronics housing and misc parts on top of new battery box, ready for installation.
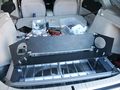
Electronics housing and battery box fitting mockup.
Electronics housing semi-populated and battery box fitting mockup.
Electronics housing semi-populated.
Electronics housing semi-populated.
Electronics housing semi-populated.
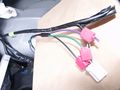
Wire Taps into OEM contactor controls.
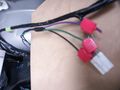
Wire Taps into OEM contactor controls.
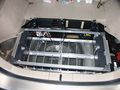
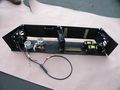
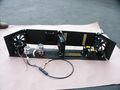
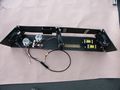
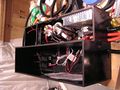
Electronics housing (front).
Electronics housing (bottom).
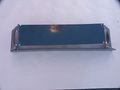
Electronics housing (back).
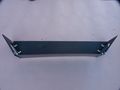
Electronics housing (top).
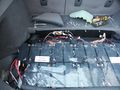
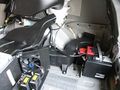
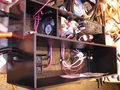
Electronics in Rons Prius.
Electronics in Rons Prius.
Electronics in Rons Prius.

Electronics in Rons Prius.
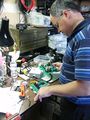
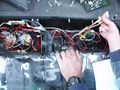
Working on Circuit boards.
Populating Electronics housing.
Populating Electronics housing.
Electronics housing cooling fan flaps.
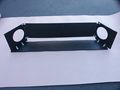
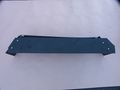
Bracket for ABS control.
Bracket for ABS control.
Bracket for ABS control.
Bracket for ABS control.
Delta-Q Charger installed.
Delta-Q Charger installed.
110v breakout quad and 110 to 12v power supply.
Ah Meter.
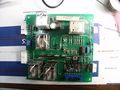
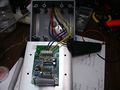
Electronics Board.
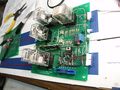
Electronics Board.
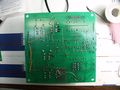
Electronics Board.
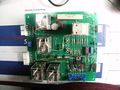
Electronics Board.
Inside corner of battery box top.
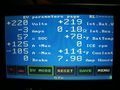
CAN-View screen.


Photos from Chris Ewert's Conversion
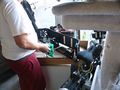
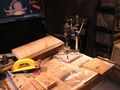
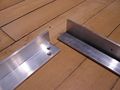
Cutting the aluminum with a hacksaw
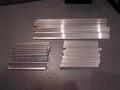
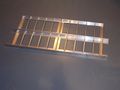
All the pieces necessary for the battery trays

All the parts from the tray laid out
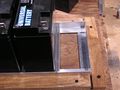
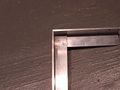
Battery tray just set together
Close up of the battery tray just set together
Tray set together, ready for creating "jig"

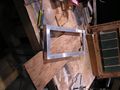
Starting to assemble the jig
More assembling the jig
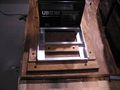
Getting the jig assembled
Mostly finished tray jig
Dremel drill press used for drilling holes in angle irons
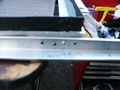
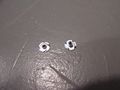
Holes drilled in the aluminum, then countersunk
Sample corner finished (done on scrap aluminum)
Shows the self threading screws sticking out

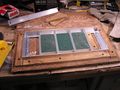
The finished tray
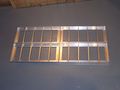
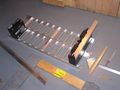
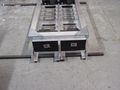
All 4 finished trays laid out like they will be
Experimenting with the support angle irons
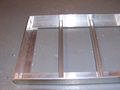
Starting on the top of the battery box
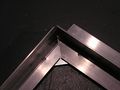
45 degree angles cut in angle irons
Corner bracket just set on the top

3 angle irons cut and just sitting on the box
Shows the Plexiglass "shield" on the inside of the angle irons
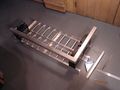
Partially assembled battery box - bolted on top, but not the sides
Inside of the corner of the battery box top
Binding posts that I choose to use. They worked, but they aren't part of the official conversion method
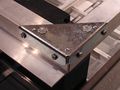
A completed corner, bolts in and have been ground off.
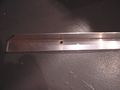
Shows the angle iron that will be used to bolt down the top
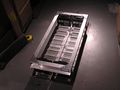
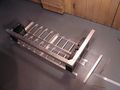
Mostly finished battery box. Still lacking the bolts in the center of the pack, holes for bolting the top down and holes in the frame
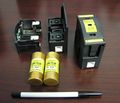
Fuses and holders
A fuse in it's holder

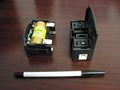
Bottom of the fuse holder (for DIN rail mounting)
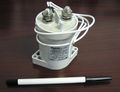
The Kilovac EV200 contactor
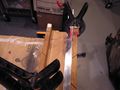
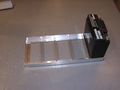
Battery Box sitting on steel tube

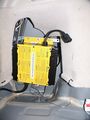
Battery box sitting on steel tube with second tube for screw lift support
Alt mounting method: modified hanger bolted into battery box mount
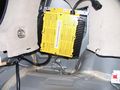
Alt mounting method: Test fit of unfinished battery box top in forward location
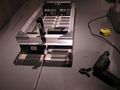
Charger in tirewell
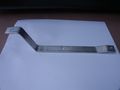
Welded support connected to support angle irons
Welded support connected to support angle irons
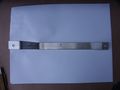
Support angle irons
Right side battery box supports
Left side battery box supports
Rubber pad under support angle irons
Entire battery box mounting supports
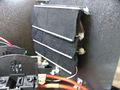
Mostly completed electronics box
Mostly completed electronics box


Alternative Mounting Method
This is very much a work-in-progress. There may be unresolved design flaws with this method. More details and photos to follow.
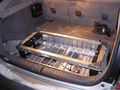
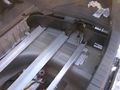
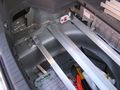
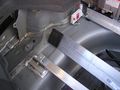
The battery box can optionally be mounted forward and lower which allows more components to be installed in the spare tire well, maximizing usable trunk space. The charger can be located below the battery pack, and the electronics and electrical wiring are lowered and partially under the battery pack. This method allows the conversion to be completely below the false floor and may also provide some benefit for stability and/or safety.
The four battery trays are assembled the same way as on the PriusPlus-Mechanical page. The trays are supported by 4 aluminum angle irons which sit on rubber mounts that sit directly on the steel trunk of the Prius. The supports are held in place by 2 steel angle irons bolted (or welded) to the trunk and 2 brackets anchoring into the OEM battery supports.
- 2 modified I-beam hangers (normally used for mounting electrical conduits to I-beams) are modified and bolted onto the supports for the battery box and both hold the forward most support angle iron in place (does not hold weight) and provides a bolt down point for the top of the battery box.
- All support angle irons are offset from the trunk of the car by rubber pads (about 1/4 inch thick)
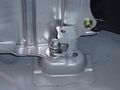
- One of the pegs for mounting the OEM SmartKey sensor in the trunk can also be used to hold the forward most support angle in place.
- The middle 2 angles are bolted together on the ends and in the middle and are held in place by bolts from the battery box top.
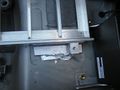
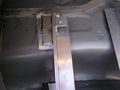
- The rear most support angle is mounted by 2 1 1/2 inch steel angle irons welded to the trunk. Holes are drilled on the outside of where the trays sit and are bolted through the angle iron and the aluminum angle iron on both sides.
- Steel angle irons with a hole and a bolt welded (or bolted) to one side are used to provide mounting points for the battery box top.
- Battery box top bolts down into steel angle irons which are bolted onto the support angle irons. Front battery box top bolts down into modified I-beam hangers.
OEM battery support bolts are metric 8mm diameter, 1.25 thread bolts. A bolt with a 30mm length seems to be the ideal length for a replacement. The OEM bolts appear to be about 20mm in length.
The battery box cannot block easy access to the OEM orange emergency disconnect.
Older PriusPlus Images
Coming soon some photos from Rons original PriusPlus History conversion which may still be applicable to this project...
General Reference Materials
These are some other General Reference Materials we use elsewhere on the site. This is also an example of how to use references within the page text. See PiPrius conversion process for another example of a page with multiple reference tages.
- Prius Dismantle Manual <ref>Media:Priusdisman.pdf from http://www.airlabcorp.com/Prius/priusdisman.pdf</ref>
- Stereo Installation, Dash Dismantle <ref>Media:Stereo Accessory Install Guide 04 Prius v1.03.pdf from http://www.chrisdragon.com/downloads/Stereo%20Accessory%20Install%20Guide,%2004%20Prius,%20v1.03.pdf</ref>
- Stereo Installation, Dash Dismantle <ref>Media:PriusXMradio3.2.pdf from https://www.metrotpn.com/documents/PDF%20Files/Prius/Eddie's%20XMRadio%20Install/PriusXMradio3.2.pdf</ref>
- CAN-View install without Nav <ref>Media:CAN-View installNONAVwt.pdf Adapted from http://www.hybridinterfaces.ca/installNONAV.html</ref>
- CAN-View install with Nav <ref>Media:CAN-View installWNAVwt.pdf Adapted from http://www.hybridinterfaces.ca/installWNAV.html</ref>
- Prius EV Mode Button Installation <ref>Media:Prius-evbutton-install.pdf from http://www.calcars.org/prius-evbutton-install.pdf</ref>
- Factory EV Mode Button <ref>Media:FactoryEV.pdf from http://www.scubadivervideo.com/Files/factoryEV.pdf</ref>
You should be familiar with these reference materials and standard operating procedures around high voltages. <references/>
ToDo
Stuff to be imported/uploaded:
Intro Editing Help
File Specific Help
File link Examples, click the edit button for this section to see how it works.
Text Links:
- Using :Image takes you to the Images description page:
- Using Media takes you directly to the file:
- You can use a | to change the text of the link to something more descriptive.
Inline resized images:
25px![]() , 50px
, 50px![]() , 150px
, 150px ,
,
300px
Thumbnails:
- Thumbnail tag will embed the image inline such that text will wrap arround the image. The image will be alligened to the right by default or can be forced with a "|center" or "|left" tag. Thumbnails should also include some caption as their last "|caption element". Notice that the image code is placed above this text so that the text and image begin at the same place.
The {{Clear}} template can be used to force empty white space after a thumbnail before continuing with the next block of text.
- A Second Example...
Thumbnail tag will embed the image inline such that text will wrap arround the image. The image will be alligened to the right by default or can be forced with a "|center" or "|left" tag. Thumbnails should also include some caption as their last "|caption element". Notice that the image code is placed above this text so that the text and image begin at the same place. Thumbnail tag will embed the image inline such that text will wrap arround the image. The image will be alligened to the right by default or can be forced with a "|center" or "|left" tag. Thumbnails should also include some caption as their last "|caption element". Notice that the image code is placed above this text so that the text and image begin at the same place. Thumbnail tag will embed the image inline such that text will wrap arround the image. The image will be alligened to the right by default or can be forced with a "|center" or "|left" tag. Thumbnails should also include some caption as their last "|caption element". Notice that the image code is placed above this text so that the text and image begin at the same place.
Raw Large
- The raw image will be shown in a large size so probably shouldn't be used within a document like this. Rather visitors should click on a smaller image, thumbnail, or link to see the Images page, from there they can use a link to get the fill sized original image.
General Help
Intro Paragraph here maybe with a link to the main PriusPlus article, links to external sites can appear as formatted CalCars, just plain URLs like http://www.calcars.com, or fancy references such as that in the next paragraph.
Another Paragraph and such, you can get help at our Help:Contents#How do I use the Wiki Website page <ref>http://en.wikipedia.org/wiki/Help:Contents more help using the wiki.</ref> Feel free to simply remove or if you like move all of this example text to the pages discussion article.
A Major Topic
Talking about the major topic.
Sub Topic
Yes, this is a sub topic
Sub Topic number two
You guessed it, another sub topic.
References
<references/>